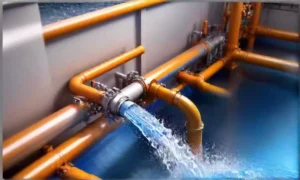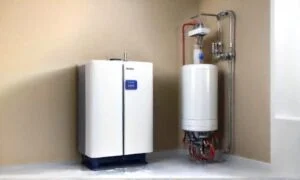
Optimizing Your Hot Water Tank: Grasping the Pilot Setting
Importance of the Pilot Setting
Like the conductor of an orchestra, the pilot setting orchestrates the heat production in your hot water tank, ensuring a harmonious flow of warmth throughout.
How the Pilot Setting Works
Picture the pilot setting as the maestro of your water heater, igniting the flames that dance beneath the tank, creating the perfect temperature for your soothing showers.
Common Issues with the Pilot Setting
Just like a stubborn musician hitting a wrong note, the pilot setting can sometimes falter, leading to chilly water woes or scalding surprises. It’s essential to troubleshoot these issues promptly.
Steps to Adjust the Pilot Setting
To fine-tune the symphony of your hot water tank, delicately adjust the pilot setting with precision, ensuring that your showers hit the right notes of warmth without missing a beat.
Safety Precautions When Handling the Pilot Setting
As you commence on the journey of tweaking the pilot setting, remember to handle it with the care of a fragile treasure, following safety precautions to prevent any fiery mishaps and keeping your home a sanctuary of comfort.
Troubleshooting Hot Water Tank Pilot Setting Issues
No Hot Water: Checking the Pilot Light
When your hot water tank leaves you shivering, the first stop is the pilot light. A flickering or extinguished pilot light could be the culprit behind your icy showers. Ensure it’s lit and burning steadily to restore your hot water supply.
Inconsistent Water Temperature: Adjusting the Pilot Setting
If your water temperature plays a guessing game between hot and lukewarm, it might be time to tweak the pilot setting. A simple adjustment can bring back the comfort of consistent water temperature for your showers and chores.
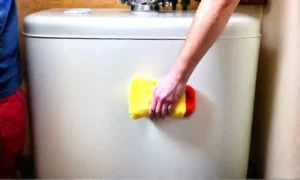
Pilot Light Keeps Going Out: Cleaning the Pilot Assembly
A pilot light that plays hide-and-seek is frustrating. Dust and debris can obstruct the pilot assembly, causing it to extinguish frequently. Give it a thorough cleaning to ensure a steady flame and uninterrupted hot water flow.
Gas Smell: Addressing Gas Leak Concerns
A gas smell near your hot water tank is a serious issue that demands immediate attention. Gas leaks pose a safety hazard and require professional intervention. Don’t ignore this warning sign; prioritize safety and seek assistance promptly.
Pilot Setting Maintenance Tips for Longevity
To extend the lifespan of your hot water tank and maintain optimal performance, regular pilot setting maintenance is key. Keep the area clean, inspect for any signs of wear or damage, and follow manufacturer guidelines for upkeep to enjoy hot water bliss for years to come.
Energy Efficiency and Cost Savings with Proper Pilot Setting Management
Impact of Pilot Setting on Energy Consumption
Setting the pilot at the right level significantly affects energy usage. A higher setting means more fuel burned, leading to increased energy consumption and higher utility bills. Conversely, a lower setting conserves energy but may impact the availability of hot water when needed.
Setting the Right Temperature for Efficiency
Optimizing the pilot setting to the recommended temperature ensures efficiency. This balance between energy savings and hot water availability is crucial. It’s like finding the sweet spot that maximizes comfort whilst minimizing costs.
Benefits of Regularly Monitoring the Pilot Setting
Regularly checking and adjusting the pilot setting can prevent energy wastage. It’s akin to keeping a watchful eye on your expenses to avoid unnecessary costs. Consistent monitoring ensures that your hot water tank operates efficiently, saving you money in the long run.
How Proper Maintenance Can Save You Money
Maintaining the pilot setting is part of a broader maintenance routine that can lead to significant cost savings. It’s like maintaining a car to prevent breakdowns and costly repairs. By investing in proper maintenance, you extend the lifespan of your hot water tank and reduce the likelihood of unexpected expenses.
Eco-Friendly Practices for Hot Water Tank Usage
Implementing eco-friendly practices, such as optimizing the pilot setting, contributes to a greener environment. It’s like planting trees to offset carbon emissions and reduce your ecological footprint. By adopting sustainable habits in your hot water usage, you not only save money but also contribute to a healthier planet.
DIY Pilot Setting Adjustments: A Step-by-Step Guide
Tools Needed for Adjusting the Pilot Setting
- A screwdriver for precise adjustments
- A flashlight to clearly see the pilot assembly
- A wrench for safely shutting off the gas
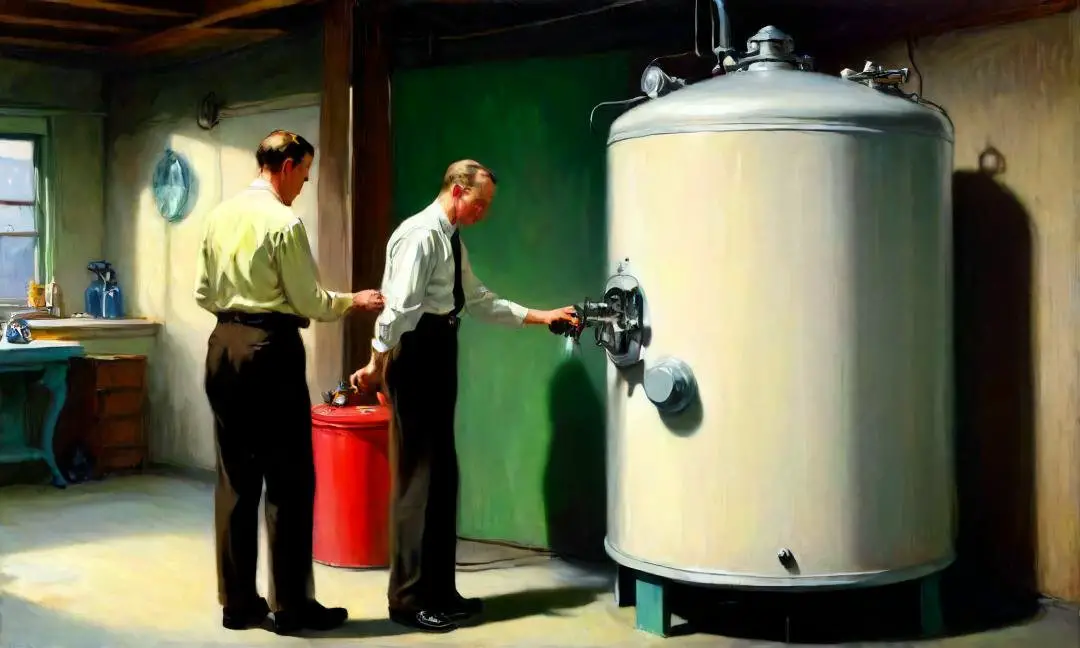
Shutting Off the Gas Supply Safely
Ensuring safety is paramount in this process. Before starting any adjustments, locate the gas supply valve and turn it off using a wrench. This step is crucial to prevent any gas leaks and ensure a secure working environment.
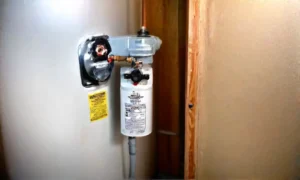
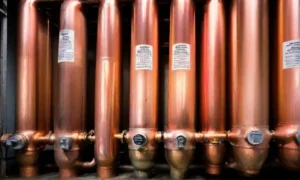
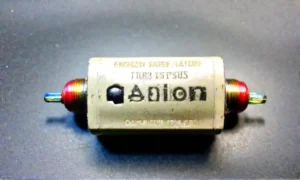
Locating and Accessing the Pilot Assembly
Once the gas is safely turned off, locate the pilot assembly. It is typically located near the bottom of the water heater. Use the flashlight to clearly see the assembly and prepare for the adjustments.
Adjusting the Pilot Setting Correctly
Using the screwdriver, carefully adjust the pilot setting to the desired level. Ensure precision in your adjustments to optimize the performance of the water heater. Small, deliberate movements can make a significant difference in the pilot’s efficiency.
Relighting the Pilot Light After Adjustment
After adjusting the pilot setting, it’s time to relight the pilot light. Follow the manufacturer’s instructions for relighting the pilot. This step is crucial to ensure that the adjustments made are effective and the water heater functions optimally.
By embracing this step-by-step guide, you can confidently adjust the pilot setting on your hot water tank switch. Remember, safety is key, and precision is crucial in achieving the desired results. With the right tools and careful adjustments, you can troubleshoot and optimize your water heater efficiently.
When to Call a Professional for Pilot Setting Assistance
1. Signs That Your Hot Water Tank Needs Professional Attention
- Irregular water temperature fluctuations
- Unusual noises emanating from the water heater
- Visible signs of corrosion or leaks
2. Importance of Hiring a Licensed Technician
Like entrusting a delicate watch to a skilled horologist, hiring a licensed technician ensures precision in handling your water heater. A licensed expert possesses the finesse and expertise to navigate the intricate mechanisms of your hot water tank.
3. Safety Risks of DIY Pilot Setting Repairs
Attempting DIY pilot setting repairs without proper knowledge is akin to a novice tightrope walker sans a safety net. The intricate components of a water heater require a professional touch to avert potential hazards and ensure safety for you and your home.
4. Finding a Reliable Hot Water Tank Service Provider
- Seek recommendations from trusted sources
- Check for valid licenses and certifications
- Read customer reviews for insights on service quality
5. Cost Considerations for Professional Pilot Setting Services
Investing in professional pilot setting services is akin to safeguarding your water heater’s longevity. During the cost may seem daunting initially, the long-term benefits far outweigh the expenses. A professional touch ensures efficiency and durability for your hot water tank.

Comprehending the Pilot Setting on Your Hot Water Tank Switch
1. The Role of the Pilot Setting
The pilot setting on your hot water tank switch is crucial for maintaining a constant flame that ignites the main burner when hot water is needed. It acts as a reliable source of ignition, ensuring consistent hot water production.
2. Regular Pilot Setting Checks
Regularly checking the pilot setting is essential to ensure the smooth operation of your hot water tank. Consider inspecting it at least once a month to detect any issues early on and prevent potential disruptions in your hot water supply.
3. Adjusting the Pilot Setting Independently
Adjusting the pilot setting without professional assistance is possible for some individuals, especially if you are familiar with the process and feel confident in your abilities. Notwithstanding, if you are unsure or uncomfortable, it is always best to seek help from a qualified technician to avoid any mishaps.
4. Dealing with Flickering Pilot Light
A flickering pilot light can be a common occurrence and is often nothing to worry about. That being said, if the flickering is excessive or accompanied by other issues, it may indicate a problem that requires attention. Monitoring the pilot light regularly can help you identify any irregularities early on.
5. Impact of Pilot Setting on Hot Water Production
The pilot setting directly influences the efficiency of hot water production in your tank. A well-adjusted pilot setting ensures that the main burner ignites promptly when hot water is needed, resulting in consistent and reliable hot water supply throughout your home.