The Importance of Regular Anode Replacement in Extending the Lifespan of Your Rheem Water Heater
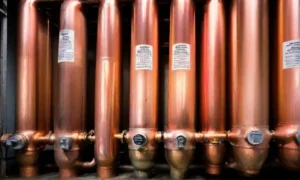
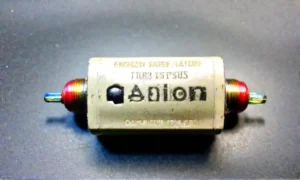
Cognizing the Role of the Anode Rod in Water Heaters
Anode rods are the unsung heroes of your Rheem water heater, sacrificing themselves to protect the tank from corrosion. Picture them as knights guarding a castle, valiantly shielding your heater from rust and decay.
Signs That Your Rheem Water Heater Anode Needs Replacement
Watch out for the warning signals that your anode rod is waving at you – strange noises, rusty water, or a metallic taste in your hot showers. These are the red flags telling you it’s time to give your faithful rod a well-deserved retirement.
Benefits of Timely Anode Replacement for Your Water Heater
By promptly swapping out your anode rod, you’re essentially giving your water heater a fountain of youth. It’s like changing the oil in your car; regular maintenance keeps everything running smoothly. Your Rheem water heater will thank you by providing you with years of reliable hot water without any nasty surprises.
Step 1: Gathering the Necessary Tools and Materials
Begin your journey towards a well-maintained Rheem water heater by ensuring you have all the essential tools and materials at your fingertips. This includes a pipe wrench, a socket wrench, a new anode rod specific to your Rheem model, and a hose for draining.
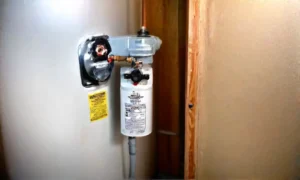
Step 2: Draining the Water Heater and Locating the Anode Rod
Now, it’s time to roll up your sleeves and drain the water heater. Connect the hose to the drain valve, making sure it leads to a suitable drainage area. In the course of the water is draining, locate the anode rod, typically found on top of the water heater.
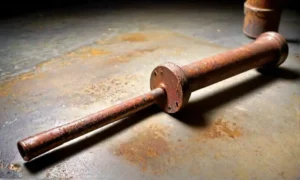
Step 3: Removing the Old Anode and Installing the New One
With the water heater drained and the anode rod in sight, use your trusty tools to remove the old anode. Remember, this rod plays a crucial role in protecting your water heater from corrosion. Carefully install the new anode in place, ensuring it is securely fastened for optimal performance.
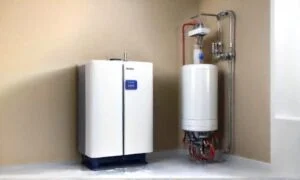
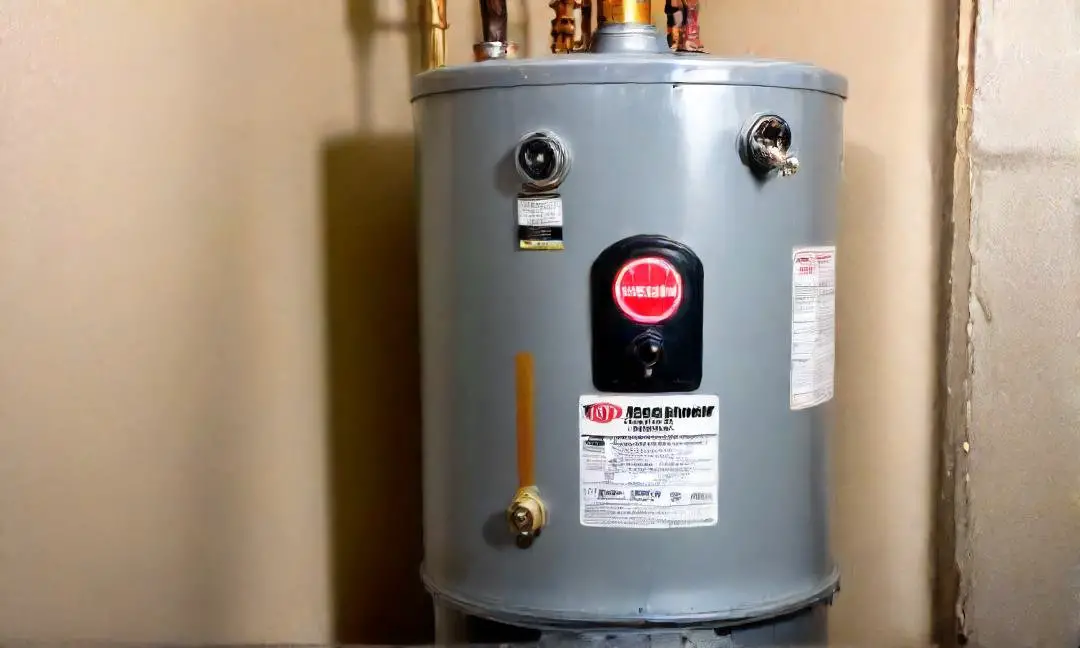
Step 4: Refilling and Testing Your Rheem Water Heater
As you wrap up the anode replacement process, it’s time to refill your Rheem water heater. Close the drain valve and slowly turn on the water supply, allowing the tank to fill. Once filled, check for any leaks and ensure everything is in proper working order before powering up your water heater.
Common Mistakes to Avoid When Replacing the Anode in Your Rheem Water Heater
Not Turning Off the Power Supply
Before you even think about touching that anode rod, make sure you’ve given the power supply the old heave-ho. The last thing you want is to get zapped meanwhile trying to do a good deed for your water heater. Safety first, always!
Using the Wrong Type of Anode Rod
It’s like trying to fit a square peg into a round hole – using the wrong type of anode rod in your Rheem water heater is a recipe for disaster. Take the time to check the specifications and ensure you’re using the right rod for your specific model. Your water heater will thank you for it!
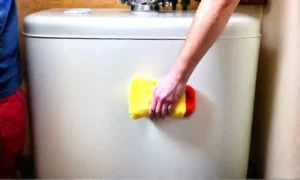
Overlooking the Importance of Regular Maintenance
Don’t be the person who neglects their water heater until it’s too late. Regular maintenance, including checking and replacing the anode rod when necessary, is key to keeping your Rheem water heater in tip-top shape. Remember, a little TLC goes a long way!
Dealing with Stubborn Anode Rods
When faced with stubborn anode rods in your Rheem water heater, it can feel like trying to move a mountain with a teaspoon. Albeit, fear not, as there are effective ways to tackle this challenge without breaking a sweat. Consider using a breaker bar or a long-handled wrench to provide the extra leverage needed to loosen the rod. Remember, patience is key in this situation; a steady and consistent effort will eventually yield results.
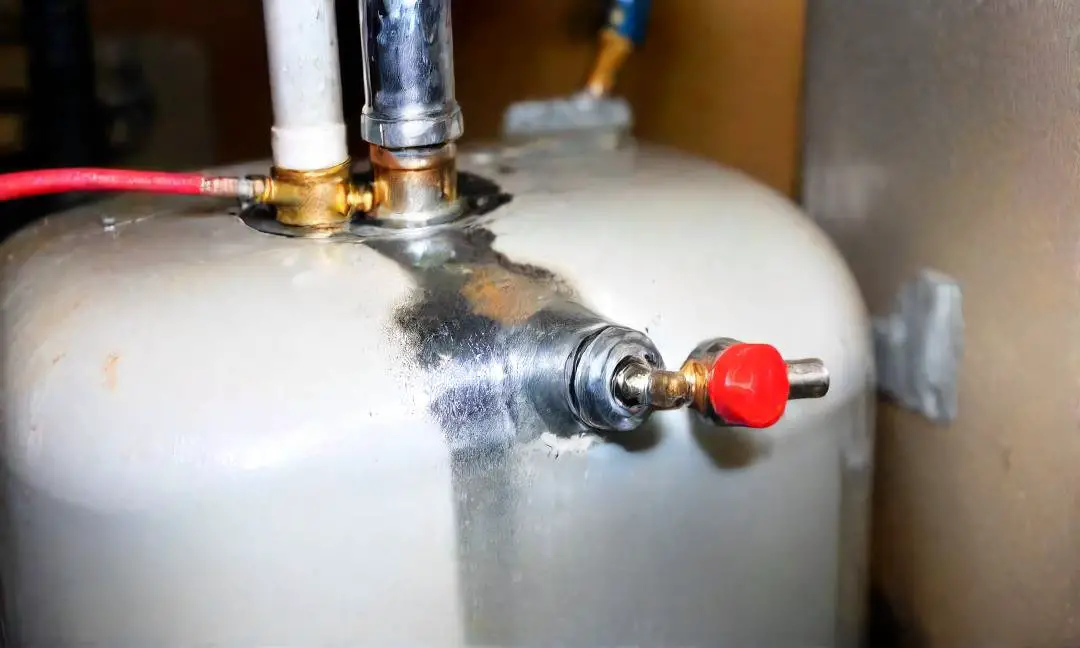
Addressing Leaks or Corrosion Issues
Leaking or corroded anode rods can be a real headache for Rheem water heater owners. If you notice any signs of leakage or corrosion, it’s crucial to act swiftly to prevent further damage. Start by turning off the water supply and draining the tank to access the anode rod. Use a pipe wrench to carefully remove the old rod, making sure to inspect the area for any additional issues that may need attention.
Seeking Professional Help When Needed
There comes a time when a problem with your Rheem water heater may require the expertise of a professional. If you encounter challenges during the anode replacement process that seem beyond your DIY capabilities, don’t hesitate to seek help from a qualified technician. They have the knowledge and tools to handle complex issues with precision, ensuring your water heater functions optimally for years to come.
Extending the Lifespan of Your Rheem Water Heater Through Proper Anode Maintenance
Setting Up a Regular Maintenance Schedule
Like clockwork, your Rheem water heater deserves a consistent maintenance schedule. Treat it like a cherished garden ?? neglect leads to withering. By setting up a routine, you ensure your water heater’s anode is regularly checked and replaced, safeguarding its longevity.
Monitoring the Condition of Your Anode Rod
Your anode rod is the unsung hero of your water heater, protecting it from corrosion. Keep a watchful eye on its condition. Just as a vigilant sentinel guards a castle, monitoring your anode rod ensures it continues to shield your water heater, preventing premature aging and breakdowns.
Tips for Maximizing the Efficiency of Your Water Heater
To squeeze every drop of efficiency from your Rheem water heater, consider insulation blankets and adjusting the temperature settings. Think of it as fine-tuning a musical instrument ?? each adjustment harmonizes to create a symphony of cost-effective heating. By implementing these tips, you not only amplify efficiency but also extend the lifespan of your trusty water heater.
Frequently Asked Questions About Anode Replacement in Rheem Water Heaters
1. Anode Replacement Frequency
The frequency of replacing the anode in your Rheem water heater depends on various factors such as water quality and usage. Generally, it is recommended to replace the anode every few years to ensure optimal performance and longevity of your water heater.
2. DIY Anode Replacement
Yes, you can replace the anode in your Rheem water heater yourself if you have the necessary tools and expertise. In contrast, it is essential to follow the manufacturer’s guidelines and safety precautions to avoid any mishaps during the replacement process.
3. Neglecting Anode Replacement Consequences
Neglecting to replace the anode in your water heater can lead to corrosion and damage to the tank. This can result in leaks, decreased efficiency, and ultimately, the need for a costly replacement of the entire water heater.
4. Types of Anode Rods for Rheem Water Heaters
There are different types of anode rods available for Rheem water heaters, including magnesium, aluminum, and zinc. Each type has its own advantages and suitability based on your specific water conditions and preferences.
5. Warranty Coverage for Anode Replacement
Whether anode replacement is covered under warranty for Rheem water heaters varies. It is advisable to check your warranty terms and conditions to determine if the cost of anode replacement is included. Some warranties may cover parts but not labor costs, so it’s essential to clarify these details.