II. The most common causes of temperature sensor wiring issues include loose connections, damaged wires, and faulty sensors.
III. To troubleshoot these issues, homeowners should check the connections, inspect the wires for damage, and test the sensor with a multimeter.
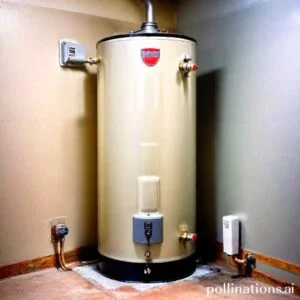
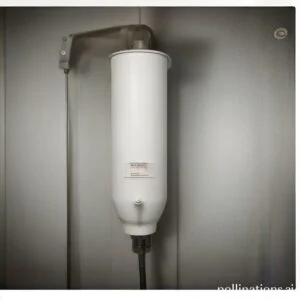
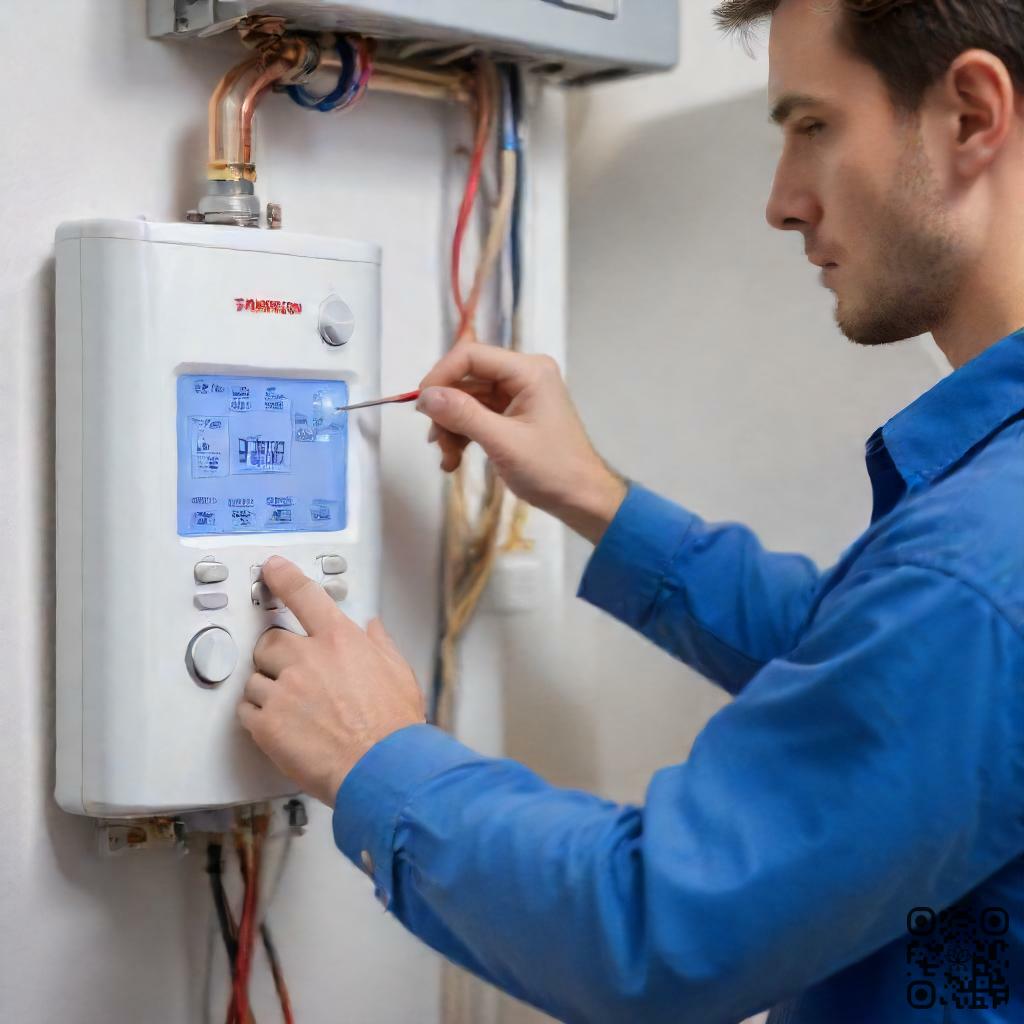
In troubleshooting water heater temperature sensor wiring issues, imperative to understand the key components and potential problems that may arise. The temperature sensor is a crucial part of the water heater system, responsible for detecting and regulating the temperature of the water.
If there are wiring issues, such as loose connections or faulty wiring, it can lead to inaccurate temperature readings or even complete failure of the sensor. By identifying and addressing these wiring issues, you can ensure your water heater operates efficiently and provides hot water when needed.
Checking the Power Supply
When encountering issues with your power supply, it is crucial to follow a systematic approach to identify and rectify the problem. This section will guide you through the necessary steps to ensure a safe and efficient power supply.
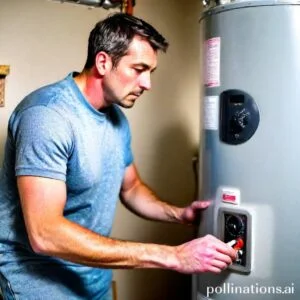
1. Turn off the power supply
The first step in troubleshooting any power supply issue is to turn off the power. This precautionary measure ensures your safety and prevents any potential damage to the electrical system. Locate the main power switch or breaker and switch it off.
2. Check the circuit breaker
Once the power supply is turned off, the next step is to inspect the circuit breaker. The circuit breaker is designed to protect the electrical system from overloading or short circuits. Examine the breaker panel and look for any tripped breakers. If you notice a tripped breaker, switch it back to the “On” position.
3. Inspect the wiring connections
If the circuit breaker appears to be functioning correctly, the next step is to inspect the wiring connections. Over time, wiring connections can become loose or corroded, leading to power supply issues. Carefully examine the wiring connections, ensuring they are securely connected and free from any signs of damage or deterioration.
| Step | Description |
|---|---|
| 1 | Turn off the power supply |
| 2 | Check the circuit breaker |
| 3 | Inspect the wiring connections |
Testing the Temperature Sensor
In order to properly test the temperature sensor, follow these steps:
1. Turn off the power supply
Before beginning the testing process, it is crucial to ensure that the power supply to the sensor is turned off. This will prevent any potential electrical hazards and ensure accurate test results.
2. Disconnect the temperature sensor
Next, carefully disconnect the temperature sensor from its current connection. This will allow for easier testing and prevent any interference from other components.
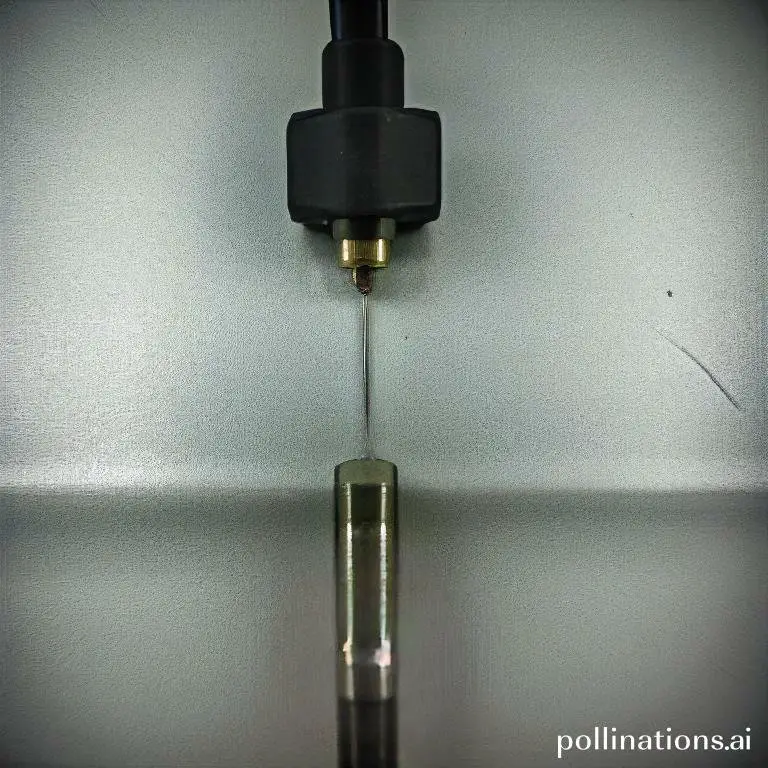
3. Use a multimeter to test the sensor
Now, it’s time to use a multimeter to test the temperature sensor. Set the multimeter to the appropriate setting for resistance or voltage measurement, depending on the type of sensor being tested. Connect the multimeter probes to the sensor’s terminals and observe the readings.
When testing the temperature sensor, imperative to compare the readings with the expected values for the given temperature range. This will help determine if the sensor is functioning correctly.
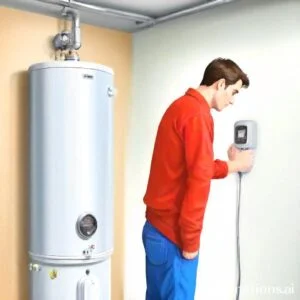
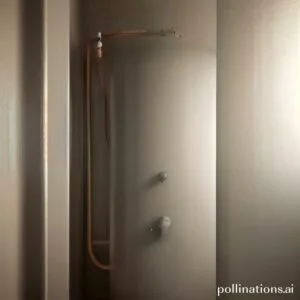
Inspecting the Wiring
In terms of the safety and functionality of your electrical system, inspecting the wiring is of utmost importance. By heeding a few simple steps, you can ensure that your wiring is in good condition and free from any potential hazards.
1. Turn off the power supply
Before you begin inspecting the wiring, it is crucial to turn off the power supply. This step will help prevent any accidents or electrical shocks. Locate the main electrical panel in your home and switch off the circuit breaker or remove the corresponding fuse.
2. Inspect the wiring
Once the power supply is turned off, carefully examine the wiring throughout your home. Start by visually inspecting the wires for any signs of damage or wear and tear. Look for frayed insulation, exposed wires, or any other visible issues. If you notice any problems, it is essential to address them promptly to avoid potential electrical hazards.
3. Look for any signs of damage or wear and tear
In addition to inspecting the wires themselves, it is crucial to look for any signs of damage or wear and tear in the surrounding areas. Check for loose connections, burnt marks, or unusual odors. These signs can indicate potential issues with the wiring that require immediate attention. If you are unsure about any findings, it is recommended to consult a professional electrician.

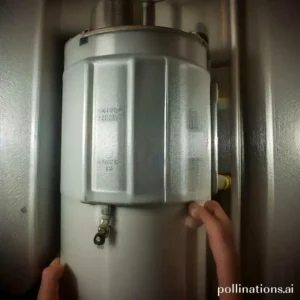
Replacing the Temperature Sensor
1. Turn off the power supply
Before replacing the temperature sensor, it is crucial to ensure the safety of the process by turning off the power supply. This step is important to prevent any electric shocks or mishaps during the replacement.
2. Remove the old temperature sensor
Once the power supply is turned off, you can proceed to remove the old temperature sensor. Carefully disconnect any wires or connections attached to the sensor, ensuring not to damage them in the process. Use appropriate tools, if necessary, to safely detach the sensor from its position.
3. Install the new temperature sensor
After removing the old temperature sensor, it is time to install the new one. Begin by carefully placing the new sensor in the designated location, ensuring it fits securely. Reconnect any wires or connections that were previously detached, following the proper guidelines and ensuring a secure and reliable connection.
| Step | Description |
|---|---|
| 1 | Turn off the power supply |
| 2 | Remove the old temperature sensor |
| 3 | Install the new temperature sensor |
Calling a Professional
1. When to call a professional
Knowing when to call a professional is essential for ensuring the proper maintenance and repair of your appliances. Meanwhile some minor issues can be resolved on your own, certain situations require the expertise of a qualified technician.
- Strange noises or smells: If your appliance is making unusual noises or emitting strange smells, it is advisable to call a professional. These signs could indicate underlying problems that need immediate attention.
- Electrical issues: If you notice sparks, flickering lights, or circuit breakers constantly tripping when using an appliance, it is best to seek professional help. Electrical issues can be dangerous and should be addressed by a trained technician.
- Leaking or flooding: If your appliance is leaking water or experiencing flooding, it is crucial to call a professional. Water damage can lead to extensive repairs and pose a risk to your home’s safety.
2. Choosing a qualified technician
When selecting a professional technician, vital to consider their qualifications and experience. Here are some factors to keep in mind:
- Certifications: Look for technicians who hold relevant certifications and licenses in their field. This ensures that they have undergone proper training and possess the necessary skills to handle your appliance.
- Experience: Prioritize technicians with a proven track record and years of experience in appliance repair. Experienced professionals are more likely to diagnose and fix issues accurately.
- Customer reviews: Read customer reviews and testimonials to gauge the quality of service provided by a technician or repair company. Positive feedback from satisfied customers is a good indicator of their reliability.
Bottom Line
Water heater temperature sensor wiring issues can be frustrating, but they are usually easy to troubleshoot and fix. If you are experiencing problems with your water heater, start by checking the wiring connections and making sure they are secure. If the connections are loose or damaged, replace them as needed. If the wiring is intact, the problem may be with the temperature sensor itself. In this case, you may need to replace the sensor or call in a professional for assistance. By taking the time to troubleshoot and address these issues, you can ensure that your water heater is functioning properly and providing you with reliable hot water when you need it.
Remember to always follow safety guidelines when working with electrical components, and never attempt to repair or replace a water heater component if you are not comfortable doing so. With a little patience and attention to detail, you can keep your water heater running smoothly for years to come.
Read More:
1. Balancing Water Heater Temperature For Solar Water Heating Systems
2. Impact Of Water Heater Temperature On Water Heater Valve Function