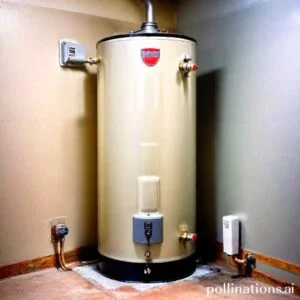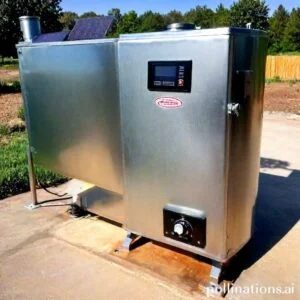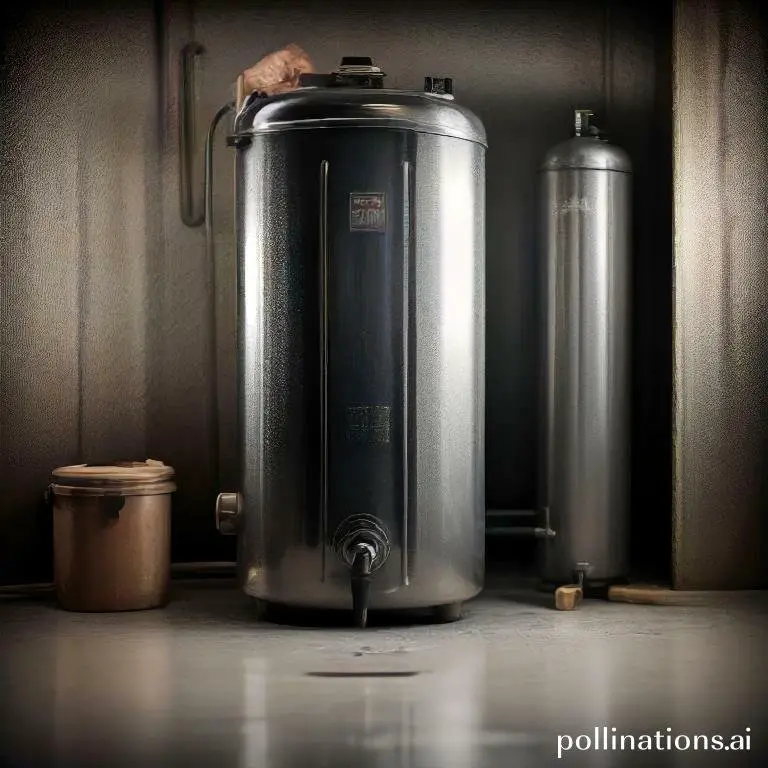
Water heaters are essential home appliances that provide hot water for various purposes. Although, sometimes, you may notice a drop in the temperature of your water heater, which can be frustrating.
This guide will provide you with step-by-step instructions on how to troubleshoot the problem and restore your water heater’s temperature. By adhering to these simple steps, you can save money on energy bills and ensure that your water heater is functioning optimally.
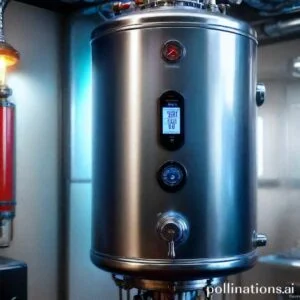
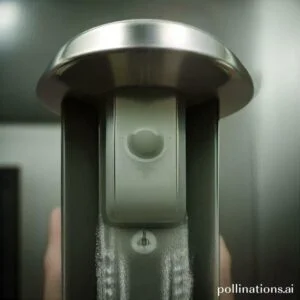
Check the Thermostat
The thermostat plays a crucial role in regulating the water temperature of various appliances. Grasping how it works and knowing the steps to check and adjust the thermostat settings can ensure optimal performance and energy efficiency.
1. Comprehending the thermostat’s role in regulating water temperature
The thermostat acts as a control device that maintains a desired temperature setting. In the context of water temperature regulation, it monitors and adjusts the flow of hot or cold water to achieve the desired temperature.
For example, in a water heater, the thermostat detects the current water temperature and activates the heating element or adjusts the gas valve accordingly. This ensures that the water remains at the desired temperature for various purposes such as bathing, cleaning, or cooking.
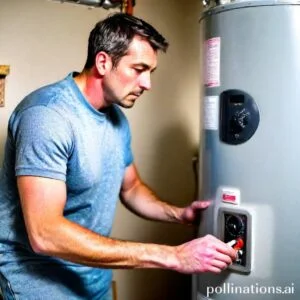
2. Steps to check the thermostat settings
To check the thermostat settings, follow these steps:
- Locate the thermostat control panel or interface of the appliance.
- Ensure the appliance is powered on and functioning properly.
- Access the thermostat settings menu or controls.
- Check the current temperature setting displayed on the screen or control panel.
- Compare the displayed temperature with the desired temperature you wish to achieve.
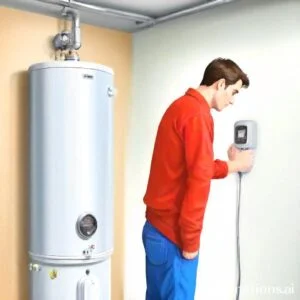
3. Adjusting the thermostat to the desired temperature
If you need to adjust the thermostat to your desired temperature, here’s how:
- Access the thermostat control panel or interface.
- Locate the temperature adjustment options.
- Use the provided controls, such as buttons or a touch screen, to increase or decrease the temperature setting.
- Observe the changes in the displayed temperature and make adjustments until you reach your desired temperature.
Remember to make gradual adjustments to prevent sudden temperature changes that may affect the performance or comfort level of the appliance.
Inspect the Heating Element
The heating element plays a crucial role in heating water in your appliance. Apprehending its function and knowing how to inspect it is essential for maintaining the efficiency of your device.
1. Absorbing the heating element’s role in heating water
The heating element is responsible for converting electrical energy into heat. It consists of a coil or a rod made of a conductive material that heats up when electricity flows through it. This heated element then transfers the heat to the water, raising its temperature to the desired level.
2. Steps to inspect the heating element for damage or malfunction
Regularly checking the heating element for any signs of damage or malfunction is important to ensure optimal performance. Follow these steps to inspect it:
- Step 1: Turn off the power supply to the appliance and unplug it for safety.
- Step 2: Locate the heating element, usually found at the bottom or side of the water tank.
- Step 3: Visually inspect the element for any visible signs of corrosion, cracks, or burnt areas.
- Step 4: Check for loose or disconnected wires connected to the heating element.
- Step 5: Use a multimeter to test the continuity of the heating element. A reading of zero or infinite resistance indicates a faulty element.
3. Replacing a faulty heating element
If you find that your heating element is damaged or malfunctioning, it is recommended to replace it to restore the proper functioning of your appliance. Here are the steps to follow:
- Step 1: Purchase a new heating element that matches the specifications of your existing one.
- Step 2: Turn off the power supply to the appliance and unplug it.
- Step 3: Drain the water from the tank to prevent any accidents.
- Step 4: Disconnect the wires from the faulty heating element.
- Step 5: Remove the old heating element from the tank.
- Step 6: Install the new heating element and reconnect the wires.
- Step 7: Refill the tank with water.
- Step 8: Turn on the power supply and test the new heating element.
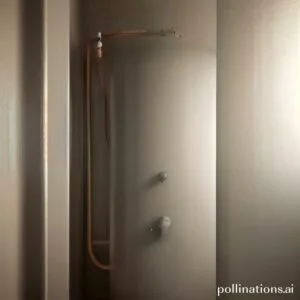
Check the Dip Tube
The dip tube plays a crucial role in directing cold water to the bottom of the tank, ensuring efficient heating and distribution of hot water throughout your system. Integral to regularly check the dip tube to ensure it is functioning properly and free from damage or blockage. Follow these steps to inspect and maintain your dip tube:
1. Apprehending the dip tube’s role in directing cold water to the bottom of the tank
The dip tube is a long, narrow tube that extends from the top of the water heater to the bottom. Its purpose is to deliver cold water from the inlet pipe to the bottom of the tank, where it can be heated by the heating element or burner. Without a functioning dip tube, cold water may mix with the hot water near the top of the tank, resulting in lower water temperatures and reduced efficiency.
2. Steps to check the dip tube for damage or blockage
To check the condition of your dip tube, follow these simple steps:
- Turn off the power to the water heater and shut off the water supply.
- Drain some water from the tank to relieve pressure.
- Locate the cold water inlet pipe at the top of the tank.
- Disconnect the pipe and carefully remove the dip tube.
- Inspect the dip tube for any signs of damage, such as cracks or breaks.
- Check for any blockages or sediment buildup inside the tube.
If you notice any damage or blockage, it may be necessary to replace the dip tube to restore proper water flow and heating efficiency.
3. Replacing a faulty dip tube
If your dip tube is damaged or blocked, you can replace it with a new one to ensure optimal performance of your water heater. Here are the steps to replace a faulty dip tube:
- Purchase a replacement dip tube that matches the specifications of your water heater.
- Turn off the power and water supply to the heater.
- Drain the tank partially to relieve pressure.
- Disconnect the cold water inlet pipe and remove the old dip tube.
- Insert the new dip tube into the inlet pipe and secure it in place.
- Reconnect the pipe and turn on the water supply and power.
- Monitor the water heater for any leaks or issues after the replacement.
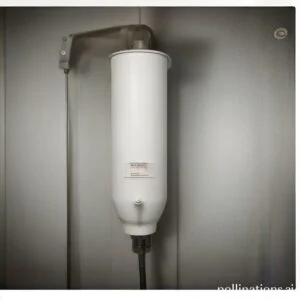
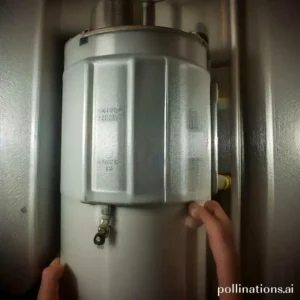
Inspect the Anode Rod
Absorbing the anode rod’s role in preventing corrosion in the tank
The anode rod is a crucial component in water heaters as it works to prevent corrosion in the tank. Made of a sacrificial metal like aluminum or magnesium, the anode rod attracts corrosive elements in the water, sacrificing itself to protect the tank. Without a functioning anode rod, the tank is susceptible to rust and corrosion, which can lead to leaks and reduced lifespan of the water heater.
Steps to inspect the anode rod for corrosion or depletion
Regular inspection of the anode rod is essential to ensure the proper functioning and longevity of your water heater. Follow these steps to inspect the anode rod:
- Turn off the power supply to the water heater.
- Locate the anode rod, typically found at the top of the water heater.
- Carefully remove the anode rod using a wrench or socket.
- Visually inspect the rod for signs of corrosion or depletion. Look for excessive rust, pitting, or a significantly worn-down rod.
- If the anode rod is heavily corroded or depleted, it needs to be replaced.
Replacing a depleted or corroded anode rod
If your inspection reveals a depleted or corroded anode rod, it is crucial to replace it promptly. Follow these steps to replace the anode rod:
- Purchase a replacement anode rod that matches the specifications of your water heater.
- Turn off the power supply and water supply to the heater.
- Drain some water from the tank to relieve pressure.
- Remove the old anode rod by unscrewing it from the tank.
- Apply plumber’s tape to the threads of the new anode rod.
- Screw the new anode rod into the tank and tighten it securely.
- Turn on the water supply and power to the heater.
| Key Points | Benefits |
|---|---|
| Prevents corrosion: | Extends the lifespan of the water heater |
| Regular inspection: | Maintains optimal performance |
| Timely replacement: | Prevents leaks and damage to the tank |

Flush the Tank
1. Embracing the importance of flushing the tank regularly
Regularly flushing your tank is crucial for maintaining its optimal performance and longevity. Over time, sediment buildup can occur, leading to a range of issues such as reduced water flow, clogged pipes, and decreased water quality. Flushing the tank helps to remove these sediments, ensuring a clean and reliable water supply.
2. Steps to flush the tank to remove sediment buildup
To effectively flush your tank and eliminate sediment buildup, follow these simple steps:
- Step 1: Turn off the water supply to the tank.
- Step 2: Attach a hose to the tank’s drain valve.
- Step 3: Place the other end of the hose in a suitable drainage area.
- Step 4: Open the drain valve and allow the water to flow out, flushing out the sediments.
- Step 5: Close the drain valve once the water runs clear.
- Step 6: Turn on the water supply and let the tank refill.
3. Recommended frequency of tank flushing
The frequency of tank flushing depends on various factors such as water quality, usage, and the type of tank. As a general guideline, it is recommended to flush the tank at least once a year. Nonetheless, in areas with hard water or high sediment content, more frequent flushing may be necessary. Regular inspection and monitoring can help determine the ideal frequency for flushing your specific tank.
| Benefits of Tank Flushing | Frequency |
|---|---|
| 1. Removes sediment buildup: Flushing the tank eliminates sediments, improving water flow and quality. | Once a year: Flushing the tank at least once a year is recommended. |
| 2. Prevents clogged pipes: Regular flushing prevents sediments from clogging the pipes, ensuring smooth water flow. | Varies: Frequency may vary depending on water quality and usage. |
| 3. Extends tank lifespan: By removing sediments, tank flushing helps maintain the tank’s optimal performance and longevity. | Regular inspection: Regularly inspect the tank and flush as needed. |
Bottom Line
Water heater temperature drops can be frustrating, but they are usually fixable. Start by checking the thermostat and adjusting it if necessary. If that doesn’t work, check the heating element and replace it if it’s faulty. If you have a gas water heater, check the pilot light and gas supply. If you’re still having issues, it may be time to call a professional plumber. Regular maintenance can help prevent temperature drops and extend the life of your water heater. Flushing the tank and checking the anode rod annually can help keep your water heater running smoothly. Don’t ignore temperature drops, as they can lead to more serious problems down the line. Addressing them promptly can save you time and money in the long run.
By obeying these troubleshooting tips and performing regular maintenance, you can keep your water heater running efficiently and reliably. Don’t let temperature drops ruin your hot water supply. Take action and get your water heater back to working order.
Read More:
1. Adjusting Water Heater Temperature For Energy-Efficient Showers
2. Impact Of Water Heater Temperature On Utility Bills