II. Regular maintenance, such as flushing the tank and checking the anode rod, can help prevent sediment buildup and prolong the life of the water heater.
III. It is important for homeowners to understand the importance of maintaining their water heater and to follow manufacturer guidelines for maintenance and repair.
In the world of water heaters, sediment can quietly wreak havoc on the functionality of your valves. Over time, minerals and debris can accumulate, leading to clogs, leaks, and reduced efficiency.
Perceiving the impact of sediment on your water heater is crucial for maintaining its performance and longevity. In this article, we will pioneer the effects of sediment buildup and discuss ways to prevent and address these issues.
From the importance of regular maintenance to the benefits of using a water softener, we will provide you with the knowledge to keep your water heater running smoothly.
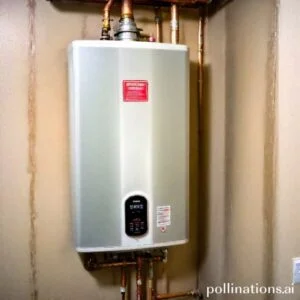
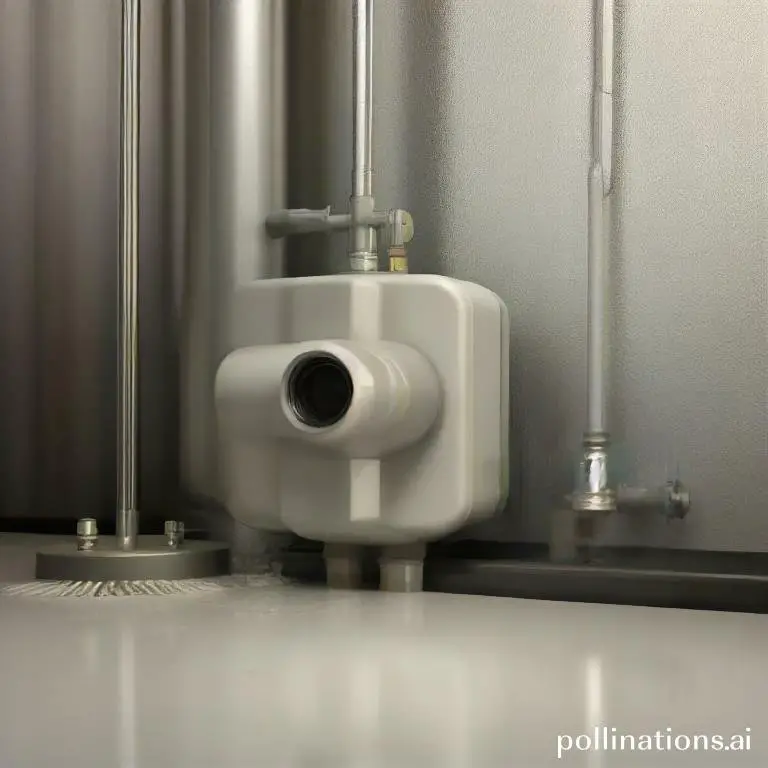
Assimilating Water Heater Valves
Water heater valves play a crucial role in the proper functioning of your water heater. They control the flow of water, regulate temperature, and ensure safety. In this section, we will investigate the different types of water heater valves, how they work, and the importance of valve maintenance.
1. Types of Water Heater Valves
There are several types of water heater valves, each serving a specific purpose:
| Valve Type | Description |
|---|---|
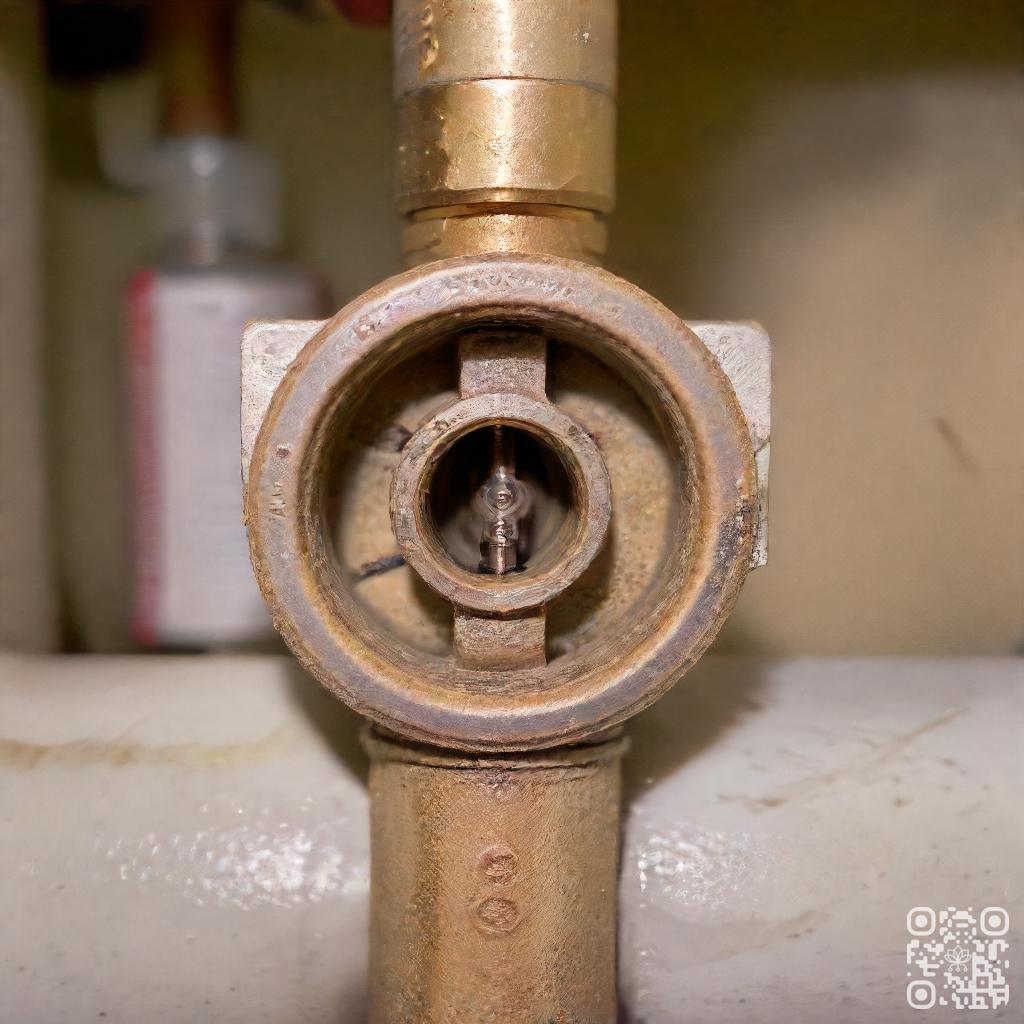
| Temperature and Pressure Relief (TPR) Valve | This valve is designed to release excess pressure and prevent the water heater from exploding. It opens automatically when the temperature or pressure exceeds safe limits. |
| Thermostat Valve | The thermostat valve controls the temperature of the water in the tank. It turns the heating element on and off to maintain the desired temperature. |
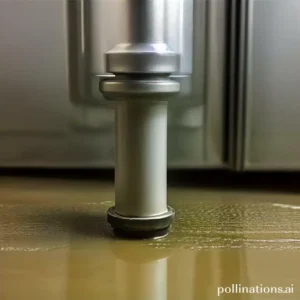
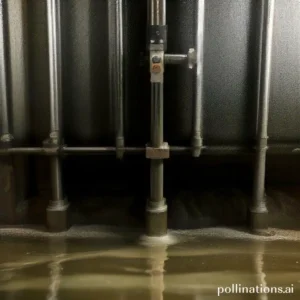
| Drain Valve | This valve is used to drain the water heater for maintenance or repairs. It is typically located at the bottom of the tank. |
2. How Valves Work in Water Heaters
Valves in water heaters operate based on specific mechanisms to ensure efficient and safe operation:
- TPR Valve: When the temperature or pressure exceeds safe limits, the TPR valve opens, allowing hot water to escape and relieving the excess pressure.
- Thermostat Valve: The thermostat valve senses the water temperature and activates the heating element when the temperature drops below the set level. Once the desired temperature is reached, it shuts off the heating element.
- Drain Valve: By attaching a hose to the drain valve and opening it, you can drain the water from the tank for maintenance or repairs.
3. Importance of Valve Maintenance
Maintaining water heater valves is crucial for the longevity and efficiency of your water heater. Regular maintenance helps prevent issues such as leaks, overheating, and inefficient heating. Here are a few maintenance tips:
- Check for Leaks: Inspect the valves regularly for any signs of leakage. If you notice any leaks, it’s essential to have them repaired promptly.
- Test TPR Valve: Test the TPR valve annually by lifting the lever to ensure it opens and closes properly. If it fails to function correctly, contact a professional for repairs.
- Flush the Tank: Periodically flush the tank to remove sediment buildup, which can affect the performance of the valves.
Sediment Buildup in Water Heaters
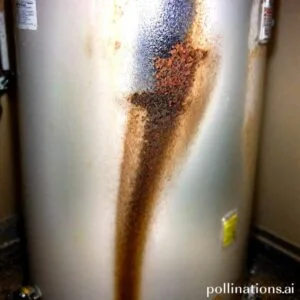
Water heaters are a crucial component of our daily lives, providing hot water for various household tasks. Although, over time, sediment buildup can occur in these appliances, leading to a range of issues. In this section, we will traverse the causes of sediment buildup, signs to look out for, and the negative effects it can have on water heater valves.
Causes of Sediment Buildup
One of the primary causes of sediment buildup in water heaters is the presence of minerals, such as calcium and magnesium, in the water supply. These minerals can accumulate over time, especially in areas with hard water. Additionally, the temperature of the water can play a role, as higher temperatures can cause minerals to precipitate and settle at the bottom of the tank.
Signs of Sediment Buildup in Water Heaters
It is essential to be aware of the signs that indicate sediment buildup in your water heater. One common sign is a decrease in water temperature or a reduced hot water supply. This occurs because the sediment acts as an insulating layer, preventing efficient heat transfer. Another indicator is a rumbling or popping noise coming from the water heater, which occurs when the sediment is being heated and agitated.
Negative Effects of Sediment Buildup on Water Heater Valves
Sediment buildup can have detrimental effects on the valves of your water heater. One major issue is the restriction of water flow, causing decreased water pressure throughout your home. Additionally, sediment can lead to corrosion and deterioration of the valves, reducing their lifespan and potentially causing leaks. Regular maintenance and flushing of the water heater can help prevent these negative effects.
Prevention of Sediment Buildup
One of the key maintenance tasks for a water heater is to prevent sediment buildup. Sediment can accumulate over time and cause various issues, including reduced efficiency and potential damage to the heater. Here are some effective methods to prevent sediment buildup:
1. Regular Flushing of Water Heater
Regular flushing of the water heater is an essential step in preventing sediment buildup. Flushing involves draining the tank to remove any accumulated sediment. This process should be done at least once a year to maintain the optimal performance of the water heater.
2. Installation of a Sediment Filter
An effective way to prevent sediment from entering the water heater is to install a sediment filter. This filter acts as a barrier, capturing sediments before they reach the tank. It helps to prolong the lifespan of the water heater and ensures clean, sediment-free water throughout your home.
3. Use of a Water Softener
In areas with hard water, the use of a water softener can help prevent sediment buildup. Hard water contains high levels of minerals that can contribute to sediment formation. A water softener removes these minerals, reducing the chances of sediment accumulation and improving the overall efficiency of the water heater.
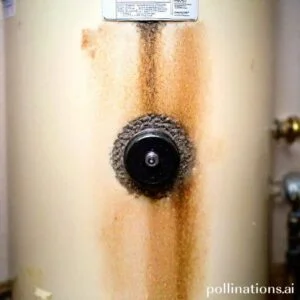
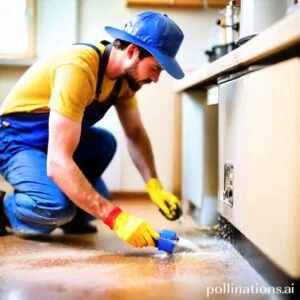
Cleaning Water Heater Valves
Touching on maintaining your water heater, cleaning the valves is an essential step to ensure its optimal performance. In this article, we will guide you through the necessary steps and tools needed for valve cleaning, as well as highlight the importance of professional valve cleaning.
1. Steps to clean water heater valves
To clean your water heater valves effectively, follow these simple steps:
- Turn off the power supply: Before starting the cleaning process, make sure to turn off the power supply to the water heater to avoid any accidents.
- Shut off the water supply: Locate the shut-off valve near the water heater and close it to stop the water flow.
- Drain the water heater: Attach a hose to the drain valve of the water heater and let the water flow out into a suitable drainage area.
- Remove the valve assembly: Once the water heater is drained, carefully remove the valve assembly using the appropriate tools.
- Clean the valves: Thoroughly clean the valves using a brush and a mild cleaning solution to remove any sediment or buildup.
- Inspect and reassemble: After cleaning, inspect the valves for any damages or wear. If necessary, replace any faulty components and reassemble the valve assembly.
- Restore power and water supply: Once the valves are cleaned and reassembled, turn on the power supply and open the water supply valve to restore the functionality of your water heater.
2. Tools needed for valve cleaning
Proper valve cleaning requires the following tools:
- Adjustable wrench
- Screwdriver set
- Soft brush
- Mild cleaning solution
- Hose for draining
3. Importance of professional valve cleaning
At the same time cleaning the water heater valves yourself can be a DIY task, it is essential to consider professional valve cleaning services for optimal results. Professional cleaners have the expertise and specialized equipment to thoroughly clean the valves, ensuring maximum efficiency and longevity of your water heater. Additionally, professional cleaning can help identify and address any underlying issues that may affect the performance of your water heater, preventing potential damage or breakdowns in the future.
| Valve Cleaning Benefits | Professional Cleaning |
|---|---|
| Enhanced efficiency | ✔ |
| Extended lifespan | ✔ |
| Prevention of damage | ✔ |
| Expert knowledge | ✔ |
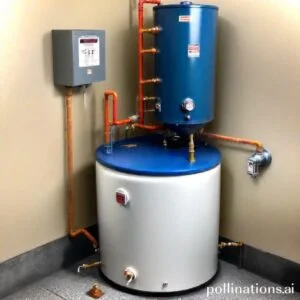
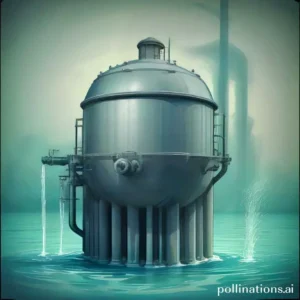
Replacing Water Heater Valves
In the realm of maintaining your water heater, one important aspect to consider is the condition of the valves. Over time, valves can wear out or become faulty, leading to leaks, reduced efficiency, and potential damage to your water heater. In this section, we will investigate the signs that indicate valves need replacement, the steps involved in replacing water heater valves, and the importance of seeking professional assistance for valve replacement.
Signs that valves need replacement
Recognizing the signs that your water heater valves need replacement is crucial in preventing further issues. Some common indicators include:
- Leakage: If you notice any water leaking from the valves, it is a clear sign that they need to be replaced. Ignoring it can result in water damage and higher utility bills.
- Inconsistent temperature: Are you experiencing inconsistent hot water temperatures? Faulty valves can cause this problem, as they may not be properly regulating the flow of hot water.
- Noise: Unusual sounds, such as rattling or banging, coming from your water heater could be a sign of malfunctioning valves. This requires immediate attention to avoid potential damage.
Steps to replace water heater valves
Whilst replacing water heater valves may seem like a daunting task, following these steps can help you do it effectively:
- Shut off the power and water supply: Before starting any work, turn off the power supply to the water heater and close the water supply valve.
- Drain the water: Connect a hose to the drain valve and empty the water heater, ensuring there is no water left inside.
- Remove the old valves: Use a wrench to disconnect the old valves from the water heater. Be careful not to damage any surrounding pipes or fittings.
- Install the new valves: Apply plumber’s tape to the threads of the new valves and securely attach them to the water heater.
- Turn on the water supply: Once the new valves are in place, turn on the water supply and check for any leaks. Make sure there are no signs of leakage before proceeding.
- Turn on the power: Finally, restore power to the water heater and test the hot water flow to ensure everything is working properly.
Importance of professional valve replacement
During it may be tempting to replace water heater valves on your own, seeking professional assistance is highly recommended. Professional plumbers have the necessary expertise and tools to ensure a safe and efficient valve replacement process. They can also inspect the water heater for any other potential issues and provide valuable advice on maintenance and future prevention.
Bottom Line
Relating to water heater valve functionality, sediment can have a significant impact. Sediment buildup can cause the valve to malfunction, leading to potential safety hazards and costly repairs. Regular maintenance and flushing of the water heater can help prevent sediment buildup and ensure proper valve function. It’s important to also consider the quality of the water in your area and invest in a water softener or filtration system if necessary. By taking these steps, you can prolong the life of your water heater and ensure safe and efficient operation.
Ignoring sediment buildup in your water heater can lead to serious consequences. Don’t wait until it’s too late to address the issue. Take proactive measures to maintain your water heater and protect your home and family. Remember, prevention is always better than cure.
Read More:
1. Sediment Removal For Apartment Complex Water Heaters
2. Sediment Impact On Water Heater Gas Combustion Efficiency