Sediment buildup can lead to decreased efficiency and even damage to your appliance. In this article, we will ponder techniques such as flushing the tank and using a descaling agent to ensure clean and efficient operation.
By implementing these strategies, you can prolong the lifespan of your water heater and enjoy reliable hot water supply.
Turn off the Power and Water Supply
Touching on turning off the power and water supply, vital to take the necessary precautions to ensure safety. By conforming to these steps, you can effectively shut off the power and water supply to your water heater:
1. Shut off the power supply to the water heater
To begin, locate the circuit breaker that controls the power supply to your water heater. It is typically labeled and can be found in your electrical panel. Flip the switch to the “off” position to cut off the power.
It is crucial to shut off the power supply before proceeding to the next step to avoid any electrical mishaps.
2. Turn off the cold water supply valve
Locate the cold water supply valve connected to your water heater. This valve controls the flow of water into the heater. Turn it clockwise to shut off the water supply.
| Step | Description |
|---|---|
| 1 | Shut off the power supply to the water heater |
| 2 | Turn off the cold water supply valve |
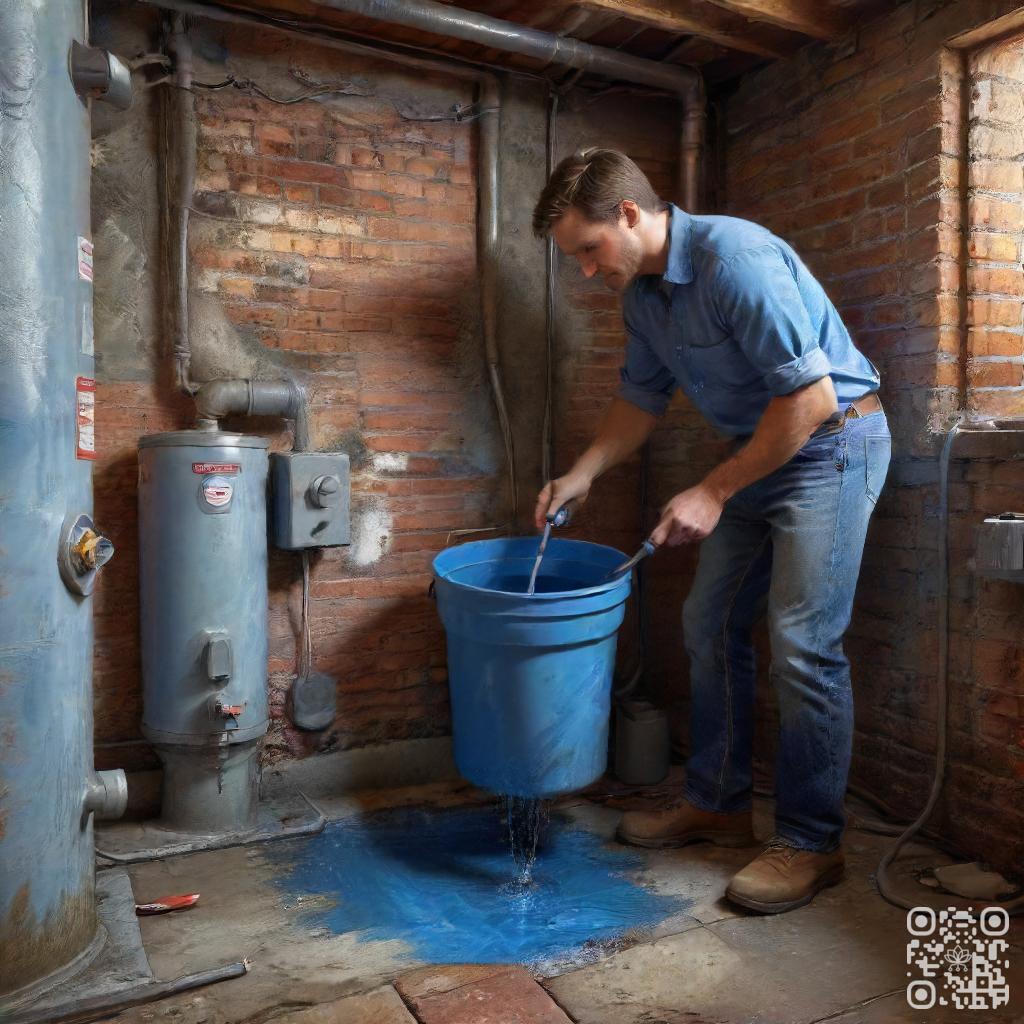
Drain the Tank
Draining the tank of your article outline is an essential maintenance task that ensures the longevity and efficiency of your tank. Follow these steps to effectively drain the tank:
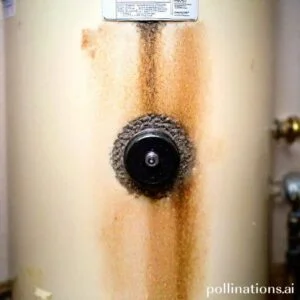
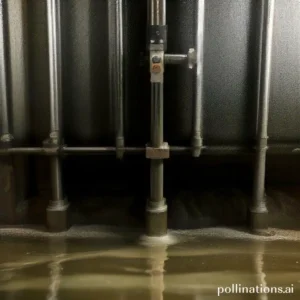
1. Connect a hose to the drain valve at the bottom of the tank
To begin the draining process, locate the drain valve at the bottom of the tank. Attach a hose securely to the valve, ensuring a tight connection to prevent any leaks.
2. Open the valve and drain the tank completely
Once the hose is properly attached, open the drain valve to allow the water to flow out of the tank. Be prepared for a steady stream of water as the tank empties. Allow the tank to drain completely to ensure all water is removed.
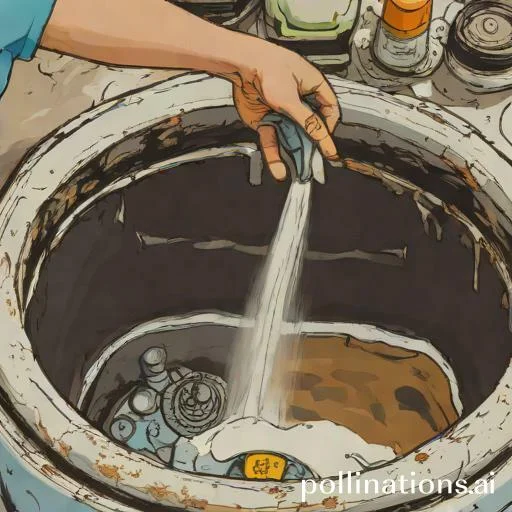
3. Flush the tank with clean water to remove any remaining sediment
After the tank has been drained, vital to flush it with clean water to remove any remaining sediment. Sediment buildup can affect the performance of your tank, so this step is crucial. Use a hose or bucket to fill the tank with clean water and then drain it again to ensure all sediment is removed.
Remove the Heating Element(s)
In terms of maintaining your water heater, one important step is to remove the heating element(s) from the unit. Hence, you can ensure that they are in good condition and functioning properly. Here is a step-by-step guide on how to remove the heating element(s) from your water heater:
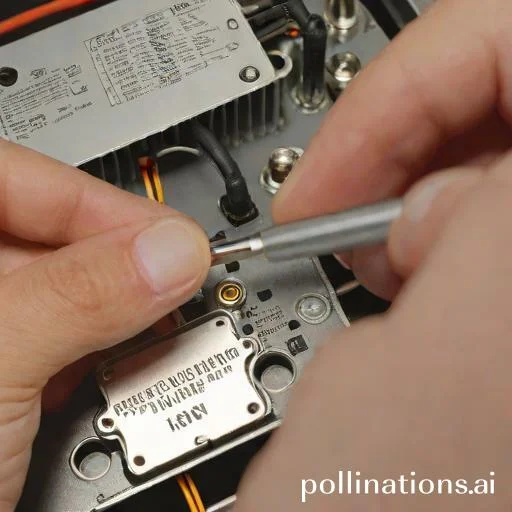
1. Carefully Remove the Heating Element(s)
To begin, make sure to turn off the power supply to the water heater. This will help prevent any accidents or electrical shocks. Once the power is off, locate the heating element(s) on the unit. Depending on the type of water heater you have, there may be one or two heating elements. Use a wrench or pliers to carefully unscrew the element(s) from the unit. Take your time and be gentle to avoid any damage.
2. Inspect for Damage or Corrosion
After removing the heating element(s), take a close look at them for any signs of damage or corrosion. Check for any cracks, breaks, or discoloration. These could indicate that the element(s) need to be replaced. Additionally, look for any signs of corrosion, such as rust or buildup. If you notice any issues, it’s best to replace the element(s) to ensure optimal performance.
3. Thoroughly Clean the Elements
Before reinstalling the heating element(s), it’s important to clean them thoroughly. Use a soft brush or cloth to remove any dirt, debris, or sediment that may have accumulated. Pay special attention to the area around the terminals and the surface of the element(s). Cleaning the elements will help improve their efficiency and extend their lifespan.
Cleaning the Tank: Ensuring Optimal Performance
Regularly cleaning the tank of your device is crucial to maintain its longevity and maximize its performance. Follow these simple steps to effectively clean the tank:
1. Scrubbing the Tank
Start by using a brush or a cloth to scrub the inside of the tank. This will help remove any residue or build-up that may have accumulated over time. Make sure to reach all corners and edges of the tank to ensure a thorough cleaning.
2. Removing Sediment and Debris
Pivotal to remove any remaining sediment or debris from the tank. This can be done by carefully inspecting the tank and using a tool, such as tweezers or a small scoop, to remove any particles. Take your time to ensure that the tank is completely free from any foreign objects.
3. Rinsing with Clean Water
Once you have scrubbed and removed any sediment or debris, rinse the tank with clean water. This will help remove any remaining dirt or cleaning solution. Make sure to rinse thoroughly to eliminate any residue that may affect the taste or quality of your device.
| Benefits of Cleaning the Tank: |
|---|
| 1. Enhanced Flavor: A clean tank ensures that you enjoy the true flavors of your e-liquids without any residue affecting the taste. |
| 2. Longevity: Regular cleaning helps prevent clogging and prolongs the lifespan of your device. |
| 3. Improved Performance: A clean tank allows for smooth and consistent vapor production, resulting in a better vaping experience. |
Reassemble the Water Heater
In terms of reassembling your water heater, there are a few key steps to follow to ensure everything is done correctly. By carefully following these instructions, you’ll have your water heater up and running in no time.
1. Reinstall the Heating Elements
If your water heater has heating elements, you’ll need to reinstall them during the reassembly process. Make sure to carefully align them and tighten any necessary connections. This step is crucial for the proper functioning of your water heater.
2. Close the Drain Valve and Remove the Hose
Before proceeding with the reassembly, ensure that the drain valve is closed securely. This will prevent any water from leaking out during the process. Additionally, remove any hoses that were used for draining the water heater.
3. Turn on the Cold Water Supply Valve
Next, it’s time to turn on the cold water supply valve. This will allow water to flow back into the water heater. Ensure that the valve is fully open to allow for proper water flow and pressure.
4. Turn on the Power Supply to the Water Heater
The final step in reassembling your water heater is to turn on the power supply. This will provide the necessary electricity for the heating elements to function and heat the water. Make sure to follow any specific instructions provided by the manufacturer for turning on the power.
| Step | Description |
|---|---|
| 1 | Reinstall the heating elements (if applicable) |
| 2 | Close the drain valve and remove the hose |
| 3 | Turn on the cold water supply valve |
| 4 | Turn on the power supply to the water heater |
Bottom Line
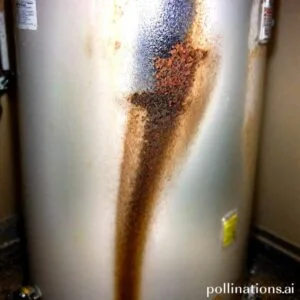
Removing sediment from your water heater is crucial to ensure its longevity and efficiency. Neglecting this task can lead to costly repairs or even replacement of the entire unit. Regular flushing of the tank can help prevent sediment buildup and prolong the life of your water heater. It is recommended to flush the tank at least once a year, but more frequent flushing may be necessary depending on the hardness of your water. If you are unsure about how to flush your water heater, it is best to consult a professional plumber. By taking the necessary steps to remove sediment from your water heater, you can enjoy hot water for years to come.
Read More:
1. What Problems Does Sediment Cause In Water Heaters?
2. How Often Should I Flush My Water Heater To Remove Sediment?