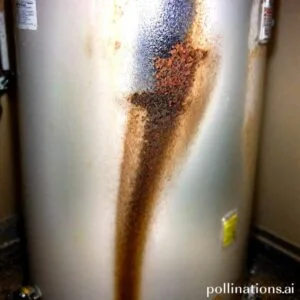
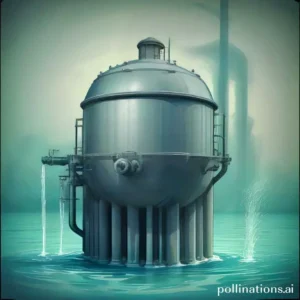
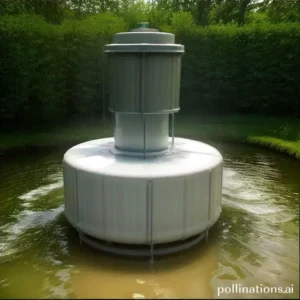
II. Sediment buildup in the tank can reduce efficiency and lead to expensive repairs or replacement.
III. Homeowners can save money by performing their own sediment removal using simple tools and techniques.
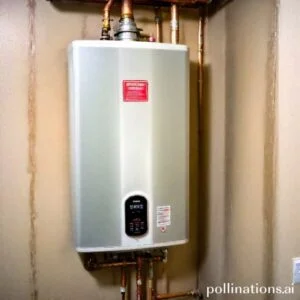
In this article, we will discuss a DIY method for removing sediment from electric water heaters. Sediment buildup can reduce the efficiency of your water heater and lead to potential damage over time.
We will provide step-by-step instructions on how to safely and effectively remove sediment from your electric water heater, using common household tools. By maintaining these instructions, you can improve the performance and prolong the lifespan of your water heater, saving you money and ensuring you always have hot water when you need it.
Materials Needed for DIY Sediment Removal
Safety Gear
As for sediment removal, safety should always be a top priority. To protect yourself from potential hazards, make sure to gather the necessary safety gear before starting the process. This includes:
- Protective gloves: These will shield your hands from any harmful chemicals or sharp objects that may be present during the cleaning process.
- Goggles: Eye protection is crucial to prevent any debris or cleaning agents from getting into your eyes. Choose goggles that fit securely and provide a clear field of vision.
- Dust mask: Depending on the type of sediment you are dealing with, a dust mask can help filter out any particles that may be harmful when inhaled.
Tools Required
To effectively remove sediment, you will need a few essential tools. These tools will aid in the process and ensure efficient cleaning. Here are the tools you should have on hand:
- Bucket: A sturdy bucket will come in handy for collecting sediment and transporting it to a suitable disposal area.
- Handheld shovel: Use a shovel to scoop out larger amounts of sediment, especially in areas where manual removal is required.
- Brush or scrubber: A brush or scrubber will help you remove sediment from surfaces or objects that cannot be easily scooped or vacuumed.
- Vacuum cleaner with attachments: A vacuum cleaner with appropriate attachments can be extremely useful in removing fine sediment particles from carpets, upholstery, or hard-to-reach areas.
Cleaning Agents
To effectively tackle sediment removal, you will need suitable cleaning agents that can break down and remove the sediment. Here are some options:
- All-purpose cleaner: An all-purpose cleaner is a versatile option that can be used on various surfaces and materials to remove sediment.
- Enzyme-based cleaner: Enzyme-based cleaners are particularly effective for breaking down organic sediment, such as food or biological matter.
- Chemical solvents: Depending on the type of sediment, you may need specific chemical solvents or stain removers to dissolve and eliminate stubborn deposits.
Remember to carefully follow the instructions provided by the manufacturers of both the cleaning agents and the tools to ensure safe and effective sediment removal. Regular maintenance and proper cleaning techniques can help prevent sediment buildup and maintain a clean and healthy environment.
| Materials Needed | Quantity |
|---|---|
| Safety gear | 1 set |
| Tools required | Depends on specific needs |
| Cleaning agents | As per requirement |
Step-by-Step Guide for DIY Sediment Removal
Removing sediment from your water heater is an essential maintenance task that ensures its optimal performance and longevity. Follow this step-by-step guide to effectively remove sediment from your water heater:
1. Turning off the power supply
The first step in the sediment removal process is to turn off the power supply to your water heater. This ensures your safety during the procedure and prevents any potential accidents.
2. Draining the water heater tank
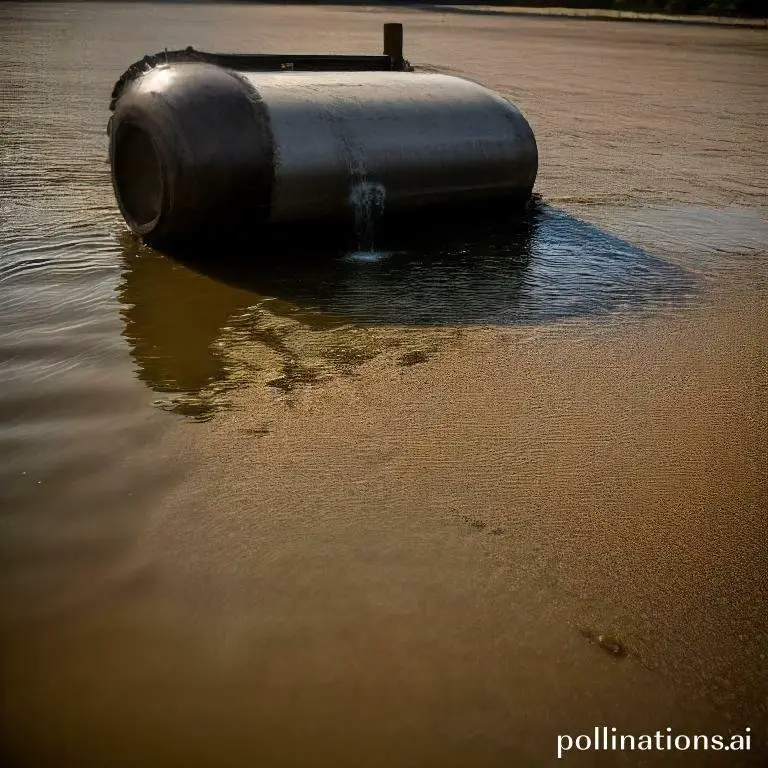
Next, you need to drain the water heater tank. Locate the drain valve at the bottom of the tank and attach a hose to it. Open the valve and allow the water to flow out of the tank. Be cautious as the water may be hot.
3. Flushing out the sediment using a hose
Once the tank is fully drained, it’s time to flush out the sediment. Attach a hose to a nearby faucet and connect the other end to the drain valve on the water heater. Turn on the faucet and let the water flow through the tank, flushing out any remaining sediment.
4. Refilling the tank and turning the power supply back on
After the sediment has been flushed out, close the drain valve and disconnect the hose. Turn on a hot water faucet in your home to allow air to escape from the tank. Once the tank is filled, turn the power supply back on.
5. Testing the water heater
Finally, test the water heater to ensure it’s functioning properly. Let it heat the water for some time and check if the water is reaching the desired temperature. If everything is working as expected, you have successfully removed sediment from your water heater.
Regular sediment removal is crucial for maintaining the efficiency of your water heater. By embracing this step-by-step guide, you can effectively remove sediment and ensure the optimal performance of your water heater.
Tips and Precautions for DIY Sediment Removal
1. Importance of following manufacturer’s instructions
As for DIY sediment removal, it is crucial to carefully read and follow the manufacturer’s instructions. These instructions provide valuable guidance on the proper techniques and tools to use, ensuring effective and safe sediment removal.
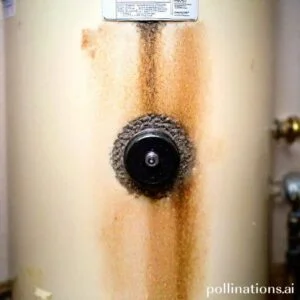
2. Checking the anode rod for corrosion
The anode rod plays a vital role in preventing corrosion within your water heater. As part of your sediment removal process, it is essential to inspect the anode rod for any signs of corrosion. If corrosion is present, it is recommended to replace the anode rod to maintain the longevity and efficiency of your water heater.
3. Avoiding contact with hot water and steam
During the sediment removal process, indispensable to exercise caution and avoid direct contact with hot water and steam. These can cause burns and other injuries. It is advisable to wear protective gloves and clothing to minimize the risk of accidents and ensure personal safety.
4. Proper disposal of sediment and cleaning agents
After removing sediment from your water heater, it is crucial to dispose of it properly. Sediment can contain harmful substances, so it should be disposed of in accordance with local regulations. Additionally, any cleaning agents used during the process should be handled and disposed of responsibly, following the manufacturer’s instructions.

Benefits of DIY Sediment Removal
Sediment buildup in your water heater can have negative effects on its performance and longevity. By regularly removing sediment, you can enjoy several benefits:
Improved energy efficiency
When sediment accumulates in your water heater, it acts as an insulator, making it harder for the heat to transfer effectively. This means that your water heater needs to work harder and use more energy to heat the water to the desired temperature. By removing the sediment, you can improve the energy efficiency of your water heater and potentially reduce your energy bills.
Extended lifespan of the water heater
Sediment buildup can cause your water heater to deteriorate over time. The sediment can corrode the tank and other components, leading to leaks and other issues. Regularly removing sediment can help extend the lifespan of your water heater, saving you money on costly repairs or replacements.
Better quality of hot water
As sediment accumulates in your water heater, it can affect the quality of the hot water that comes out of your taps. Sediment can give the water an unpleasant taste or odor and may also cause it to appear cloudy or discolored. By removing the sediment, you can enjoy better quality hot water that is clear, odor-free, and safe to use.
With the numerous benefits of DIY sediment removal, indispensable to make it a regular part of your water heater maintenance routine. By taking the time to remove sediment, you can improve energy efficiency, extend the lifespan of your water heater, and enjoy better quality hot water.
| Benefit | Description |
|---|---|
| Improved energy efficiency | Removing sediment improves the transfer of heat, leading to lower energy consumption. |
| Extended lifespan of the water heater | Regular sediment removal prevents corrosion and damage, increasing the lifespan of your water heater. |
| Better quality of hot water | Sediment removal ensures clear, odor-free, and safe hot water. |
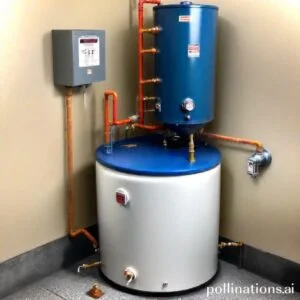
When to Call a Professional
If you own a water heater, it’s important to know when it’s time to call a professional for assistance. Ignoring potential issues can lead to costly repairs or even the need for a replacement. Here are some signs that indicate it’s time to seek professional help:
1. Signs of severe sediment buildup
One common issue with water heaters is the buildup of sediment at the bottom of the tank. Over time, minerals and debris can accumulate, affecting the efficiency and performance of the heater. If you notice a significant amount of sediment or debris in your water, it’s a clear sign that you need to call a professional. They have the knowledge and tools to properly clean and flush the tank, ensuring optimal performance.
2. Age of the water heater
Another factor to consider is the age of your water heater. Most heaters have a lifespan of around 8-12 years. If your heater is approaching or exceeding this range, it’s wise to have a professional inspect it. Older heaters are more prone to leaks, inefficiency, and other issues. An expert can assess the condition of your heater and advise you on whether it’s time for a replacement or if repairs can extend its lifespan.
3. Inability to perform DIY maintenance
At the same time some basic maintenance tasks can be done by homeowners, there are certain tasks that require professional expertise. If you lack the necessary knowledge or tools to perform maintenance on your water heater, it’s best to leave it to the professionals. They can safely handle tasks like adjusting the temperature and pressure relief valve, inspecting the anode rod, and checking for gas leaks. Hiring a professional ensures that these crucial maintenance tasks are done correctly and reduces the risk of accidents or further damage.
Bottom Line
DIY sediment removal for electric water heaters is a simple and cost-effective way to maintain the efficiency and longevity of your appliance. Regular flushing of the tank can prevent sediment buildup, which can lead to reduced heating capacity, increased energy consumption, and even premature failure of the heater. With the right tools and techniques, you can easily remove sediment from your electric water heater without the need for professional help. Albeit, essential to follow safety precautions and manufacturer’s instructions to avoid any damage or injury. By taking care of your electric water heater, you can ensure a steady supply of hot water and save money on energy bills in the long run.
In conclusion, DIY sediment removal is a smart investment for homeowners who want to extend the life of their electric water heater and avoid costly repairs or replacements. By performing this simple maintenance task on a regular basis, you can keep your appliance running smoothly and efficiently for years to come.
Read More:
1. Sediment Impact On Water Heater Anode Rod
2. Sediment Removal In Indirect Water Heaters