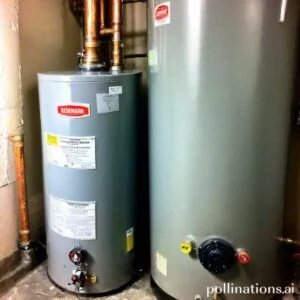
II. To replace a leaking water heater, turn off the power and water supply, drain the tank, disconnect the plumbing and electrical connections, and remove the old unit.
III. When installing the new water heater, ensure that it is level, properly connected to the plumbing and electrical supply, and that all fittings are tight to prevent future leaks.
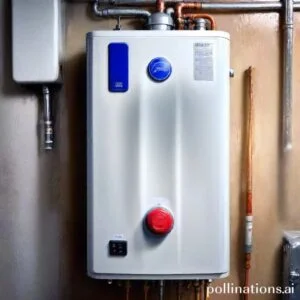
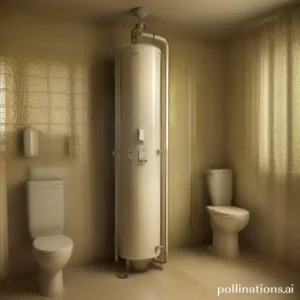
Is your water heater causing you headaches with leaks? Say goodbye to the hassle with our professional water heater replacement services.
Our experienced technicians will ensure a seamless installation, providing you with a reliable and efficient water heating system. Don’t let a leaking water heater disrupt your daily routine any longer.
Trust us to handle your water heater replacement needs and enjoy a leak-free home.
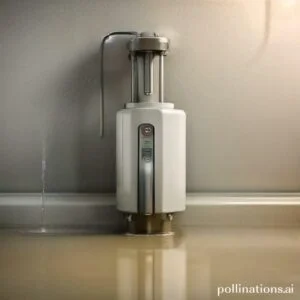
Signs of a Leaking Water Heater
A leaking water heater can cause various problems and should be addressed promptly to avoid further damage. Here are some signs that indicate a potential leak in your water heater:
1. Water Puddles around the Water Heater
If you notice water puddles forming around your water heater, it is a clear indication of a leak. This could be due to a faulty valve, loose connections, or a crack in the tank. Ignoring this issue can lead to water damage and potential flooding in your home.
2. Unusual Noises Coming from the Water Heater
If you hear unusual noises such as popping, banging, or hissing sounds coming from your water heater, it could be a sign of a leak. These noises are typically caused by the buildup of sediment or mineral deposits in the tank, which can result in cracks and leaks over time.
3. Decreased Hot Water Supply
A sudden decrease in the amount of hot water available can indicate a leak in your water heater. Leaks can disrupt the proper functioning of the heating element or cause water to escape before it reaches your faucets and showerheads. If you consistently experience a shortage of hot water, it’s essential to have your water heater inspected.
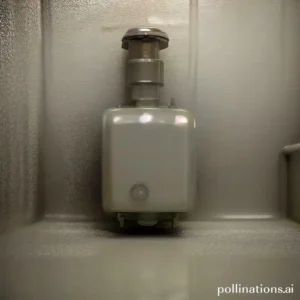
4. Visible Rust or Corrosion on the Water Heater
Visible rust or corrosion on the exterior of your water heater is a telltale sign of a leak. Rust can weaken the tank, leading to cracks and leaks. It’s crucial to address this issue promptly to prevent further deterioration and potential water damage.
5. Increased Water Bills
An unexplained increase in your water bills can indicate a hidden leak in your water heater. Even small leaks can cause a significant amount of water to be wasted over time, resulting in higher water bills. If you notice a sudden spike in your water expenses, it’s advisable to have your water heater checked for leaks.
It’s important to remember that a leaking water heater can lead to significant damage if left unaddressed. If you observe any of these signs, it’s best to contact a professional plumber to inspect and repair your water heater. Taking prompt action can help prevent further damage and ensure the efficient and safe operation of your water heating system.
| Signs of a Leaking Water Heater |
|---|
| 1. Water puddles around the water heater |
| 2. Unusual noises coming from the water heater |
| 3. Decreased hot water supply |
| 4. Visible rust or corrosion on the water heater |
| 5. Increased water bills |
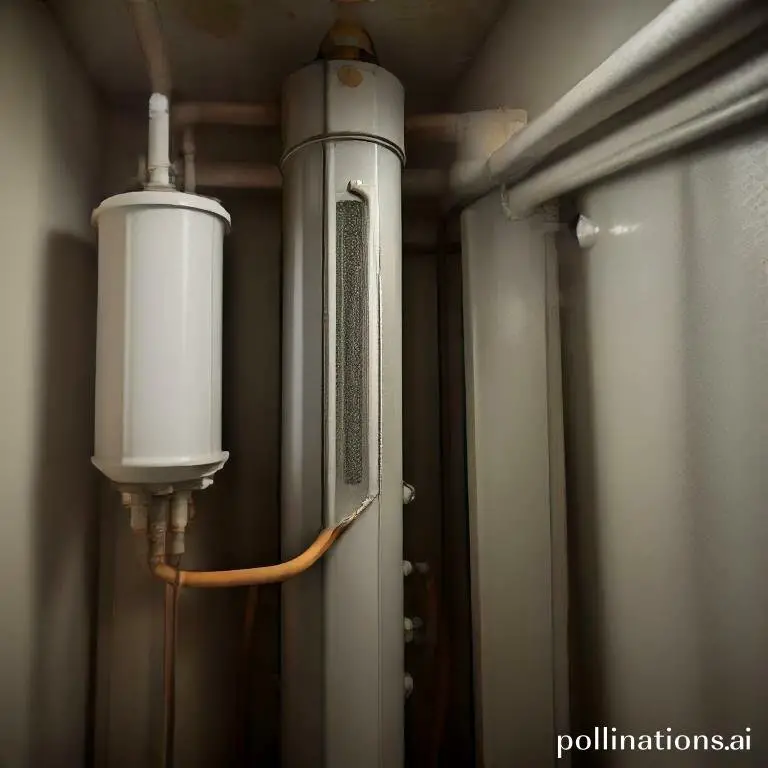
Causes of a Leaking Water Heater
A leaking water heater can be a frustrating and inconvenient problem to deal with. Absorbing the possible causes of a leak can help you identify and address the issue promptly. Here are the main factors that can lead to a leaking water heater:
1. Age of the water heater
One common cause of a leaking water heater is its age. Over time, the tank can deteriorate, leading to cracks or weakened areas where water can escape. If your water heater is more than 10 years old, age could be a contributing factor to the leak.
2. Sediment buildup in the tank
Another potential cause of a leaking water heater is sediment buildup in the tank. Over time, minerals and debris can accumulate at the bottom of the tank, forming a layer of sediment. This sediment can corrode the tank and create small holes or cracks, resulting in leaks.
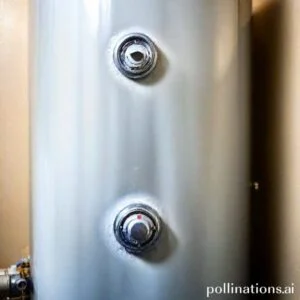
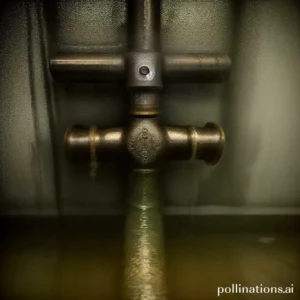
3. Loose or damaged drain valve
A loose or damaged drain valve can also cause water heater leaks. The drain valve is responsible for releasing excess pressure and sediment from the tank. If the valve is loose or damaged, it may not close properly, leading to water leakage.
4. Corrosion or rust in the tank
Corrosion or rust in the tank is another potential cause of a leaking water heater. Over time, exposure to water and minerals can cause the tank to corrode, creating weak spots that can eventually result in leaks. Regular maintenance and inspections can help prevent or detect corrosion early on.
5. High water pressure
High water pressure can put excessive stress on the water heater, leading to leaks. If the pressure inside the tank exceeds the recommended levels, it can cause the tank to crack or develop leaks. Installing a pressure regulator can help control the water pressure and prevent potential damage to the water heater.
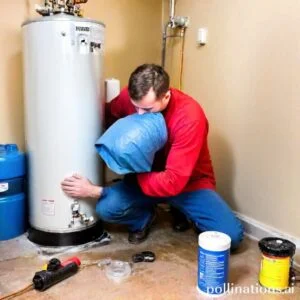
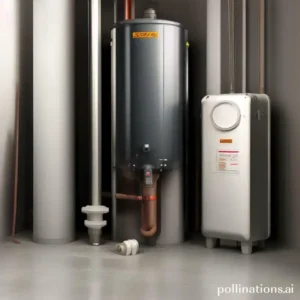
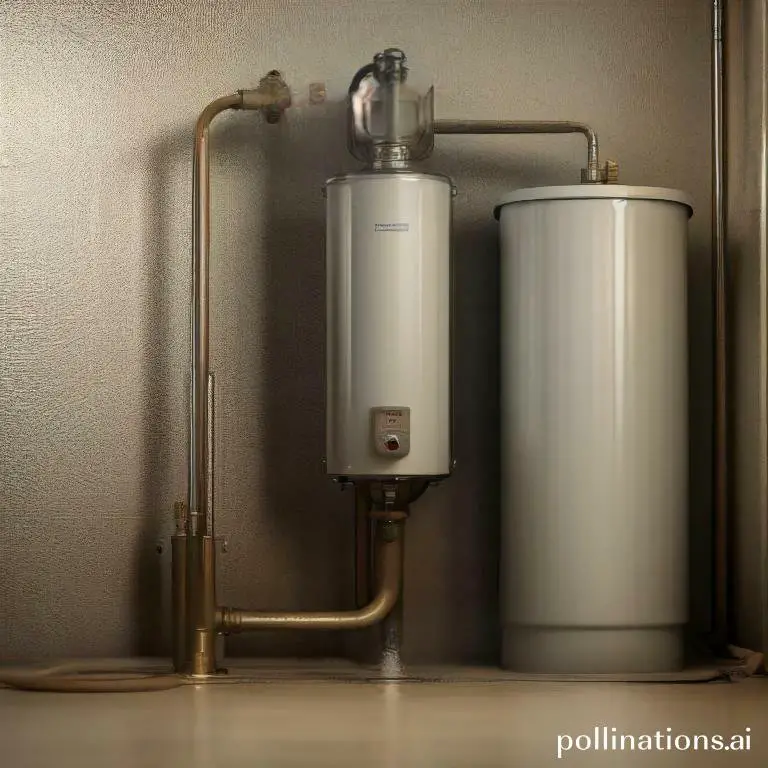
Steps to Replace a Leaking Water Heater
Replacing a leaking water heater is an important task that should be done carefully and efficiently. Follow these steps to ensure a smooth and successful replacement:
1. Turn off the power and water supply
Before starting any work, it is crucial to turn off the power supply to the water heater. This will prevent any accidents or electrical mishaps. Additionally, make sure to shut off the water supply to the heater to avoid any further leaks or damage.
2. Drain the tank
Next, you need to drain the tank of the old water heater. Attach a hose to the drain valve and direct it to a suitable drain or outside. Open the valve and let the water drain completely, ensuring that there is no residual water left in the tank.
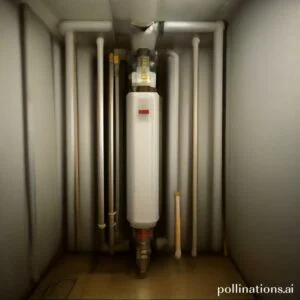
3. Disconnect the water and gas lines
Once the tank is drained, carefully disconnect the water and gas lines connected to the water heater. Use appropriate tools to loosen and remove any fittings or connections. Take note of the connections for easier reinstallation later.
4. Remove the old water heater
Now it’s time to remove the old water heater. This may require some physical strength, so it’s advisable to have someone assist you. Carefully lift the water heater and remove it from its current location. Dispose of the old unit responsibly.
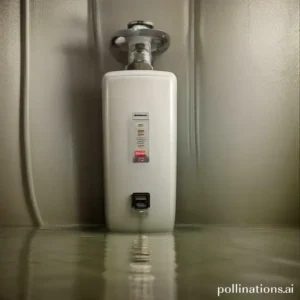
5. Install the new water heater
Position the new water heater in the desired location. Ensure that it is level and stable. Follow the manufacturer’s instructions for proper installation. Make sure all connections are secure and tight.
6. Connect the water and gas lines
Reconnect the water and gas lines to the new water heater. Use the notes you made during disconnection to guide you. Double-check that all connections are properly tightened and sealed to prevent any leaks.
7. Turn on the power and water supply
Once all connections are in place, it’s time to turn on the power and water supply. Restore the power to the water heater and open the water supply valve. Check for any leaks or issues, and if everything is in order, you can now enjoy your newly replaced water heater.
DIY vs. Professional Replacement
1. Pros and cons of DIY replacement
Undertaking a DIY replacement for your ice cream shop can have its advantages and disadvantages. One of the main benefits is cost savings, as you won’t have to hire a professional to do the job. That being said, it’s important to note that without the expertise and experience of a professional, there is a risk of improper installation or damage to your equipment. Additionally, DIY replacements may take longer to complete, potentially causing disruptions to your business operations.
2. Pros and cons of professional replacement
Opting for a professional replacement for your ice cream shop comes with its own set of advantages and disadvantages. One of the main benefits is the assurance of quality workmanship and expertise. Professionals have the necessary knowledge and skills to efficiently replace your equipment, minimizing any downtime for your business. That being said, it’s important to consider the cost of hiring a professional, which may be higher compared to a DIY replacement.
3. Factors to consider when deciding between DIY and professional replacement
When making a decision between DIY and professional replacement for your ice cream shop, there are several factors to consider. To begin with, assess your own skills and experience in handling equipment replacements. If you have the necessary knowledge and confidence, a DIY replacement may be a viable option. Although, if you lack expertise or are unsure of the process, it’s advisable to hire a professional to ensure the job is done correctly.
Another important factor to consider is the urgency of the replacement. If your ice cream shop heavily relies on the equipment that needs replacing, a professional’s efficiency may be crucial in minimizing any disruptions to your business. Whilst, if time is not a constraint and you have the luxury of taking it slow, a DIY replacement could be a more cost-effective solution.
Ultimately, the decision between DIY and professional replacement depends on your specific circumstances, budget, and comfort level with handling equipment replacements. It’s essential to weigh the pros and cons carefully to make an informed choice that best suits the needs of your ice cream shop.
| DIY Replacement | Professional Replacement |
|---|---|
| Pros: | Pros: |
| – Cost savings | – Assurance of quality workmanship |
| Cons: | Cons: |
| – Risk of improper installation or damage | – Higher cost |

Tips for Maintaining a Water Heater
Regularly flush the tank to remove sediment buildup
Sediment buildup can significantly affect the performance and efficiency of your water heater. To ensure optimal functionality, it is crucial to regularly flush the tank and remove any accumulated sediment. This can be done by obeying a few simple steps:
- Turn off the power supply to the water heater.
- Attach a hose to the drain valve located at the bottom of the tank.
- Place the other end of the hose in a suitable drainage area or bucket.
- Open the drain valve and allow the water to flow out, carrying away any sediment.
- Once the tank is empty, close the drain valve and remove the hose.
- Turn on the power supply and let the tank refill with fresh water.
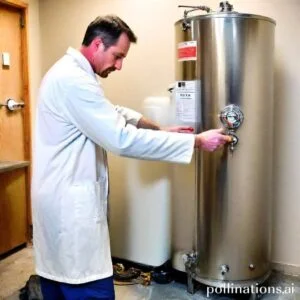
Inspect and replace the anode rod as needed
The anode rod plays a crucial role in protecting the water heater from corrosion. Over time, this rod can deteriorate and become less effective. Regular inspection and replacement of the anode rod are essential to prolong the lifespan of your water heater. Here’s how you can do it:
- Turn off the power supply and water inlet valve.
- Locate the anode rod, which is usually located on the top of the tank.
- Use a wrench to loosen and remove the anode rod.
- Inspect the rod for signs of corrosion or deterioration.
- If the rod is heavily corroded, it’s time for a replacement.
- Install a new anode rod and tighten it securely.
- Turn on the water inlet valve and power supply.
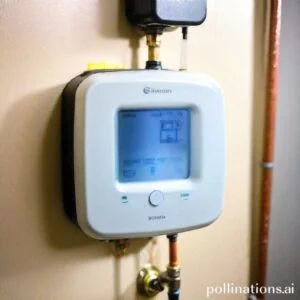
Check and adjust the temperature settings
Proper temperature settings not only ensure a comfortable supply of hot water but also contribute to energy efficiency. It is recommended to set the temperature of your water heater to around 120 degrees Fahrenheit. Here’s how you can check and adjust the temperature:
- Locate the temperature dial or control panel on your water heater.
- Use a thermometer to measure the temperature of the hot water at a faucet.
- If the temperature is too high or low, adjust the dial accordingly.
- Wait for a few hours and recheck the temperature to ensure the desired setting is reached.
Insulate the tank to improve efficiency
Insulating your water heater tank can help reduce heat loss and improve overall energy efficiency. This is especially beneficial if your water heater is located in an unheated area such as a basement or garage. Follow these steps to insulate your water heater:
- Turn off the power supply and water inlet valve.
- Measure the dimensions of your water heater tank.
- Obtain an insulation blanket suitable for your tank size.
- Wrap the insulation blanket around the tank, ensuring it covers all sides.
- Secure the blanket in place using tape or straps.
- Make sure to leave the control panel, drain valve, and other components accessible.
- Turn on the water inlet valve and power supply.
Schedule regular professional maintenance checks
Meanwhile you can perform some maintenance tasks yourself, it is also essential to schedule regular professional maintenance checks for your water heater. A qualified technician can inspect the system more thoroughly, identify any potential issues, and ensure optimal performance. Consider scheduling a maintenance check at least once a year.
Bottom Line
Replacing a leaking water heater is a necessary task that should not be delayed. A leaking water heater can cause significant damage to your home and can also lead to health hazards. Indispensable to choose the right size and type of water heater for your home and to have it installed by a professional. Regular maintenance and inspection can help prolong the life of your water heater and prevent leaks. If you notice any signs of a leaking water heater, such as water pooling around the base or rust-colored water, indispensable to take action immediately. By replacing your leaking water heater, you can ensure the safety and comfort of your home and family.
Investing in a new water heater may seem like a significant expense, but it is a worthwhile investment in the long run. A new water heater can help you save money on energy bills and prevent costly repairs. With proper care and maintenance, your new water heater can provide reliable and efficient service for many years to come.
Read More:
1. Water Heater Leak Emergency Procedures
2. Impact Of Water Heater Leaks On Efficiency