II. Common causes of leaks in tankless water heaters include loose connections, damaged pipes, and defective components such as valves or heat exchangers.
III. To fix a leak in a tankless water heater, it is important to first identify the source of the leak and then follow the manufacturer’s instructions for repairing or replacing the affected part. It is recommended to seek the assistance of a qualified technician to ensure proper and safe repair.
Are you tired of dealing with leaks in your tankless water heaters? Look no further!
We have the solutions you need to fix those frustrating leaks and enjoy uninterrupted hot water. Our team of experts is here to provide you with top-notch service and ensure that your tankless water heater is leak-free.
Don’t let leaks dampen your day, trust us to get the job done right. Say goodbye to leaks and hello to a reliable and efficient tankless water heater!
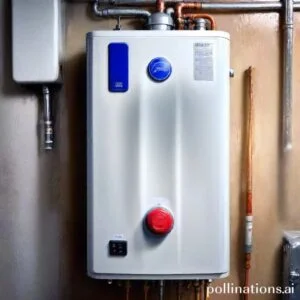
Identifying the Leak
Leaks can be a frustrating and costly problem for any homeowner. Indispensable to identify and address them promptly to avoid further damage. In this section, we will discuss the signs of a leak, how to locate the source, and common causes of leaks.
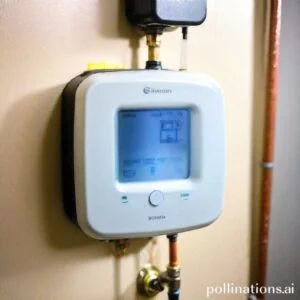
1. Signs of a leak
Recognizing the signs of a leak is crucial in addressing the issue. Some common signs include:
- Water stains: Look for discolored patches on walls, ceilings, or floors. These can indicate water seeping through from a hidden source.
- Dripping sounds: If you hear constant dripping sounds, even when all faucets are turned off, there may be a leak in the plumbing system.
- Unpleasant odors: Musty or moldy smells can indicate the presence of water accumulation caused by a leak.
- Increased water bills: A sudden and unexplained increase in your water bill could be a sign of a hidden leak.
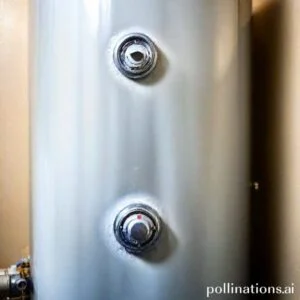
2. Locating the source
Once you suspect a leak, fundamental to locate its source. This will help you determine the best course of action for repair. Here are some steps to help you find the source:
- Check visible pipes: Inspect all visible pipes for signs of moisture, corrosion, or dripping water.
- Inspect fixtures: Examine faucets, showerheads, and toilets for any signs of leaks or water accumulation.
- Use a moisture meter: A moisture meter can help detect hidden leaks behind walls or under flooring.
- Call a professional: If you are unable to locate the source, it is advisable to seek the assistance of a professional plumber.
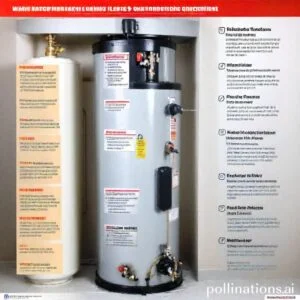
3. Common causes of leaks
| Cause | Description |
|---|---|
| Old or damaged pipes | Pipes deteriorate over time and may develop cracks or leaks, especially in older homes. |
| High water pressure | Excessively high water pressure can strain pipes, leading to leaks or bursts. |
| Clogged drains | Blocked drains can cause water backup, resulting in leaks or pipe damage. |
| Extreme temperature changes | Freezing temperatures or sudden temperature fluctuations can cause pipes to expand or contract, leading to leaks. |
Tools and Materials Needed
In order to successfully complete your project, essential to have the necessary tools and materials at your disposal. This section will outline the key items you will need to ensure a smooth and efficient process.
Safety Precautions
Prior to beginning any project, it is crucial to prioritize safety. By taking the necessary precautions, you can minimize the risk of accidents and injuries. Here are some safety measures to keep in mind:
- Wear appropriate protective gear, such as safety goggles, gloves, and a mask.
- Ensure proper ventilation in your workspace.
- Follow all instructions and warnings provided with your tools and materials.
- Keep your work area clean and organized to avoid tripping hazards.
Essential Tools
Having the right tools is essential for a successful project. Here are some key tools you will need:
- Hammer: A sturdy hammer is necessary for driving nails and securing materials.
- Screwdriver: Both flathead and Phillips screwdrivers are useful for various tasks.
- Measuring Tape: Accurate measurements are vital for precise cuts and installations.
- Level: A level ensures that your project is straight and aligned.
Required Materials
Now that you have your tools ready, it’s time to gather the necessary materials. The specific materials will depend on the nature of your project, but here are some common ones:
- Lumber: Depending on your project, you may need different sizes and types of lumber.
- Nails and Screws: Choose the appropriate fasteners for your materials.
- Paint or Stain: If you plan on finishing your project, make sure to have the necessary paint or stain.
- Adhesive: For certain projects, you may need adhesive to secure materials together.
Repairing the Leak
Touching on dealing with a leak, it’s important to act quickly to prevent further damage. Follow these steps to effectively repair the leak and restore your system:
1. Shutting off the power and water supply
The first step in repairing a leak is to ensure your safety by shutting off the power and water supply to the affected area. This will prevent any potential electrical hazards and further water damage.
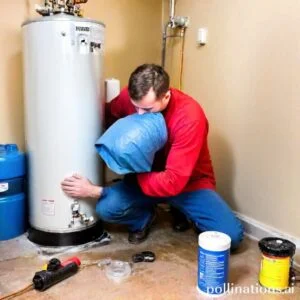
2. Replacing faulty parts
Identify the faulty parts that are causing the leak and replace them accordingly. This may involve replacing a worn-out gasket, a cracked pipe, or a malfunctioning valve. Make sure to use high-quality replacement parts to ensure long-lasting repairs.
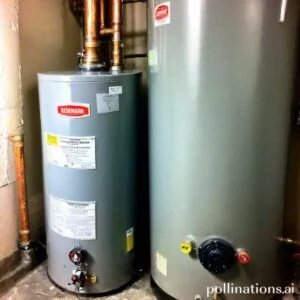
3. Repairing or replacing the unit
If the leak is not caused by a faulty part but rather a damaged unit, you may need to repair or replace the entire unit. Consult a professional if you’re unsure about the extent of the damage or if you need assistance in repairing or replacing the unit.
Preventing Future Leaks
In terms of ensuring the longevity and efficiency of your system, preventing leaks is of utmost importance. By obeying a few simple steps, you can save yourself from potential headaches and costly repairs.
1. Regular maintenance
Regular maintenance is key to preventing leaks in your system. This includes checking for any signs of wear and tear, such as cracks or corrosion, and addressing them promptly. Additionally, keeping an eye on the fluid levels and replacing any worn-out parts can help maintain the integrity of your system.
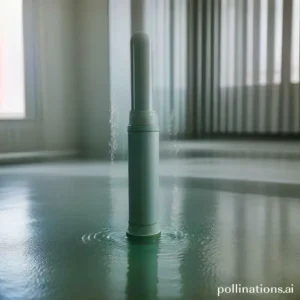
2. Flushing the system
Flushing the system regularly is another effective way to prevent leaks. Over time, debris and contaminants can accumulate in the system, leading to clogs and leaks. By flushing the system, you can remove these impurities and ensure smooth and efficient operation.
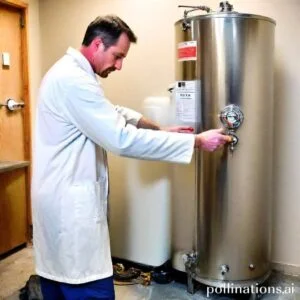
3. Professional inspections
Meanwhile regular maintenance can go a long way in preventing leaks, it’s also essential to have professional inspections done periodically. Professionals have the expertise and tools to detect any potential issues that may lead to leaks. By identifying and addressing these issues early on, you can avoid major leaks and costly repairs down the line.

Troubleshooting
Touching on troubleshooting common issues with your article, there are a few steps you can take to find solutions. This section will outline some of the most common problems and provide DIY solutions.
1. Common issues and solutions
One of the most common issues you may encounter is a broken link. If you notice a link in your article that is not working, check the URL to ensure it is correct. If the link is correct but still not working, try clearing your browser cache and reloading the page. If the issue persists, you may need to reach out to the website owner for assistance.
Another common issue is missing images. If you have included images in your article and they are not displaying, check the file path to ensure it is correct. If the file path is correct but the images are still not showing, try clearing your browser cache. If the issue continues, you may need to re-upload the images or contact your website administrator for further assistance.
2. When to call a professional
During many common issues can be resolved with DIY solutions, there may be times when it is best to call a professional. If you are experiencing technical difficulties that are beyond your expertise, it is always a good idea to seek professional help. They will have the knowledge and experience to diagnose and fix the problem effectively.
Additionally, if you have tried multiple DIY solutions and none have been successful, it may be time to call in a professional. They will have access to specialized tools and resources that can help solve the problem quickly and efficiently.
3. DIY vs professional repairs
Relating to deciding between DIY repairs and professional assistance, there are a few factors to consider. DIY repairs can be cost-effective and give you a sense of accomplishment. In contrast, they also require time, effort, and a certain level of expertise.
In contradistinction, professional repairs may come at a higher cost, but they offer convenience and peace of mind. Professionals have the skills and knowledge to handle complex issues and ensure the problem is resolved correctly.
Ultimately, the decision between DIY and professional repairs will depend on your comfort level, the complexity of the problem, and your budget. Fundamental to weigh the pros and cons and choose the option that best suits your needs.
Bottom Line
Fixing leaks in tankless water heaters is crucial to ensure their longevity and efficiency. Regular maintenance and inspection can help detect leaks early on and prevent costly repairs or replacements. Fundamental to hire a professional plumber to fix leaks as they have the necessary expertise and tools to do the job safely and effectively. Additionally, homeowners can take preventive measures such as installing a water softener and flushing the system regularly to reduce the risk of leaks. By taking these steps, homeowners can enjoy the benefits of a tankless water heater for years to come.
Overall, fixing leaks in tankless water heaters is a necessary task that should not be overlooked. With proper maintenance and care, homeowners can avoid the inconvenience and expense of a leaky water heater and enjoy the many benefits of this energy-efficient appliance.
Read More:
1. Leaks During Water Heater Installation
2. How To Minimize Water Heater Pipe Leaks