II. To fix a leak at the bottom of a water heater, first turn off the power supply and water source, then drain the tank and inspect the area around the leak for damage.
III. Depending on the severity of the leak, possible solutions include tightening fittings, replacing the drain valve, or replacing the entire water heater. It is important to address leaks promptly to prevent further damage and potential safety hazards.
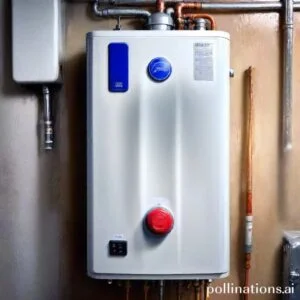
Water heater leaks can be a frustrating problem, but with the right knowledge and steps, you can successfully address the issue. We will navigate the causes of a bottom leak, the potential damage it can cause, and the steps you can take to fix it.
By embracing the underlying causes and following the necessary steps, you can effectively solve this problem and prevent further damage to your water heater. Let’s get started!
Identifying the cause of the leak
When faced with a water heater leak, essential to first identify the cause in order to effectively fix the issue. This section will discuss several key areas to inspect:
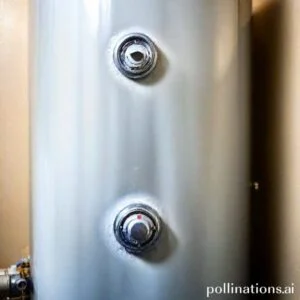
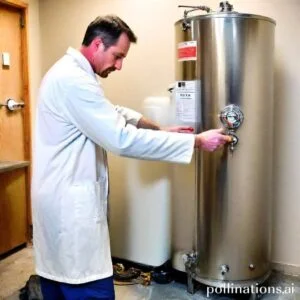
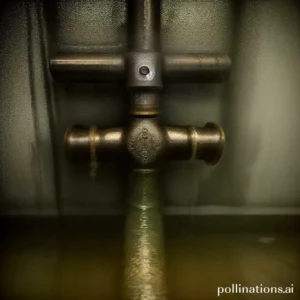
1. Inspecting the drain valve
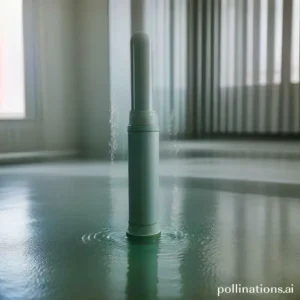
The drain valve is located at the bottom of the water heater and is used to release water from the tank. Check for any signs of leakage or damage to the valve. If a leak is detected, it may need to be replaced.
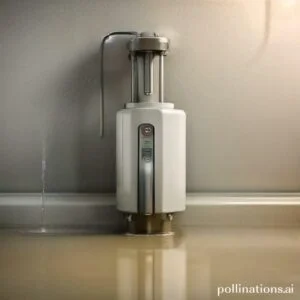
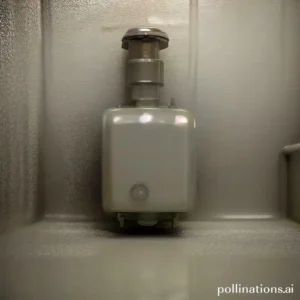
2. Checking the temperature and pressure relief valve
The temperature and pressure relief valve is a safety feature that releases excess pressure or temperature from the tank. Inspect this valve for any leaks or signs of malfunction. If there is a leak, it may be necessary to replace the valve.
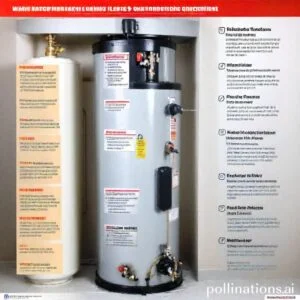
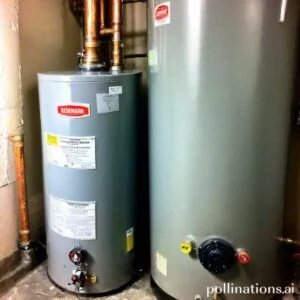
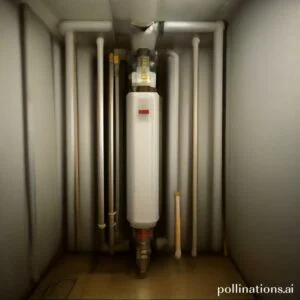
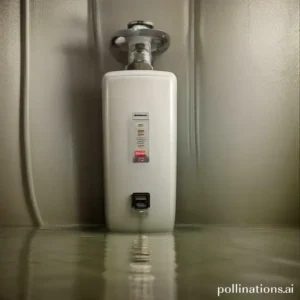
3. Examining the tank itself
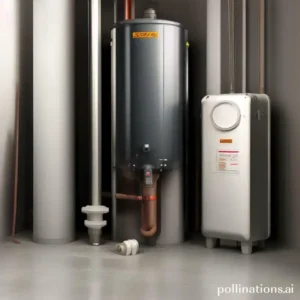
Thoroughly examine the tank for any cracks, corrosion, or other visible damage. A damaged tank can result in leaks and should be addressed promptly. If significant damage is found, it may be necessary to replace the entire water heater.
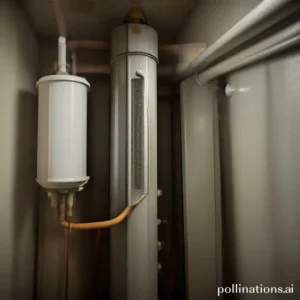
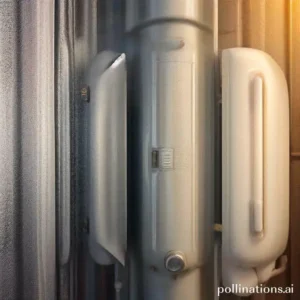
4. Inspecting the inlet and outlet pipes
Check the inlet and outlet pipes connected to the water heater for any signs of leakage or loose connections. Tighten any loose fittings and replace any damaged pipes to prevent further leaks.
5. Checking the heating element
The heating element is responsible for heating the water in the tank. If the element is faulty or damaged, it can cause leaks or other issues. Inspect the heating element for any signs of damage or malfunction. If necessary, it may need to be replaced.
| Cause of Leak | Inspection Steps |
|---|---|
| Drain valve | Inspect for leaks or damage |
| Temperature and pressure relief valve | Check for leaks or malfunction |
| Tank | Examine for cracks or corrosion |
| Inlet and outlet pipes | Inspect for leaks or loose connections |
| Heating element | Check for damage or malfunction |
Preparing for the Repair
Relating to repairing a malfunctioning system, it is crucial to follow a systematic approach to ensure a successful outcome. This section will guide you through the necessary steps to prepare for the repair process.
1. Turning off the Power Supply
Prior to beginning any repair work, it is essential to ensure your safety by turning off the power supply. Locate the main power switch or circuit breaker and switch it off. This will prevent any electrical accidents and provide a safe working environment.
2. Shutting off the Water Supply
In addition to turning off the power supply, it is equally important to shut off the water supply. Locate the main water valve and turn it off to prevent any water leakage or damage during the repair process.
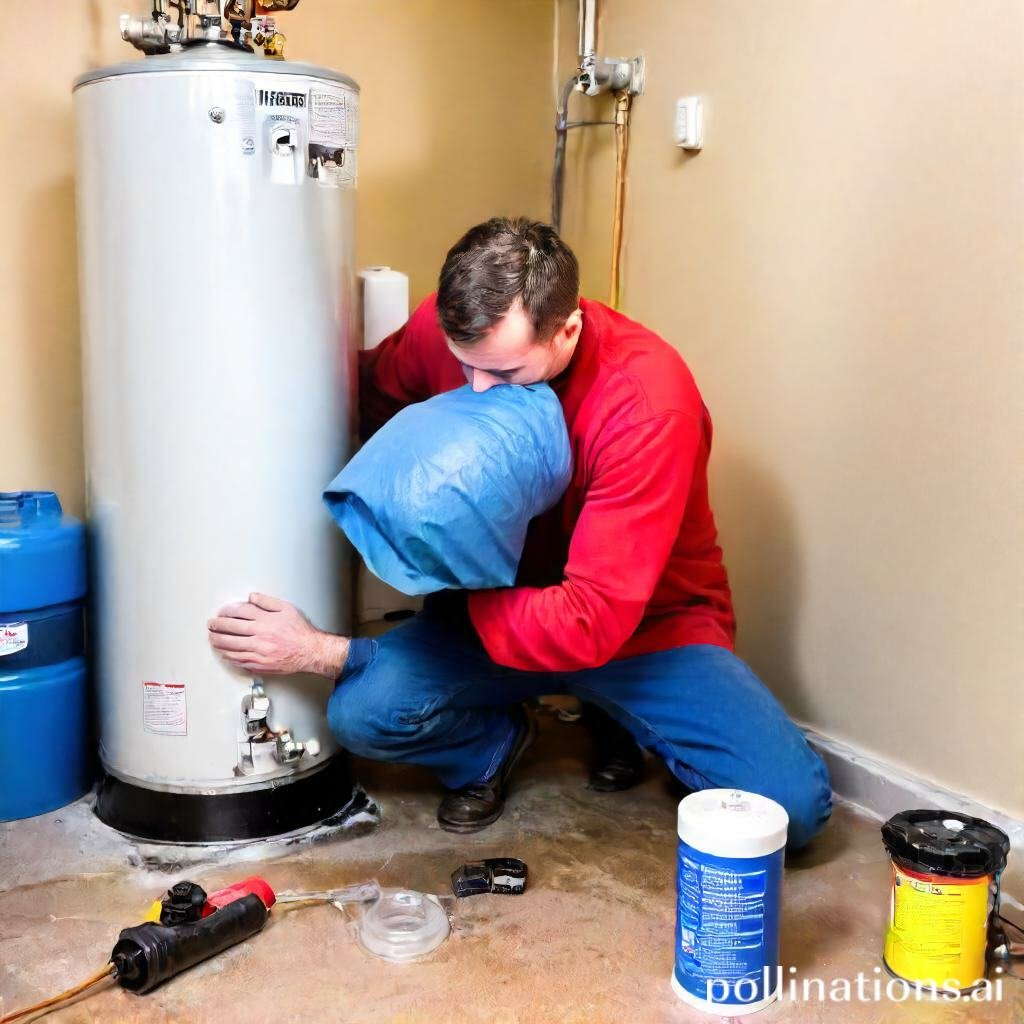
3. Draining the Water from the Tank
In order to proceed with the repair, it is necessary to drain the water from the tank. This can be done by attaching a hose to the drain valve and directing it to a suitable drainage area. Make sure to open the valve fully to allow complete water drainage.
4. Gathering the Necessary Tools and Materials
Before starting the repair, gather all the necessary tools and materials to ensure a smooth process. This may include wrenches, screwdrivers, replacement parts, and any other equipment specific to the repair task at hand.
5. Preparing the Work Area
To optimize your efficiency and organization during the repair, it is essential to prepare your work area. Clear any clutter and ensure sufficient lighting for better visibility. Set up a sturdy work surface and have all your tools and materials within easy reach.
| Step | Description |
|---|---|
| 1 | Turning off the Power Supply |
| 2 | Shutting off the Water Supply |
| 3 | Draining the Water from the Tank |
| 4 | Gathering the Necessary Tools and Materials |
| 5 | Preparing the Work Area |
Fixing the leak
As for fixing a leak in your plumbing system, integral to follow a step-by-step process to ensure a successful repair. In this section, we will guide you through the necessary steps to fix a leak and restore the integrity of your plumbing system.
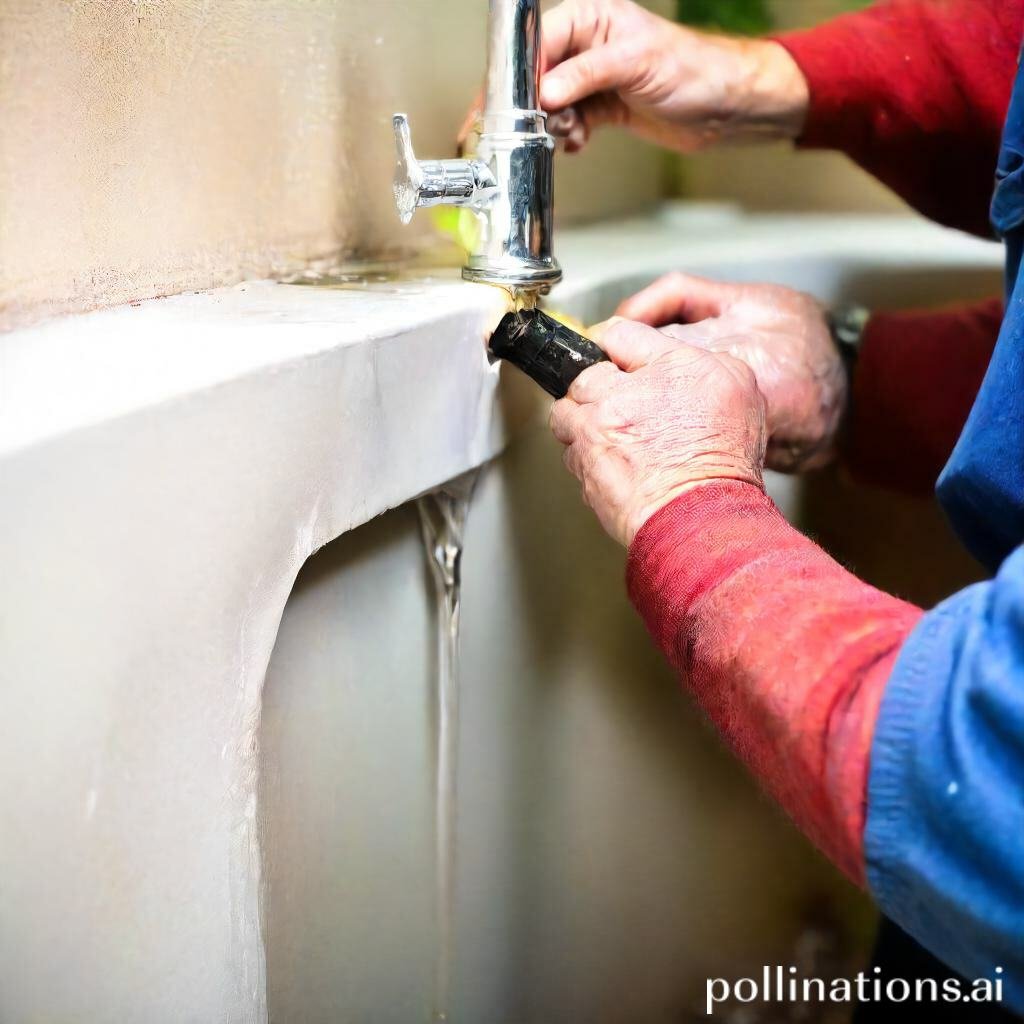
1. Replacing the drain valve
The first step in fixing a leak is to identify the source of the problem. If the leak is coming from the drain valve, it is likely that the valve needs to be replaced. This can be done by obeying these simple steps:
- Turn off the water supply to the tank.
- Attach a hose to the drain valve to drain any remaining water from the tank.
- Remove the old drain valve by turning it counterclockwise.
- Apply plumber’s tape to the threads of the new drain valve.
- Insert the new drain valve and tighten it clockwise.
- Turn on the water supply and check for any leaks.
2. Fixing the temperature and pressure relief valve
If the leak is coming from the temperature and pressure relief valve, it may need to be fixed or replaced. Follow these steps to address this issue:
- Turn off the power supply to the water heater.
- Attach a hose to the relief valve and drain any excess water.
- Remove the old relief valve by turning it counterclockwise.
- Apply plumber’s tape to the threads of the new relief valve.
- Insert the new relief valve and tighten it clockwise.
- Turn on the power supply and check for any leaks.
3. Repairing the tank
If the leak is coming from the tank itself, it may be necessary to repair or replace the tank. This is a more complex task and may require professional assistance. Nonetheless, if you feel confident in your skills, you can attempt the repair by abiding by these general steps:
- Turn off the water supply and power to the water heater.
- Drain the water from the tank using the drain valve.
- Inspect the tank for any cracks or damage.
- If a crack is found, apply a patch or sealant to repair it.
- If the damage is severe, it may be necessary to replace the entire tank.
- Turn on the water supply and power, and check for any leaks.
4. Replacing the inlet and outlet pipes
If the leak is coming from the inlet or outlet pipes, they may need to be replaced. Follow these steps to replace the pipes:
- Turn off the water supply and power to the water heater.
- Drain the water from the tank using the drain valve.
- Remove the old pipes by unscrewing the fittings.
- Measure and cut the new pipes to the appropriate length.
- Attach the new pipes to the tank using new fittings.
- Tighten the fittings securely.
- Turn on the water supply and power, and check for any leaks.
5. Fixing the heating element
If the leak is coming from the heating element, it may need to be fixed or replaced. Here’s how to address this issue:
- Turn off the power supply to the water heater.
- Drain the water from the tank using the drain valve.
- Remove the access panel to expose the heating element.
- Test the heating element with a multimeter to determine if it is faulty.
- If the heating element is faulty, replace it with a new one.
- Reassemble the access panel and turn on the power supply.
- Check for any leaks and ensure the water is heating properly.
Fixing a leak in your plumbing system requires careful attention to detail and following the appropriate steps. By acknowledging the issue promptly and correctly, you can prevent further damage and ensure the smooth operation of your plumbing system.
Refilling and Testing the Water Heater
1. Refilling the Tank with Water
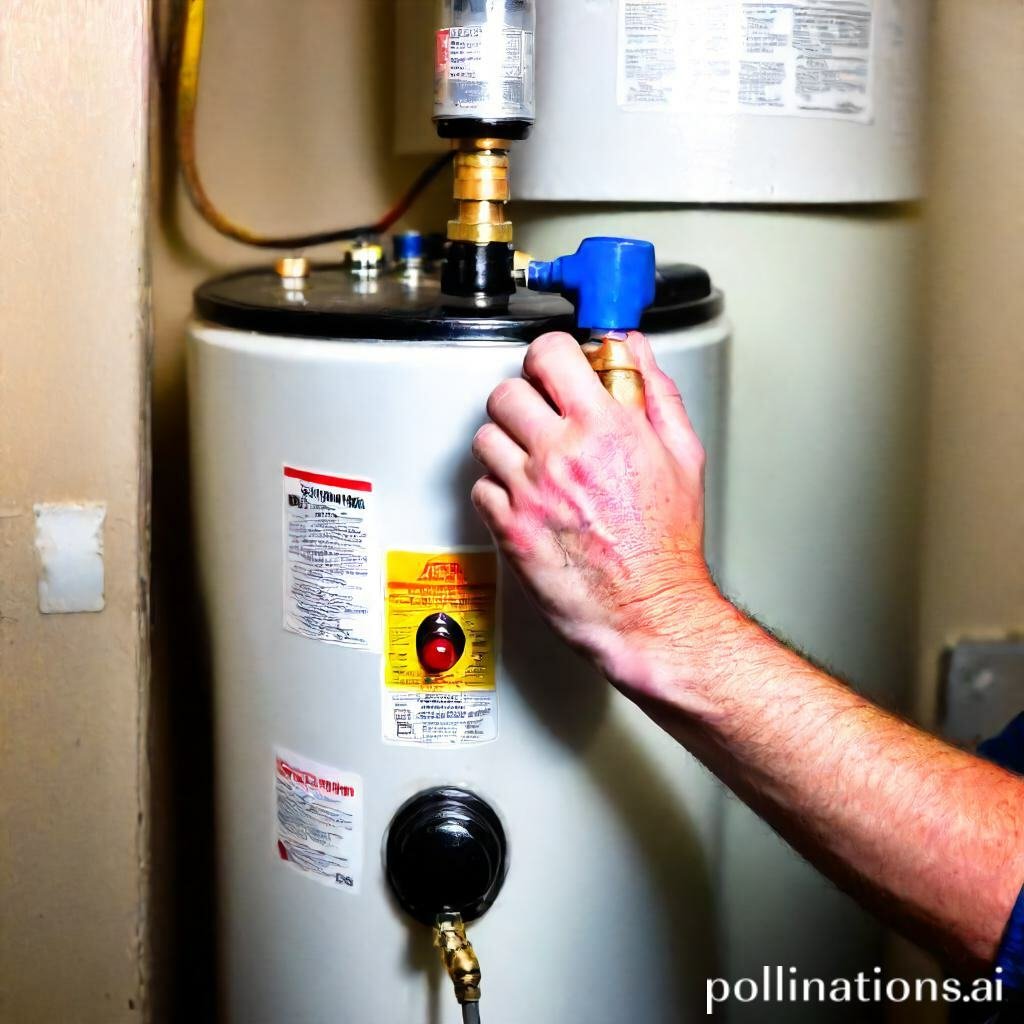
In the realm of refilling your water heater tank, essential to follow the proper steps to ensure its optimal performance. Begin by turning off the power supply and the water supply to the heater. Locate the valve at the top of the tank and open it to release any remaining water. Once the tank is empty, close the valve and proceed to the next step.
Now, find the cold water supply valve connected to the tank and open it fully. This will allow water to flow into the tank and fill it completely. Keep an eye on the pressure gauge, ensuring that it remains within the recommended range. Once the tank is filled, close the cold water supply valve.
2. Turning on the Power Supply
With the tank refilled, it is time to turn on the power supply. Locate the power switch or circuit breaker dedicated to the water heater and switch it on. This will provide the necessary electricity for the heater to function. Wait for a few minutes to allow the water to heat up before proceeding to the next step.
3. Turning on the Water Supply
Now that the tank is full and the power supply is on, it’s time to turn on the water supply. Locate the hot water valve connected to the tank and open it gradually. This will allow hot water to flow into your faucets and fixtures. Imperative to check for any leaks or unusual sounds during this process. If you notice any issues, turn off the water supply immediately and proceed to the next step.
4. Testing the Water Heater for Proper Function
After turning on the water supply, it is crucial to test the water heater for proper function. Allow the hot water to run for a few minutes and check if it reaches the desired temperature. Use a thermometer to measure the water temperature at different faucets to ensure consistent heating. If the water is not heating as expected, there might be an issue with the heater’s thermostat or heating element.
5. Checking for Any Additional Leaks
Once the water heater is functioning properly, integral to check for any additional leaks. Inspect the area around the heater, including the connections and valves, for any signs of water leakage. If you notice any leaks, it is essential to address them promptly to prevent further damage or energy wastage.
| Step | Description |
|---|---|
| 1 | Refill the tank with water by opening the cold water supply valve. |
| 2 | Turn on the power supply to provide electricity for the heater. |
| 3 | Gradually open the hot water valve to allow hot water to flow. |
| 4 | Test the water heater for proper function by checking the water temperature. |
| 5 | Inspect for any additional leaks around the water heater. |
Preventing Future Leaks
Water heater leaks can cause significant damage to your home and result in costly repairs. By abiding by a few simple steps and practicing regular maintenance, you can prevent future leaks and ensure the longevity of your water heater.
1. Regular Maintenance of the Water Heater
Regular maintenance is crucial in keeping your water heater in good condition and preventing leaks. This includes checking for any signs of corrosion, such as rust or deterioration, and addressing them promptly. Additionally, inspect the fittings, valves, and connections for any signs of wear or damage.
2. Flushing the Tank Regularly
Flushing the tank regularly helps remove sediment and mineral buildup, which can contribute to leaks. Sediment can settle at the bottom of the tank and cause corrosion, leading to weakened areas and potential leaks. Follow the manufacturer’s instructions or consult a professional plumber for guidance on how often to flush your specific water heater.
3. Replacing Old or Worn Out Parts
Over time, parts of your water heater may become old or worn out, increasing the risk of leaks. It is essential to replace any faulty or deteriorating components promptly. This includes elements such as the pressure relief valve, temperature and pressure gauge, and any damaged or deteriorated pipes or fittings.
4. Monitoring the Temperature and Pressure
Monitoring the temperature and pressure of your water heater is essential for preventing leaks. Excessively high temperatures or pressures can put stress on the tank, leading to leaks or even tank failure. Use a reliable thermometer and pressure gauge to regularly check these parameters and adjust them if necessary.
5. Hiring a Professional Plumber for Regular Inspections
Regular inspections by a professional plumber can help identify and address any potential issues before they escalate into leaks. A qualified plumber will have the expertise to thoroughly assess your water heater, identify any signs of wear or damage, and perform any necessary repairs or replacements.
Bottom Line
Fixing a water heater leak on the bottom is a crucial task that requires immediate attention. Ignoring the issue can lead to severe damage to your property and even pose a safety hazard. It is essential to identify the cause of the leak and take appropriate measures to fix it. Regular maintenance and inspection can help prevent leaks and prolong the lifespan of your water heater. If you are not confident in fixing the leak yourself, it is best to seek professional help. Remember, a small leak can quickly turn into a big problem, so don’t delay in addressing the issue.
By taking prompt action and following the necessary steps, you can ensure that your water heater remains in good working condition and provides you with hot water whenever you need it. So, if you notice any signs of a leak, don’t hesitate to take action and fix the problem before it gets worse.
Read More:
1. Corrosion And Its Impact On Leaksin Water Heater
2. Leaks After Water Heater Flush