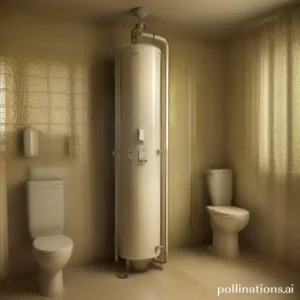
Water heater leaks can be a serious problem for homeowners, potentially causing significant damage if not addressed quickly. In the course of some leaks may require professional help, there are many instances where DIY repair is possible.
In this article, we’ll provide a step-by-step guide on how to identify and fix common water heater leaks, as well as tips for preventing future leaks. By upholding these instructions, you can save money on costly repairs and keep your home safe from water damage.
Identifying the Source of the Leak
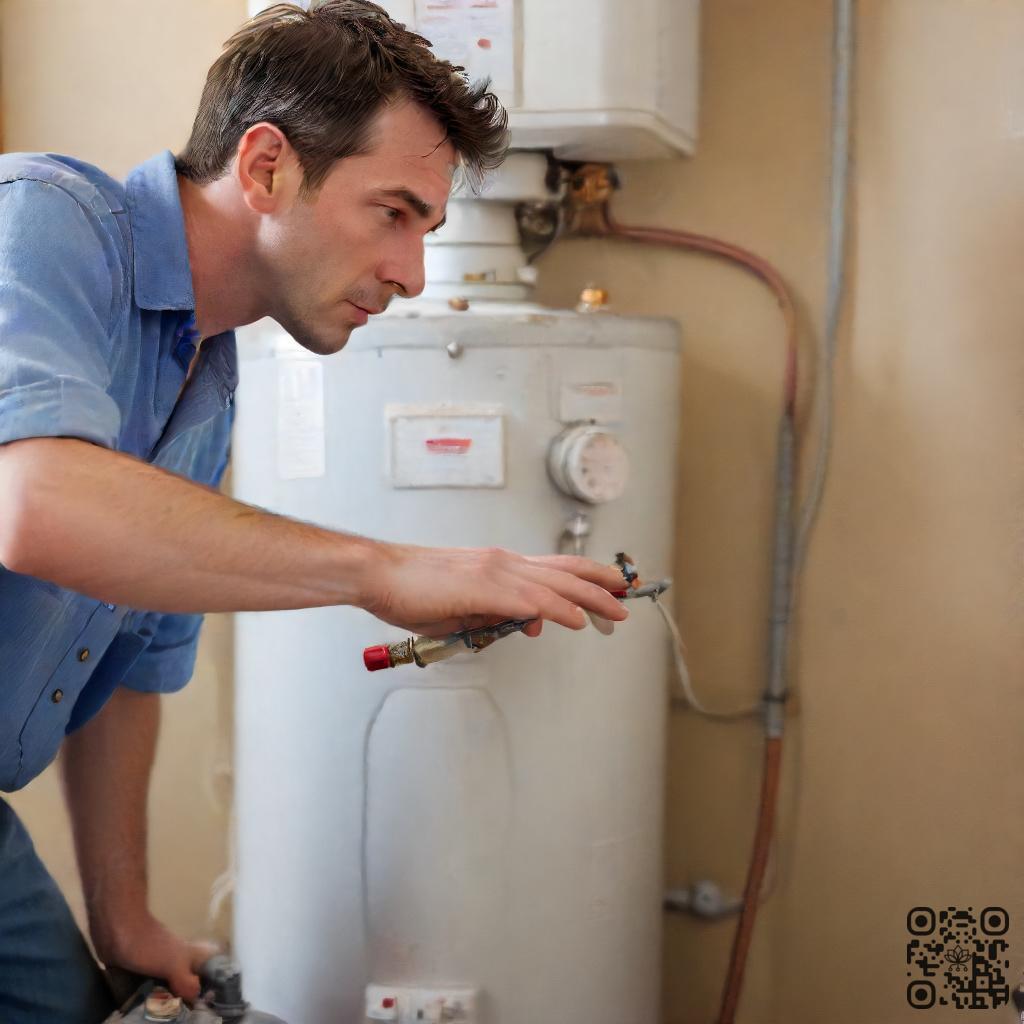
Relating to addressing a leak in your water heater, it is crucial to first identify the source of the problem. By heeding a systematic approach, you can pinpoint the exact location of the leak and take the necessary steps to fix it.
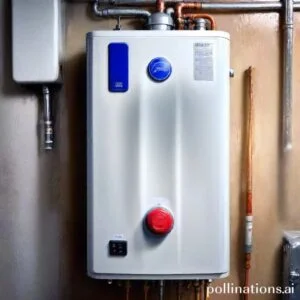
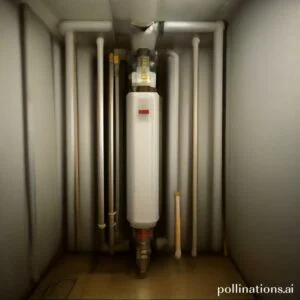
1. Inspecting the water heater tank
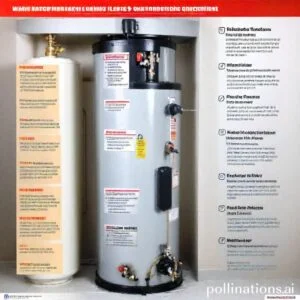
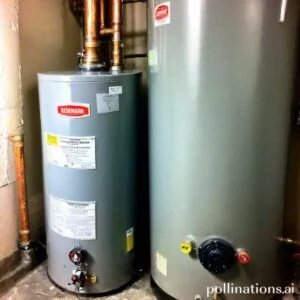
One of the primary areas to examine is the water heater tank itself. Look for any signs of corrosion or rust on the surface. These can indicate a potential weak point in the tank where water may be seeping through. Additionally, check the pressure relief valve and drain valve for any leaks or malfunctioning.
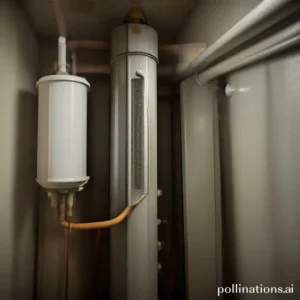
2. Examining the pipes and fittings
Next, focus on the pipes and fittings connected to the water heater. Start by tightening any loose connections that you come across. Oftentimes, a small leak may be due to a loose or improperly sealed joint. If you notice any damaged pipes or fittings, it is crucial to replace them promptly to prevent further leakage.
For a comprehensive embracing of the potential causes and solutions for water heater leaks, refer to the table below:
| Cause | Solution |
|---|---|
| Corrosion or rust on the tank | Drain the tank, remove the rust or corrosion, and apply a protective coating |
| Leaking pressure relief valve | Replace the valve with a new one |
| Damaged pipes or fittings | Replace the damaged components with new ones |
Gathering Necessary Tools and Materials
As for repairing a water heater, having the right tools and materials is essential. In this section, we will discuss the tools and materials you will need for a successful repair.
1. Tools required for the repair
To start off, make sure you have the following tools handy:
- Adjustable wrench: This versatile tool will help you loosen or tighten various nuts and bolts during the repair process.
- Pipe cutter or hacksaw: Depending on the type of repair, you may need a pipe cutter or hacksaw to cut through pipes with precision.
- Teflon tape: Teflon tape is a handy tool for creating watertight seals. Make sure to apply it correctly to prevent any leaks.
- Screwdriver: A reliable screwdriver will come in handy when removing or installing screws during the repair.
2. Materials needed for the repair
In addition to the tools mentioned above, you will also need the following materials:
- Replacement parts (if necessary): Depending on the specific issue with your water heater, you may need to replace certain parts. Make sure to have the necessary replacement parts on hand.
- Water heater repair kit: A water heater repair kit contains various components that can help you fix common issues. It’s always a good idea to have one available.
- Pipe sealant: Pipe sealant is essential for creating a secure and leak-free connection between pipes. Apply it generously to ensure a proper seal.
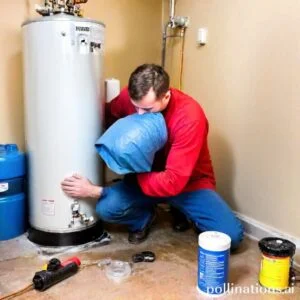
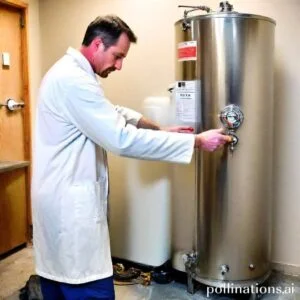
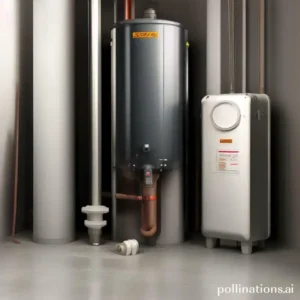
Repairing a Leaking Water Heater Tank
A leaking water heater tank can cause significant damage if not addressed promptly. To ensure the safety of your home and prevent further issues, it’s crucial to repair the leak as soon as possible. Follow these steps to effectively repair a leaking water heater tank:
1. Shutting off power and water supply
Prior to starting any repairs, it’s essential to turn off the power supply to the water heater. Locate the circuit breaker or fuse that controls the heater and switch it off. Additionally, locate the water supply valve connected to the tank and shut it off to prevent water flow.
2. Draining the tank
With the power and water supply turned off, connect a hose to the drain valve at the bottom of the tank. Place the other end of the hose in a suitable drainage area, such as a floor drain or outside. Open the drain valve to allow the water to flow out of the tank completely.
3. Removing the damaged area of the tank
Identify the location of the leak on the tank. Using appropriate tools, carefully remove the damaged area, ensuring that the surrounding area is clean and free from debris. Take caution not to cause any further damage to the tank during this process.
4. Installing a patch or soldering the leak
Depending on the extent of the damage, you can either install a patch or solder the leak. If the leak is small, a patch made specifically for water heater tanks can be applied using adhesive. For larger leaks, soldering may be necessary. Consult a professional if you are not experienced in soldering.
5. Refilling the tank and checking for leaks
Once the repair is complete, close the drain valve and allow the tank to refill with water. Check for any signs of leaks around the repaired area. If no leaks are detected, you can safely turn on the power supply and restore the water supply to the heater.
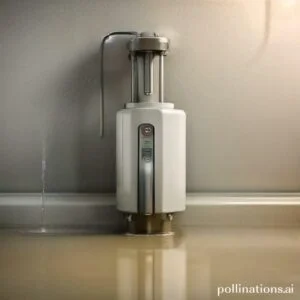
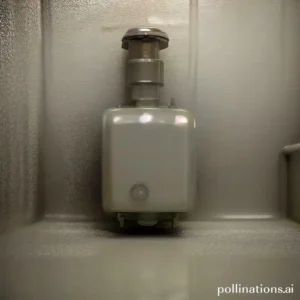
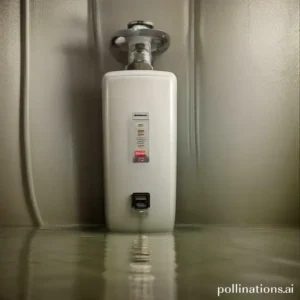
Fixing a Leaking Pressure Relief Valve
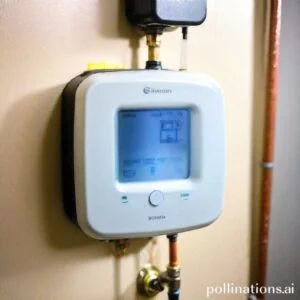
Touching on your home’s plumbing system, it’s important to address any issues promptly to avoid further damage. One common problem that homeowners may encounter is a leaking pressure relief valve. This component plays a crucial role in maintaining the proper pressure within your water tank and preventing any potential explosions.
1. Shutting off power and water supply
The first step in fixing a leaking pressure relief valve is to ensure your safety by shutting off the power supply. Locate the circuit breaker that controls the water heater and turn it off. Additionally, you need to turn off the water supply to the tank by closing the main water valve.
2. Draining the tank
In order to work on the pressure relief valve, you’ll need to drain the water tank. Attach a hose to the drain valve at the bottom of the tank and place the other end in a suitable drainage area. Open the drain valve and allow the water to completely empty from the tank.
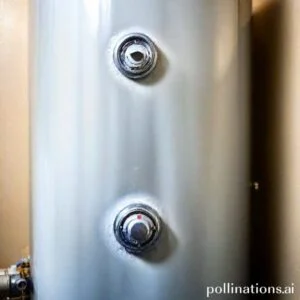
3. Removing the valve and inspecting for damage
Once the tank is empty, you can proceed to remove the pressure relief valve. Use a wrench to loosen and unscrew the valve from the tank. Take a close look at the valve for any signs of damage, such as cracks or corrosion.
4. Replacing the valve or cleaning it
If the pressure relief valve is damaged beyond repair, it’s important to replace it with a new one. Consult your local hardware store or a plumbing professional to ensure you choose the correct replacement valve. If the valve is still in good condition, you can clean it thoroughly to remove any debris or mineral buildup that may be causing the leakage.
5. Reassembling and testing for leaks
After either replacing or cleaning the pressure relief valve, it’s time to reassemble the components. Screw the valve back into place using the wrench and ensure it is tightly secured. Once everything is back in place, turn on the water supply and power to the tank. Test the system for any leaks by observing the valve and the surrounding area for any signs of water leakage.
| Step | Description |
|---|---|
| 1 | Shut off power and water supply |
| 2 | Drain the tank |
| 3 | Remove the valve and inspect for damage |
| 4 | Replace the valve or clean it |
| 5 | Reassemble and test for leaks |

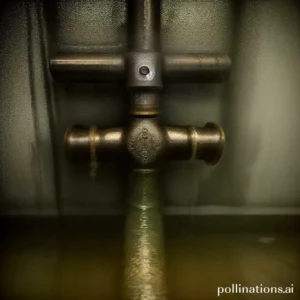
Repairing a Leaking Drain Valve
If you are experiencing a leaking drain valve, indispensable to address the issue promptly to prevent further damage. Follow these steps to repair the leak and restore the functionality of your drain valve.
1. Shutting off power and water supply
Before starting any repair work, ensure that the power and water supply to the system are turned off. This will prevent any accidents or further leakage during the repair process.
2. Draining the tank
Next, you will need to drain the tank to remove any remaining water. Attach a hose to the drain valve and direct it to a suitable drainage area. Open the valve and allow the water to completely drain out.
3. Removing the valve and inspecting for damage
Once the tank is empty, you can proceed to remove the drain valve. Carefully unscrew the valve from the tank using a suitable wrench or pliers. Inspect the valve for any signs of damage or wear.
4. Replacing the valve or tightening loose connections
If the valve is damaged, it will need to be replaced. Purchase a new valve that is compatible with your system and install it according to the manufacturer’s instructions. If there are no visible signs of damage, check for loose connections and tighten them securely.
5. Reassembling and testing for leaks
After installing the new valve or tightening the connections, reassemble the system. Ensure that all components are properly secured and tightened. Once reassembled, turn on the water supply and power to the system. Test for leaks by observing the drain valve area closely. If there are no leaks, the repair is successful.
| Step | Description |
|---|---|
| 1 | Shutting off power and water supply |
| 2 | Draining the tank |
| 3 | Removing the valve and inspecting for damage |
| 4 | Replacing the valve or tightening loose connections |
| 5 | Reassembling and testing for leaks |
Bottom Line
Fixing a water heater leak can be a daunting task, but with the right tools and knowledge, it can be done easily and cost-effectively. Before attempting any repairs, make sure to turn off the power and water supply to the heater. Check for leaks in the tank, valves, and pipes, and replace any damaged parts. If the leak is coming from the tank, it may be time to replace the entire unit. Regular maintenance and inspections can help prevent leaks from occurring in the first place. Remember to always prioritize safety and consult a professional if you are unsure about any aspect of the repair process. With these tips, you can save money and avoid the hassle of a water heater leak.
By embracing these simple steps, you can fix your water heater leak and avoid costly repairs. Remember to always prioritize safety and consult a professional if you are unsure about any aspect of the repair process. With regular maintenance and inspections, you can prevent leaks from occurring in the first place. Don’t let a water heater leak ruin your day – take action and fix it today!
Read More:
1. Professional Leak Inspection Services
2. Common Causes Of Water Heater Leaks