II. Simple household items such as duct tape, rubber bands, and epoxy can be used to fix leaks.
III. It is important to properly identify the source of the leak and take appropriate safety precautions before attempting any repairs.
Learn how to fix leaks in your home without the need for expensive tools or professional assistance. This DIY guide will provide you with step-by-step instructions and tips to successfully repair leaks in your plumbing system.
Save time and money by tackling leaks on your own, ensuring a dry and secure home. Say goodbye to costly repairs and hello to a more confident and self-reliant approach to home maintenance.
Types of leaks
1. Common types of leaks in households
Touching on leaks in households, there are several common types that homeowners should be aware of. These include:
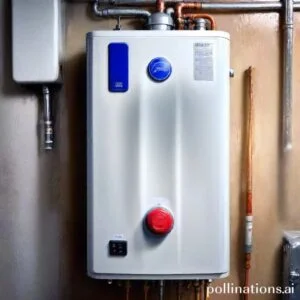
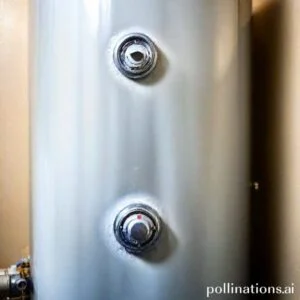
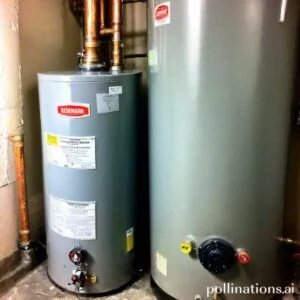
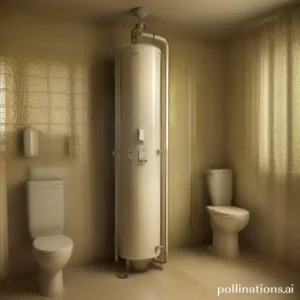
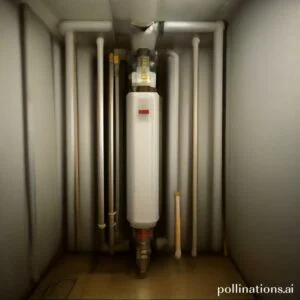
- Water pipe leaks: This is one of the most common types of leaks and can occur in both indoor and outdoor pipes. Indispensable to identify and fix water pipe leaks promptly to prevent water damage and wastage.
- Roof leaks: Roof leaks can cause significant damage to a home if not addressed promptly. They can result from damaged or missing shingles, cracked flashing, or clogged gutters. Identifying the source of the leak is crucial for effective repairs.
- Window and door leaks: Improperly sealed windows and doors can lead to air and water leaks. This can result in energy loss, drafts, and potential water damage. Proper insulation and sealing are essential to prevent these leaks.
- Appliance leaks: Leaks can also occur from household appliances such as refrigerators, dishwashers, and washing machines. These leaks can be caused by faulty hoses, seals, or valves. Regular maintenance and inspection of appliances can help prevent these leaks.
2. Identifying the source of the leak
When dealing with a leak, it is crucial to identify the source accurately. This will help determine the appropriate course of action for repairs. Some common methods for identifying the source of a leak include:
- Visual inspection: Carefully inspecting the area where the leak is occurring can provide valuable clues about its source. Look for signs of water stains, mold, or damage.
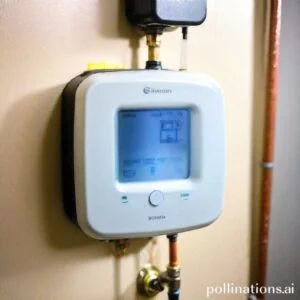
- Pressure testing: Pressure testing involves applying pressure to a plumbing system to detect any leaks. This method is often used for water pipe leaks.
- Thermal imaging: Thermal imaging technology can help detect hidden leaks by identifying temperature differences caused by water presence.
3. Mastering the severity of the leak
| Type of Leak | Severity |
|---|---|
| Water pipe leaks | Can cause significant damage if not addressed promptly |
| Roof leaks | Can lead to water damage and compromise the structural integrity of the house |
| Window and door leaks | Can result in energy loss and potential water damage |
| Appliance leaks | Can cause water damage and potential damage to the appliance |
Preparing for DIY Leak Repairs
Necessary Tools and Materials
Relating to tackling leak repairs on your own, having the right tools and materials is essential. Here are some key items you’ll need:
- A wrench or pliers to tighten or loosen fittings
- Teflon tape for sealing pipe threads
- Pipe cutter for removing damaged sections
- Pipe repair clamp for quick fixes
- Epoxy putty for sealing small leaks
Safety Precautions to Take
Before you begin your DIY leak repair project, it’s crucial to prioritize safety. Follow these precautions to ensure a safe and successful repair:
- Turn off the water supply to the affected area
- Wear protective gloves and eyewear
- Work in a well-ventilated area to avoid inhaling fumes
- Use a ladder or step stool if necessary to reach high areas
- Keep a fire extinguisher nearby in case of emergencies
Tips for Successful Repairs
To ensure your DIY leak repairs are effective and long-lasting, consider the following tips:
- Thoroughly clean and dry the area before applying any sealant
- Follow the manufacturer’s instructions for using repair products
- Apply Teflon tape clockwise around pipe threads for a tight seal
- Inspect nearby pipes for potential leaks and address them proactively
- Monitor the repaired area for any signs of recurring leaks
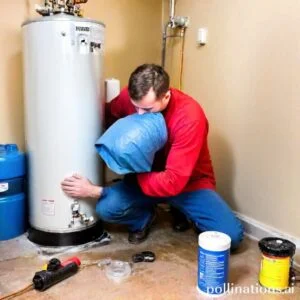
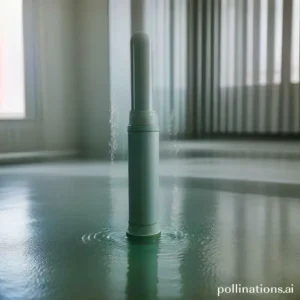
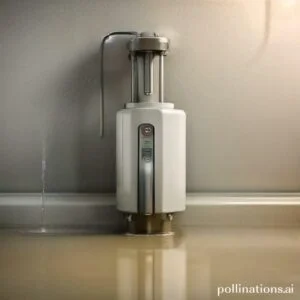
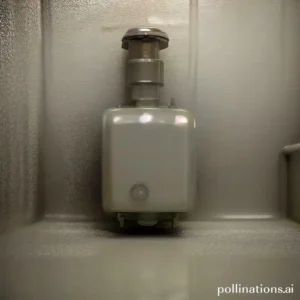
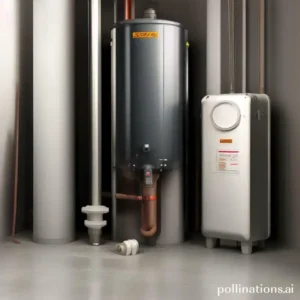
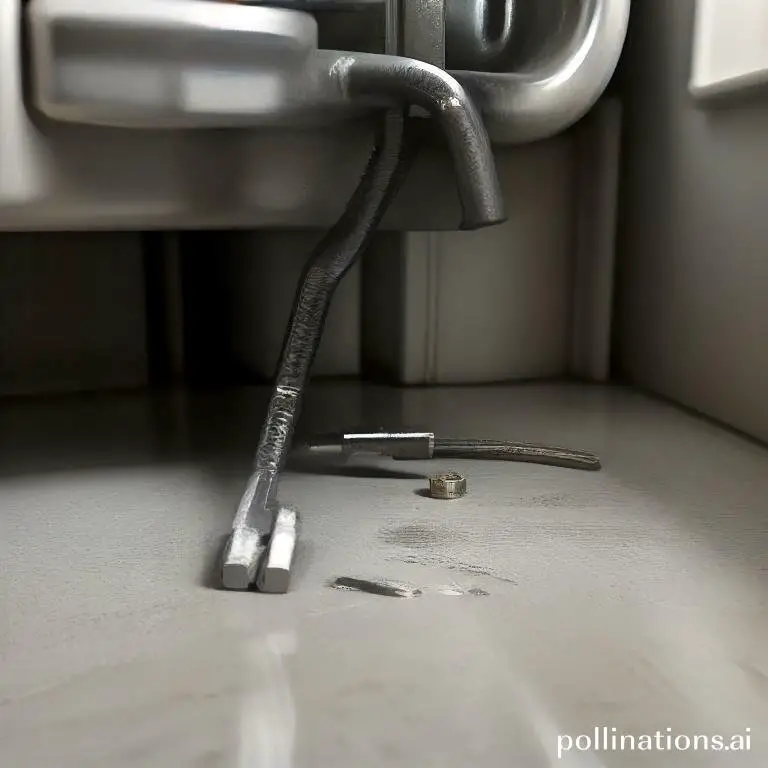
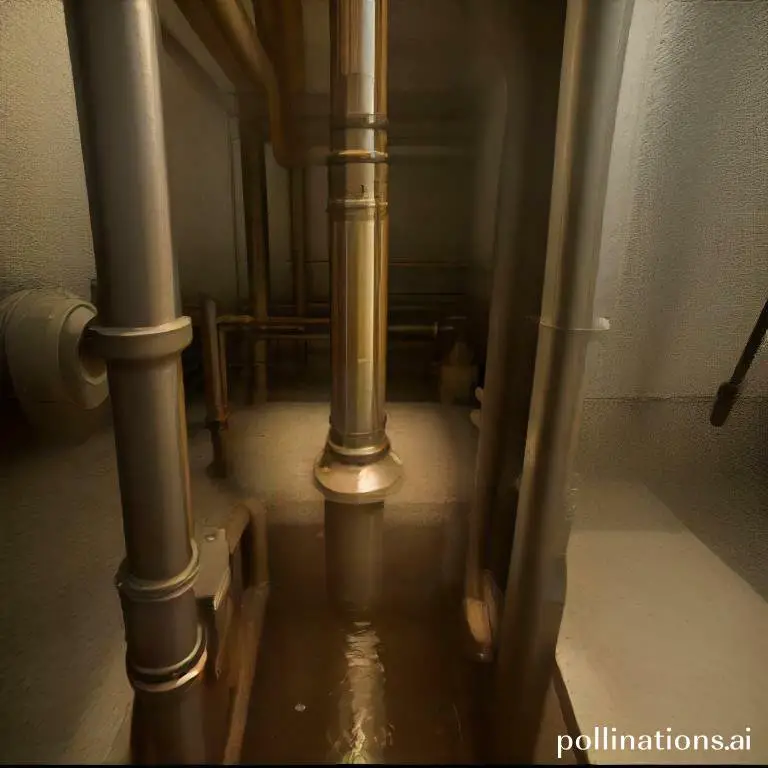
Fixing leaks in pipes
In regard to plumbing issues, leaks in pipes can be a common problem that homeowners face. Whether it’s a minor leak or a major one, it’s important to address the issue promptly to avoid further damage. In this section, we will discuss the steps for fixing minor leaks in pipes, addressing major leaks, and provide some tips for preventing future leaks.
Steps for fixing minor leaks in pipes
Minor leaks in pipes can often be repaired without the need for professional assistance. Here are some steps you can follow to fix them:
- 1. Identify the leak: Start by locating the source of the leak. Look for signs of water stains, dampness, or dripping water.
- 2. Turn off the water supply: Before you start fixing the leak, make sure to turn off the water supply to the affected area. This will prevent any further water damage.
- 3. Clean and dry the area: Once the water supply is turned off, clean and dry the area around the leak. This will help in better adhesion of the repair material.
- 4. Apply a patch or sealant: Depending on the size of the leak, you can use a patch or a sealant to fix it. Follow the instructions provided by the manufacturer for the best results.
- 5. Test for leaks: After applying the patch or sealant, turn on the water supply and check for any remaining leaks. If there are no leaks, you have successfully fixed the minor leak.
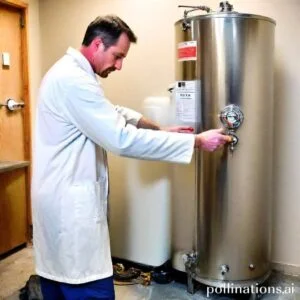
Addressing major leaks in pipes
Major leaks in pipes may require professional assistance. Here are some steps you can take to address them:
- 1. Shut off the main water supply: In case of a major leak, essential to shut off the main water supply to prevent further damage.
- 2. Call a professional plumber: Contact a professional plumber who has the expertise and tools to handle major leaks. They will assess the situation and provide the necessary repairs.
- 3. Follow their recommendations: Listen to the advice and recommendations of the professional plumber. They might suggest replacing certain pipes or parts to ensure a long-lasting solution.
Tips for preventing future leaks in pipes
Prevention is always better than cure pertaining to leaks in pipes. Here are some tips to help you prevent future leaks:
- 1. Regularly inspect your pipes: Take the time to inspect your pipes for any signs of leaks or damage. Early detection can help prevent major leaks.
- 2. Maintain proper water pressure: Excessive water pressure can put strain on your pipes and lead to leaks. Make sure to maintain the recommended water pressure.
- 3. Insulate your pipes: Insulating your pipes can protect them from extreme temperatures and prevent them from freezing or bursting.
- 4. Avoid chemical drain cleaners: Chemical drain cleaners can corrode your pipes and cause leaks. Opt for alternative methods to unclog drains.
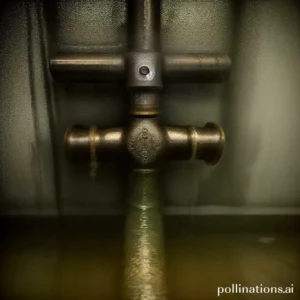
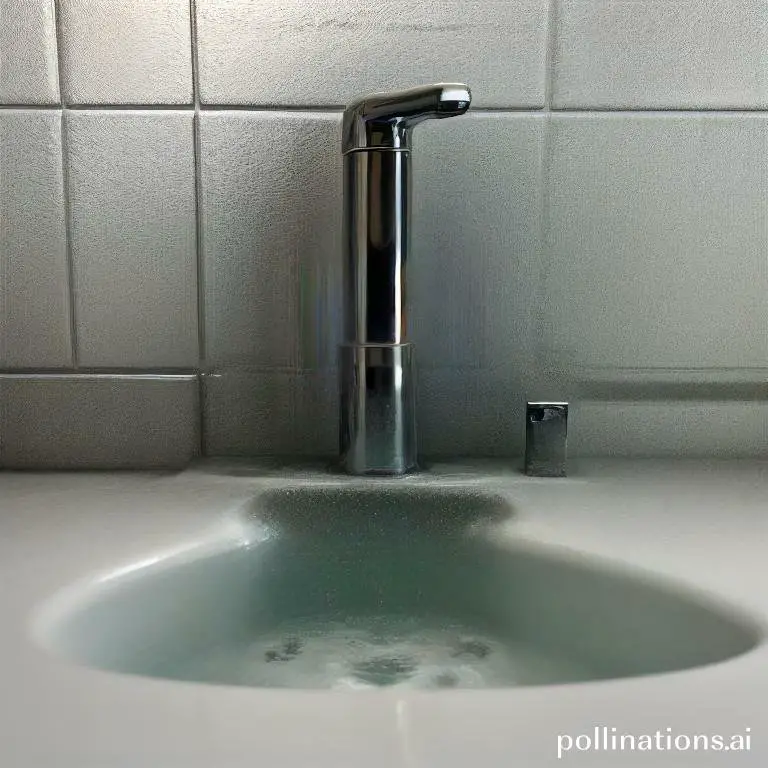
Repairing leaks in faucets
1. Steps for fixing minor leaks in faucets
Minor leaks in faucets can be a nuisance, but they can often be fixed with a few simple steps. Follow these instructions to repair minor leaks in your faucets:
- Turn off the water supply: Before you begin any repairs, it’s essential to turn off the water supply to the faucet. This will prevent any further water damage and make the repair process easier.
- Identify the source of the leak: Inspect the faucet closely to determine where the leak is coming from. It could be a worn-out washer, a loose connection, or a damaged valve.
- Replace the washer: If the leak is caused by a worn-out washer, remove the old washer and replace it with a new one. Make sure to choose the correct size and type of washer for your faucet.
- Tighten loose connections: If the leak is caused by a loose connection, use a wrench to tighten the nuts or bolts. Be careful not to overtighten, as it can damage the faucet.
- Check the valve: If the leak persists, the problem might be with the valve. Inspect the valve and replace it if necessary. It’s recommended to seek professional help if you’re not familiar with valve replacements.
- Test the repaired faucet: Turn on the water supply and check if the leak has been fixed. If the faucet is still leaking, double-check your repair work or consider contacting a plumber for assistance.
2. Addressing major leaks in faucets
Major leaks in faucets require immediate attention to prevent water damage and wastage. If you’re dealing with a major leak, follow these steps:
- Turn off the water supply: As with minor leaks, the first step is to turn off the water supply to the faucet. This will stop the water flow and minimize the damage.
- Contact a professional plumber: Major leaks often indicate a more significant issue with the faucet or plumbing system. It’s best to contact a professional plumber who can accurately diagnose the problem and provide the necessary repairs.
- Follow the plumber’s recommendations: Once the plumber assesses the situation, they will recommend the appropriate repairs or replacements. It’s crucial to follow their advice to fix the major leak effectively.
- Monitor the repaired faucet: After the plumber completes the repairs, keep a close eye on the faucet to ensure the leak has been resolved. If you notice any recurring leaks or new issues, contact the plumber again for further assistance.
3. Tips for preventing future leaks in faucets
Prevention is key relating to avoiding leaks in faucets. Here are some helpful tips to prevent future leaks:
- Regular maintenance: Perform regular maintenance on your faucets, such as cleaning and lubricating them. This helps keep the components in good condition and reduces the risk of leaks.
- Don’t overtighten: Avoid overtightening the handles or valves, as it can damage the faucet and cause leaks. Tighten them just enough to stop the flow of water.
- Address leaks promptly: If you notice any leaks, no matter how minor, address them promptly. Ignoring leaks can lead to more significant issues and costly repairs.
- Use quality materials: When replacing parts in your faucet, opt for high-quality materials. They are more durable and less likely to develop leaks.
- Monitor water pressure: Excessive water pressure can put stress on your faucets and lead to leaks. Install a pressure regulator if needed to maintain a safe water pressure level.
Patching Leaks in Roofs
Roof leaks can cause significant damage to your home if left unaddressed. It is essential to patch leaks promptly to prevent further issues. This section will provide step-by-step instructions for patching leaks in roofs, addressing major leaks, and tips for preventing future leaks.
1. Steps for Patching Leaks in Roofs
- Identify the source of the leak: Start by inspecting your roof to locate the area where the leak is occurring. Look for signs of water stains or dampness.
- Clean the area: Clear any debris or dirt from the damaged area to ensure proper adhesion of the patching material.
- Apply roofing cement: Using a trowel, carefully apply roofing cement to the damaged area. Smooth it out to create a watertight seal.
- Secure the patch: Place a patch or roofing material over the cement and press it firmly into place. Make sure it overlaps the damaged area to create a strong bond.
- Seal the edges: Apply additional roofing cement along the edges of the patch to ensure complete sealing.
2. Addressing Major Leaks in Roofs
Major leaks in roofs require more extensive repairs. It is recommended to seek professional assistance in such cases. A roofing expert can assess the extent of the damage and provide effective solutions to fix the leaks.
3. Tips for Preventing Future Leaks in Roofs
- Maintain regular roof inspections: Regularly inspect your roof for any signs of damage or wear. Addressing minor issues early can prevent them from developing into major leaks.
- Keep gutters clean: Clogged gutters can cause water to overflow and seep into the roof. Clean your gutters regularly to ensure proper water drainage.
- Trim tree branches: Overhanging tree branches can damage the roof during storms or high winds. Trim them to prevent potential leaks.
- Check flashing and seals: Inspect the flashing and seals around vents, chimneys, and skylights. Make sure they are intact and properly sealed to prevent water infiltration.
| Fact | Data |
|---|---|
| Roofing Material | Asphalt shingles, metal, tile, etc. |
| Recommended Inspection Frequency | Twice a year |
| Common Causes of Roof Leaks | Missing shingles, damaged flashing, clogged gutters |
Bottom Line
DIY leak repairs can be done without specialized tools, but it’s important to know your limits and when to call in a professional. Small leaks can often be fixed with simple solutions like tightening a loose connection or replacing a worn-out washer. Despite this, larger leaks or those involving complex plumbing systems may require the expertise of a licensed plumber. It’s also important to prioritize safety when attempting any DIY repairs, including turning off the water supply and wearing protective gear. With the right knowledge and precautions, DIY leak repairs can save you money and prevent further damage to your home.
Remember, prevention is key relating to leaks. Regularly inspecting your plumbing system and addressing any issues promptly can help prevent costly repairs down the line. And if you’re unsure about how to handle a leak, don’t hesitate to seek professional help. In the end, it’s better to be safe than sorry.
Read More:
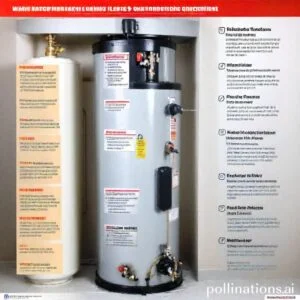
1. Leaks In High-Altitude Water Heaters
2. Water Heater Leaks And Local Climate Considerations