II. DIY leak repairs for electric water heaters involve identifying the location of the leak, shutting off the power supply, draining the tank, and applying appropriate fixes such as tightening loose fittings, replacing damaged parts, or patching up small holes.
III. It is important to exercise caution when attempting DIY repairs and to seek professional help if the issue is beyond your capabilities, as improper repairs may lead to further damage or safety hazards.
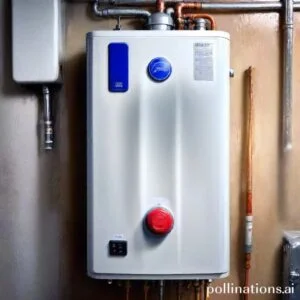
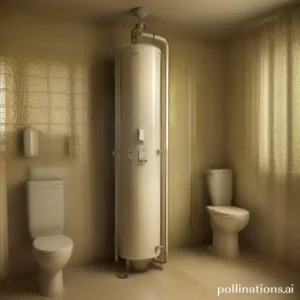
Learn how to fix leaks in electric water heaters with our DIY guide. In this article, we will provide step-by-step instructions on how to identify and repair common leaks in your electric water heater.
From replacing faulty valves to sealing leaks in the tank, our guide will help you save money on costly repairs and keep your water heater running efficiently. Don’t let a leaky water heater dampen your day – take control with our easy-to-follow DIY solutions.
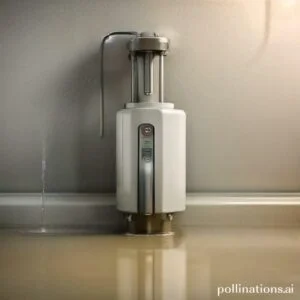
Identifying the Leak
In this section, we will discuss the signs of a leak in an electric water heater and the steps to locate the source of the leak.
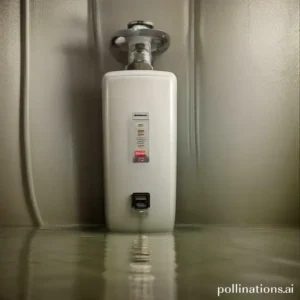
1. Signs of a leak in an electric water heater
If you suspect a leak in your electric water heater, there are several signs you can look out for:
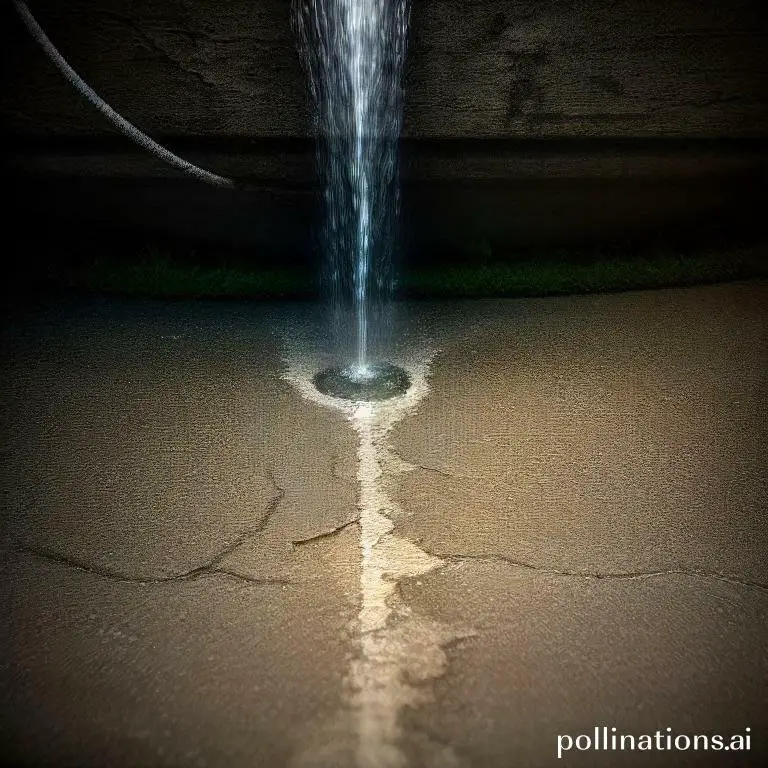
- Pooling water: Check for pools of water around the base of the water heater or on the floor nearby.
- Dampness or moisture: If you notice dampness or moisture on the walls or floor near the water heater, it could indicate a leak.
- Corrosion: Look for any signs of corrosion on the water heater tank or pipes.
- Unusual sounds: Pay attention to any unusual sounds coming from the water heater, such as hissing or dripping.
- Decreased hot water supply: If you suddenly have less hot water than usual, it could be a result of a leak in the water heater.
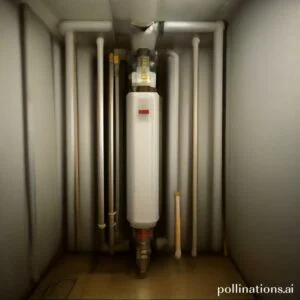
2. Steps to locate the source of the leak
If you have identified signs of a leak in your electric water heater, follow these steps to locate the source:
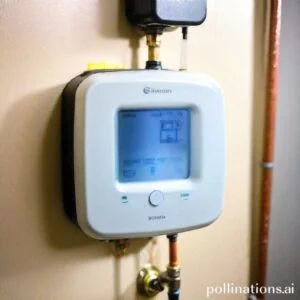
- Turn off the power: Before inspecting the water heater, make sure to turn off the power supply to avoid any accidents.
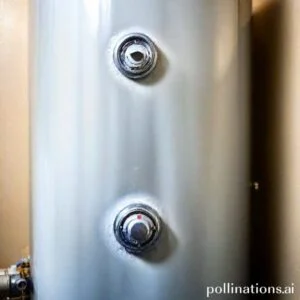
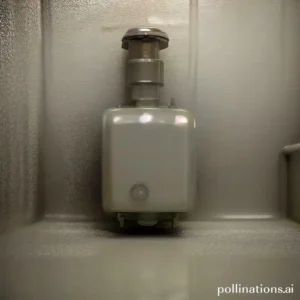
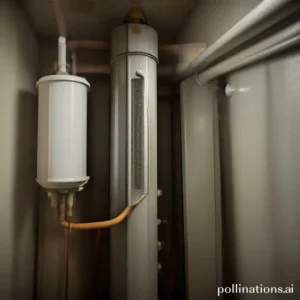
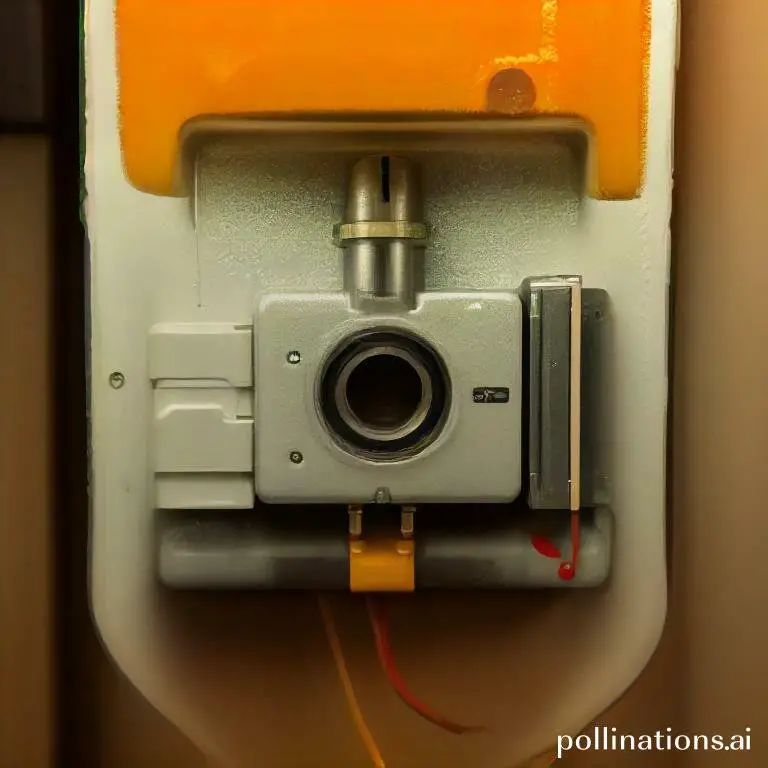
- Check the temperature and pressure relief valve (TPR valve): The TPR valve is a common source of leaks. Inspect it for any signs of leakage or dripping.
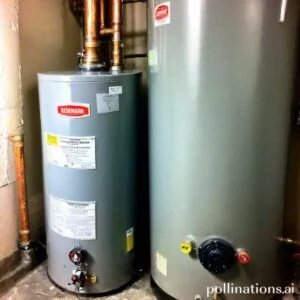
- Inspect the drain valve: The drain valve at the bottom of the water heater can also be a potential source of leaks. Look for any signs of leakage or mineral deposits.
- Examine the water heater tank: Carefully inspect the tank for any cracks, holes, or signs of corrosion.
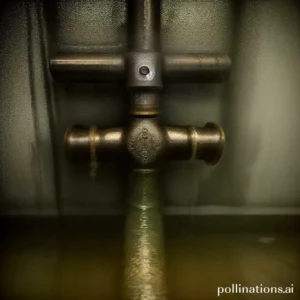
- Inspect the pipes and fittings: Check all the pipes and fittings connected to the water heater for any signs of leakage.
| Signs of a Leak | Steps to Locate the Source |
|---|---|
| Pooling water | Turn off the power |
| Dampness or moisture | Check the TPR valve |
| Corrosion | Inspect the drain valve |
| Unusual sounds | Examine the water heater tank |
| Decreased hot water supply | Inspect the pipes and fittings |
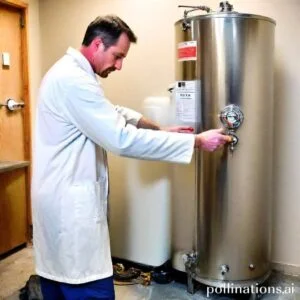
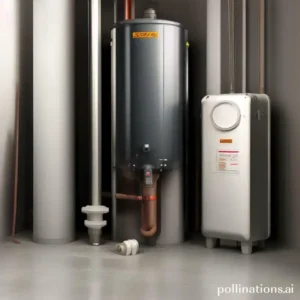
Preparing for the Repair
Relating to repairing any item, it’s essential to be well-prepared. This section will outline the necessary tools and materials you’ll need, as well as the safety precautions you should take before starting the repair.
Necessary Tools and Materials
To successfully complete the repair, gather the following tools and materials:
- Screwdriver set: A set of screwdrivers in various sizes will be handy for removing screws.
- Pliers: Pliers can be useful for gripping and manipulating small parts.
- Wire cutters: Wire cutters will come in handy if you need to cut or remove wires.
- Multimeter: A multimeter is essential for testing electrical connections and troubleshooting issues.
- Replacement parts: Identify the specific parts you’ll need for the repair and ensure you have them on hand.
- Protective gear: Don’t forget to wear safety goggles, gloves, and a mask to protect yourself during the repair.
Safety Precautions
Prioritize your safety by upholding these precautions before starting the repair:
- Disconnect power: If the repair involves electricity, always disconnect the power source before proceeding.
- Turn off water supply: For plumbing repairs, shut off the water supply to avoid any leaks or flooding.
- Read instructions: Familiarize yourself with the repair instructions and any warnings or precautions provided.
- Work in a well-ventilated area: If the repair involves chemicals or fumes, make sure you have proper ventilation.
- Use proper lifting techniques: When dealing with heavy objects, remember to lift with your legs, not your back, to avoid injury.
- Keep a clean workspace: Clear any clutter and ensure you have enough space to work safely and efficiently.
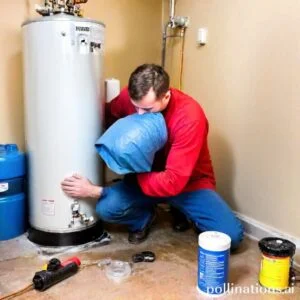
Repairing the Leak
Touching on dealing with leaks in your home, it’s important to take immediate action to prevent further damage. In this section, we will probe different solutions for repairing leaks, ranging from temporary fixes to permanent solutions.
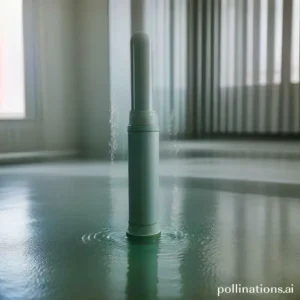
Temporary solutions for minor leaks
If you notice a minor leak in your home, there are a few temporary solutions you can try before calling a professional. These quick fixes can help minimize the damage and buy you some time until a permanent solution can be implemented.
- Tape: One of the simplest temporary fixes for minor leaks is using waterproof tape. This can be applied directly over the leaking area to create a temporary seal and prevent water from leaking further.
- Epoxy putty: Another option is to use epoxy putty, which can be molded and applied to the leaking area. This putty hardens quickly and provides a temporary seal, giving you some time to arrange for a permanent solution.
Permanent solutions for major leaks
If you’re dealing with a major leak that requires a more long-term solution, it’s best to consult a professional plumber. They will be able to assess the extent of the damage and recommend the most suitable permanent fix for your specific situation.
- Pipe replacement: In some cases, the best solution for a major leak is to replace the damaged pipe entirely. This ensures a long-lasting fix and eliminates the risk of future leaks.
- Sealant application: Another option for permanent leak repair is applying a specialized sealant to the leaking area. This sealant forms a strong bond with the pipe and creates a durable seal, preventing any further leaks.
Testing for Success
In terms of repairing any device or system, thorough testing is crucial to ensure success. In this section, we will outline the steps to test the repair and troubleshoot potential issues that may arise.
1. Steps to test the repair
Before considering the repair process complete, indispensable to conduct comprehensive testing. Follow these steps to ensure that the repair has been successful:
- Step 1: Power on the device and check for any error messages or abnormal behavior.
- Step 2: Test all the functionalities of the device to ensure they are working as intended.
- Step 3: Check for any performance issues or slowdowns that may have been introduced during the repair.
- Step 4: Verify that all the necessary components and connections are properly functioning.
- Step 5: Conduct stress tests to determine the device’s stability and endurance under heavy usage.
2. Troubleshooting potential issues
Despite thorough testing, there may still be potential issues that arise after the repair. Here are some common troubleshooting steps to address these issues:
- Issue 1: Device not turning on – Check the power source, battery, or power supply unit.
- Issue 2: Malfunctioning functionalities – Inspect the connections, software settings, or replace faulty components.
- Issue 3: Performance issues – Optimize software settings, check for malware, or upgrade hardware if necessary.
- Issue 4: Connectivity problems – Ensure proper network settings, update drivers, or check for physical damage to cables.
| Repair Testing Checklist | Results |
|---|---|
| Power on the device and check for errors | No error messages |
| Test all functionalities | All functionalities working |
| Check for performance issues | No performance issues |
| Verify components and connections | All components and connections functional |
| Conduct stress tests | Device stable under heavy usage |

Preventing Future Leaks
Leaking is a common issue that can cause significant damage if not addressed promptly. To ensure the longevity of your property and avoid costly repairs, it is essential to take proactive measures to prevent leaks. In this section, we will probe some effective strategies to keep your space leak-free.
1. Regular Maintenance to Prevent Leaks
Maintaining your property is crucial in preventing leaks. By implementing a regular maintenance routine, you can identify and address potential issues before they escalate. Here are some key areas to focus on:
- Roof: Inspect your roof periodically for any signs of damage, such as missing shingles or cracked tiles. Ensure proper drainage and clear any debris that may accumulate.
- Pipes: Check for any leaks or corrosion in your plumbing system. Insulate pipes to prevent freezing during colder months.
- Gutters: Clean your gutters regularly to prevent clogs and ensure proper water flow. This will help prevent water from seeping into your property’s foundation.
- Seals: Inspect the seals around windows and doors for any cracks or gaps. Replace or repair damaged seals to prevent water infiltration.
2. Common Mistakes to Avoid
Even with regular maintenance, it’s essential to be aware of common mistakes that can lead to leaks. By avoiding these pitfalls, you can further safeguard your property:
- Neglecting Repairs: Ignoring small leaks or postponing necessary repairs can result in more significant issues down the line. Address any leaks promptly to prevent further damage.
- Improper Installation: Whether it’s a faulty plumbing installation or incorrectly installed roofing materials, improper installation can increase the risk of leaks. Hire professionals for proper installation and ensure adherence to industry standards.
- Overlooking Maintenance: Regular maintenance is key to preventing leaks, as mentioned earlier. Neglecting this aspect can leave your property vulnerable to water damage.
Bottom Line
DIY leak repairs for electric water heaters can be a cost-effective solution for homeowners. Albeit, essential to understand the risks involved and to follow proper safety precautions. It is also important to assess the severity of the leak and determine if professional assistance is necessary. In some cases, attempting to repair the leak yourself may cause more damage and end up costing more in the long run. If you do decide to attempt a DIY repair, make sure to follow manufacturer instructions and use the appropriate tools and materials. Remember, safety should always be the top priority when working with electric water heaters.
Overall, in the course of DIY leak repairs can be a viable option, essential to weigh the pros and cons and make an informed decision. If in doubt, it is always best to seek professional assistance to ensure the safety and longevity of your electric water heater.
Read More:
1. Diy Leak Detection For Gas Water Heaters
2. Water Heater Leaks And Home Safety Considerations