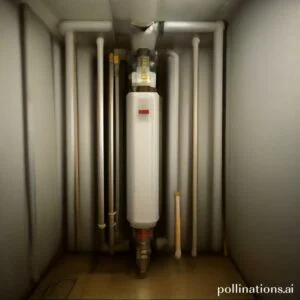
II. Condensation occurs when the water heater tank is colder than the surrounding air, while leaks are caused by cracks or damage to the tank or pipes.
III. It is important to regularly check for signs of both condensation and leaks, and to address any issues promptly to prevent further damage or safety hazards.
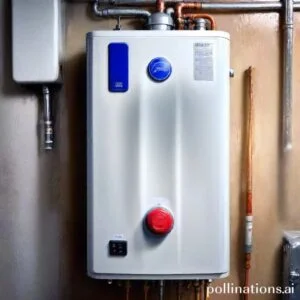
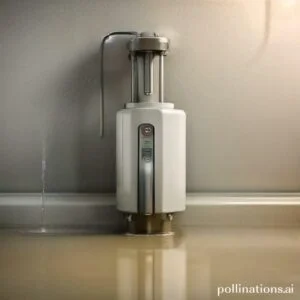
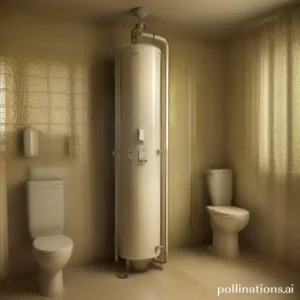
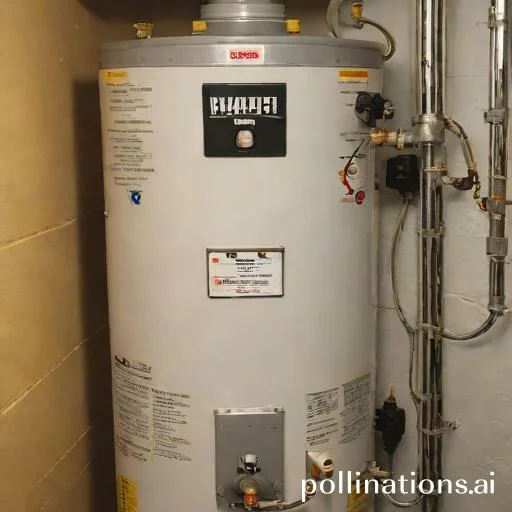
Water heaters play a crucial role in our daily lives, providing us with hot water for various purposes. One common issue that homeowners face is the dilemma between condensation and leaks in their water heaters.
Mastering the difference between these two problems is essential for maintaining the efficiency and longevity of your water heater. Condensation occurs when warm air comes into contact with the cold surface of the water heater, resulting in droplets of water forming on the tank.
Though, leaks refer to the physical escape of water from the tank, indicating a potential problem with the unit. By grasping the distinctions between condensation and leaks, you can effectively identify and address any issues that may arise with your water heater.
Embracing Condensation
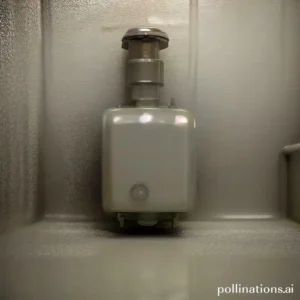
1. What is condensation in water heaters?
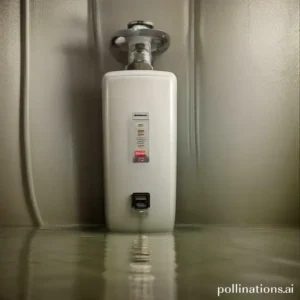
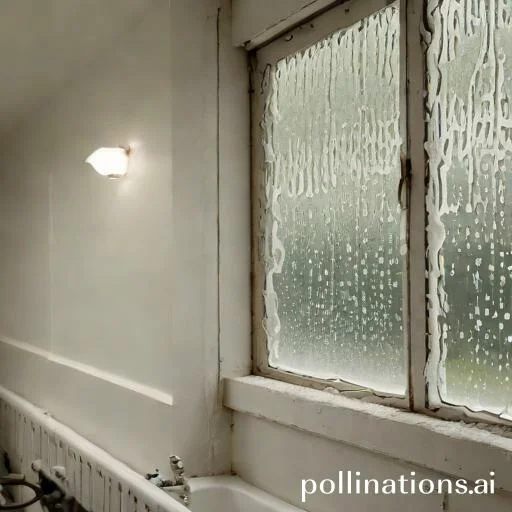
In the context of water heaters, condensation refers to the process of water vapor cooling and transforming into liquid form. This occurs when the hot water produced by the heater comes into contact with colder surfaces, causing the vapor to condense.
Condensation in water heaters can be both natural and problematic. At the same time some condensation is normal and expected, excessive condensation can lead to issues such as corrosion, mold growth, and reduced efficiency.
2. Causes of condensation
There are several factors that contribute to condensation in water heaters. One of the main causes is a significant difference in temperature between the hot water inside the tank and the surrounding air or surfaces. This temperature difference causes moisture in the air to condense on the colder surfaces of the tank.
Other factors that can contribute to condensation include poor insulation, high humidity levels in the surrounding environment, and inadequate ventilation. These factors can create the ideal conditions for condensation to occur, increasing the risk of related problems.
3. Signs of condensation
Identifying condensation in a water heater can be relatively straightforward. One common sign is the presence of water droplets or puddles around the tank or on nearby surfaces. Additionally, you may notice a musty odor or the growth of mold or mildew in the vicinity of the water heater.
Integral to address condensation issues promptly as they can lead to more significant problems if left unattended. Regular inspection and maintenance can help detect condensation early on and prevent further damage.
4. How to prevent condensation
To prevent condensation in water heaters, several measures can be taken:
- Insulation: Ensure that the water heater tank is properly insulated to minimize the temperature difference between the hot water and the surrounding air.
- Ventilation: Provide adequate ventilation in the area where the water heater is installed to allow for proper air circulation and moisture control.
- Humidity control: Use dehumidifiers or other humidity control methods to maintain optimal humidity levels in the surrounding environment.
- Regular maintenance: Regularly inspect the water heater for any signs of condensation or related issues and address them promptly.
| Causes | Effects | Solutions |
|---|---|---|
| Poor insulation | Corrosion, reduced efficiency | Ensure proper insulation |
| High humidity levels | Mold growth, musty odor | Control humidity, provide ventilation |
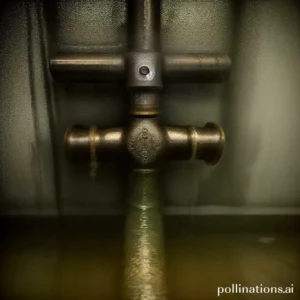
Identifying Leaks
Water heater leaks can be a common problem for homeowners, causing inconvenience and potential damage to the surrounding area. It is essential to identify and address leaks promptly to prevent further issues. In this section, we will scrutinize what leaks in water heaters are, their causes, signs to look out for, and preventive measures.
1. What are leaks in water heaters?
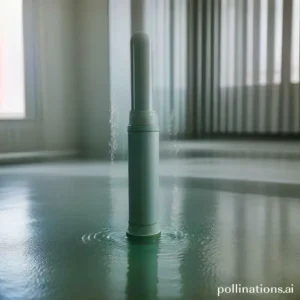
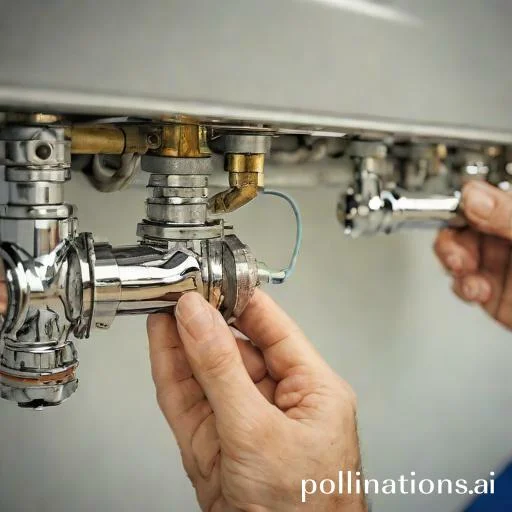
Leaks in water heaters refer to the unintentional escape of water or other fluids from the system. This can occur due to various reasons, such as deteriorated components, loose connections, or excessive pressure. It is crucial to address leaks promptly to avoid potential damage and water wastage.
2. Causes of leaks
Several factors can contribute to leaks in water heaters. Common causes include corroded or damaged valves, faulty temperature or pressure relief valves, worn-out tank linings, or excessive pressure buildup. Identifying the specific cause of the leak is essential to determine the appropriate solution.
3. Signs of leaks
Recognizing the signs of a water heater leak is crucial for early detection and prevention of further damage. Some common indicators include puddles or water stains near the water heater, dripping sounds, a sudden decrease in hot water supply, or an increase in water bills. If any of these signs are present, it is advisable to investigate and address the issue promptly.
4. How to prevent leaks
Preventing water heater leaks can save you from potential inconvenience and costly repairs. Regular maintenance, such as inspecting valves and connections, checking for signs of corrosion, and flushing the tank to remove sediment buildup, can help prevent leaks. Additionally, monitoring water pressure, ensuring proper insulation, and addressing any issues promptly can contribute to the longevity of your water heater.
Fixing Condensation Issues
Condensation can be a frustrating problem to deal with, but fortunately, there are several solutions available to help you combat this issue. Whether you prefer to tackle it yourself or enlist the help of professionals, there are options to suit your needs.
DIY solutions for condensation
If you’re a handy person who enjoys taking on home improvement projects, there are a few DIY solutions you can try to fix condensation issues. Here are some effective methods:
- Proper ventilation: Ensuring that your space has adequate ventilation is crucial in preventing condensation. Use exhaust fans in kitchens and bathrooms, open windows when possible, and consider installing vents in areas prone to moisture buildup.
- Insulating windows and doors: Insulation is key in preventing temperature differences that lead to condensation. Apply weatherstripping or caulking around windows and doors to seal any gaps and keep warm air inside.
- Using dehumidifiers: Dehumidifiers are effective in reducing moisture levels in the air. Place them in rooms with high humidity, such as basements or laundry rooms, to help prevent condensation.
Professional solutions for condensation
If you prefer to leave the task of fixing condensation to the experts, there are professionals who specialize in addressing this issue. Here are some professional solutions you can consider:
- Window replacement: If condensation persists despite your best efforts, it may be time to consider replacing your windows. Modern windows with advanced insulation properties can significantly reduce condensation problems.
- Insulation upgrades: A professional can assess your home’s insulation and recommend upgrades to prevent condensation. This may involve adding insulation to walls, attics, or crawl spaces.
- HVAC system evaluation: Heating, ventilation, and air conditioning (HVAC) systems play a role in controlling humidity levels. A professional can assess your HVAC system and make recommendations to optimize its performance.
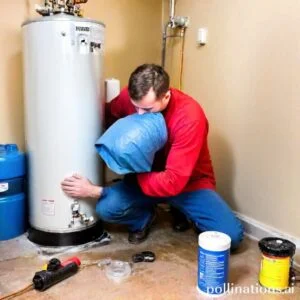
Fixing Leaks
In the realm of leaks in your home, it’s important to address them promptly to avoid any further damage. Whether you prefer to tackle the issue yourself or seek professional help, there are various solutions available to fix leaks and restore the integrity of your home.
DIY Solutions for Leaks
If you have a minor leak and consider yourself a handy individual, you may opt for a do-it-yourself approach. Here are some DIY solutions to consider:
- 1. Patching: If the leak is small and localized, you can use a sealant or patching material to cover the affected area. Make sure to clean and dry the surface before applying the patch.
- 2. Pipe Tape: In the case of a leaking pipe joint, pipe tape can provide a temporary fix. Wrap the tape tightly around the joint to create a seal and stop the leakage.
- 3. Caulking: Leaks around windows or doors can often be fixed with caulk. Apply a bead of caulk along the gap or crack to prevent water from entering your home.
Professional Solutions for Leaks
If the leak is more severe or you’re unsure about fixing it yourself, it’s best to seek professional assistance. Here are some options to consider:
- 1. Plumbing Services: A licensed plumber can quickly locate and repair leaks in your plumbing system. They have the expertise and tools to handle various types of leaks, ensuring a long-lasting solution.
- 2. Roofing Services: If the leak is coming from your roof, contacting a professional roofing company is recommended. They can assess the damage, identify the source of the leak, and perform necessary repairs or replacements.
- 3. Waterproofing Specialists: In cases where leaks are affecting your basement or foundation, waterproofing specialists can provide effective solutions. They can apply sealants, install drainage systems, or perform other waterproofing methods to keep your home dry and protected.
Fixing leaks promptly is crucial to prevent further damage and maintain the integrity of your home. Whether you choose to tackle the issue yourself or hire professionals, addressing leaks promptly will save you time, money, and potential headaches in the long run.
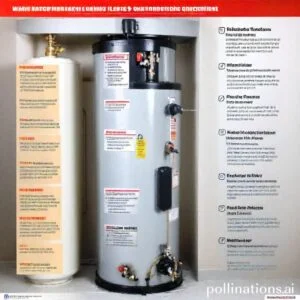
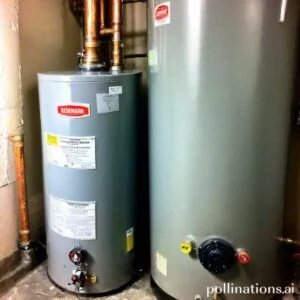
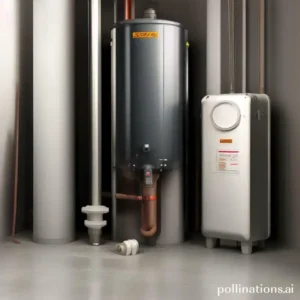
Maintenance Tips for Water Heaters
Water heaters are essential appliances in every household, providing hot water for various purposes. To ensure their longevity and efficient performance, regular maintenance is crucial. In this section, we will discuss important maintenance tips for water heaters.
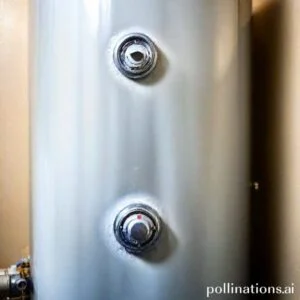
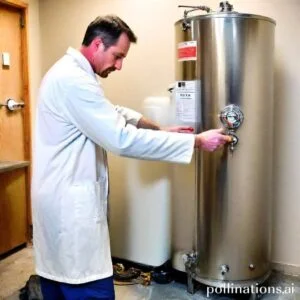
1. Regular Inspection
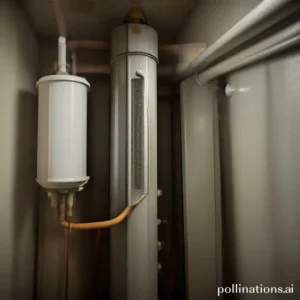
Inspecting your water heater regularly is essential to identify any potential issues before they escalate. Start by checking for any signs of leakage around the tank and connections. Look for rust or corrosion, which can indicate a problem with the anode rod. Additionally, inspect the temperature and pressure relief valve to ensure it is functioning properly.
2. Flushing the Tank
Over time, sediment and mineral deposits can accumulate at the bottom of the water heater tank, affecting its efficiency. Flushing the tank annually helps remove these deposits and improves the heater’s performance. Begin by turning off the power supply to the heater and closing the water inlet valve. Attach a hose to the drain valve at the bottom of the tank and drain the water into a suitable location. Repeat this process until the water runs clear.
3. Replacing Anode Rods
Anode rods are sacrificial components that protect the water heater tank from corrosion. Over time, these rods deteriorate and need replacement. Check the condition of the anode rod during your regular inspections. If it is heavily corroded or worn out, consider replacing it. This simple step can significantly extend the lifespan of your water heater.
4. Temperature and Pressure Relief Valve
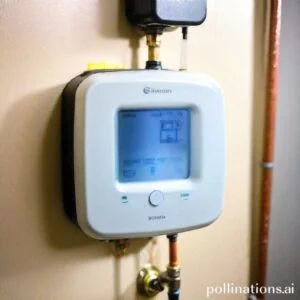
The temperature and pressure relief valve is a safety feature that releases excess pressure or temperature from the water heater tank. Check this valve regularly to ensure it is working correctly. Test it by lifting the lever slightly, and if you hear a rush of water, it indicates that the valve is functioning properly.
, maintaining your water heater through regular inspections, flushing the tank, replacing anode rods when necessary, and checking the temperature and pressure relief valve is crucial for its optimal performance and longevity. By complying with these maintenance tips, you can ensure a reliable supply of hot water for your household needs.
| Maintenance Tips |
|---|
| Regular inspection |
| Flushing the tank |
| Replacing anode rods |
| Temperature and pressure relief valve |
Bottom Line
In the realm of water heaters, condensation and leaks are two common issues that homeowners face. Whilst condensation is a natural occurrence, leaks can be a sign of a more serious problem. It’s important to understand the difference between the two and take appropriate action to prevent damage to your home and ensure the longevity of your water heater.
Regular maintenance and inspection can help identify and address any issues before they become major problems. If you notice any signs of leaks or excessive condensation, it’s best to call a professional plumber to assess the situation and make any necessary repairs. By taking proactive measures, you can avoid costly repairs and ensure that your water heater continues to function efficiently for years to come.
Read More:
1. Water Heater Leak Insurance Coverage
2. How To Prevent Water Heater Pan Leaks