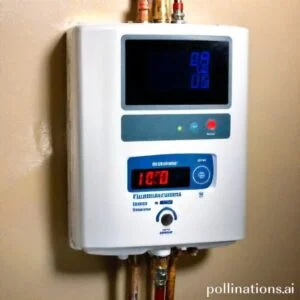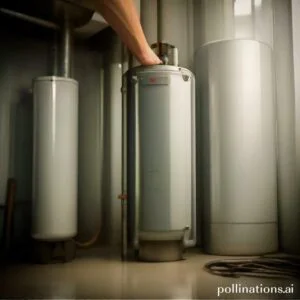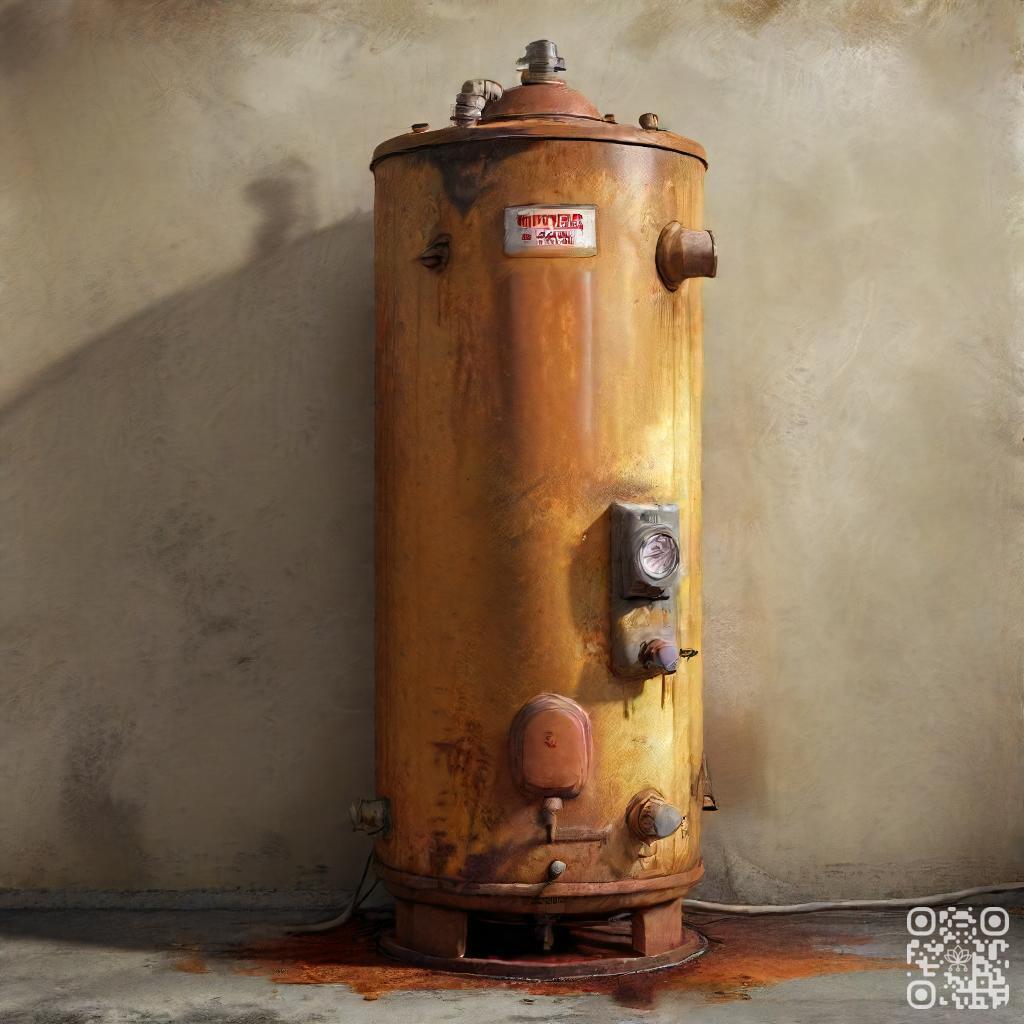
If you neglect to flush your water heater regularly, you could face a range of issues. Over time, sediment and mineral deposits can build up inside the tank, reducing its efficiency and potentially causing damage.
This buildup can also lead to clogs in your pipes and reduce the lifespan of your water heater. Regular flushing helps to remove these deposits and keep your water heater running smoothly.
By neglecting this maintenance task, you may be risking higher energy bills, decreased hot water performance, and even the need for costly repairs or replacement.
How to Flush a Water Heater
Flushing your water heater regularly is essential for maintaining its efficiency and prolonging its lifespan. Follow these simple steps to ensure a smooth and effective flushing process.
1. Turn off the Power Supply
Before starting the flushing process, it is crucial to turn off the power supply to the water heater. This will prevent any accidents or electrical hazards.
2. Turn off the Water Supply
Next, locate the water shut-off valve connected to your water heater and turn it off. This will stop the flow of water into the tank and allow you to drain it effectively.
3. Drain the Tank
Attach a hose to the drain valve located at the bottom of the water heater. Place the other end of the hose in a suitable drainage area, such as a floor drain or outside. Open the valve to allow the water to flow out. Be cautious as the water may be hot.
4. Refill the Tank
Once the tank is completely drained, close the drain valve and disconnect the hose. Turn on the water supply valve to refill the tank. Allow the tank to fill completely before proceeding to the next step.
5. Turn the Power Supply Back On
After the tank is refilled, turn the power supply back on. This will allow the water heater to heat the newly refilled water to the desired temperature.
Regularly flushing your water heater removes sediment and mineral buildup, ensuring optimal performance and energy efficiency. By upholding these steps, you can maintain the longevity of your water heater and enjoy reliable hot water for years to come.
| Steps | Description |
|---|---|
| 1 | Turn off the power supply to the water heater. |
| 2 | Turn off the water supply to the water heater. |
| 3 | Attach a hose to the drain valve and drain the tank. |
| 4 | Refill the tank by turning on the water supply. |
| 5 | Turn the power supply back on. |
Following these steps will help you maintain your water heater and ensure its efficient operation. Remember to perform this maintenance task regularly to prevent any issues and to extend the lifespan of your water heater.
When to flush a water heater
Flushing a water heater is an essential maintenance task that ensures the longevity and efficiency of the appliance. Regular flushing helps to remove sediment buildup and maintain optimal performance. In this section, we will navigate the recommended frequency of flushing and the signs that indicate when flushing is needed.
1. Recommended frequency of flushing
Experts recommend flushing a water heater at least once a year. This frequency may vary depending on factors such as water quality, usage, and the type of water heater. Nonetheless, it is generally a good practice to schedule a yearly flushing to prevent sediment accumulation and potential issues.
2. Signs that indicate flushing is needed
There are certain signs that indicate when flushing your water heater is necessary:
- Discolored water: If you notice rusty or discolored water coming from your taps, it could be a sign of sediment buildup in your water heater. Flushing the tank can help eliminate this issue and restore clear water.
- Strange noises: If you hear popping or rumbling noises coming from your water heater, it may indicate sediment buildup. Flushing the tank can help alleviate these noises and prevent further damage to the appliance.
- Reduced hot water supply: If your hot water supply seems to be diminishing, it could be due to sediment accumulation. Flushing the tank can improve the efficiency of your water heater and restore a steady flow of hot water.
- Foul odor: A foul odor coming from your hot water taps could be a sign of bacteria growth in your water heater. Flushing the tank can help eliminate the odor-causing bacteria and improve water quality.
Benefits of Flushing a Water Heater
Flushing your water heater regularly offers numerous benefits that enrich its efficiency, lifespan, and water quality.
Improved Efficiency
Regular flushing of your water heater helps to remove sediment and mineral buildup that can accumulate over time. These deposits can hinder the heating process and reduce the efficiency of your water heater. Flushing the water heater allows it to operate at its optimal capacity, ensuring faster heating times and lower energy consumption.
Extended Lifespan
Flushing your water heater, you can extend its lifespan. Sediment buildup can cause corrosion and rust inside the tank, leading to leaks and damage. Flushing removes these harmful deposits, reducing the risk of corrosion and prolonging the life of your water heater.
Better Water Quality
Flushing your water heater eliminates accumulated sediment, minerals, and other impurities that can affect water quality. Over time, these contaminants can cause discoloration, strange odors, and a metallic taste in your water. By regularly flushing your water heater, you can enjoy cleaner and fresher-tasting water throughout your home.
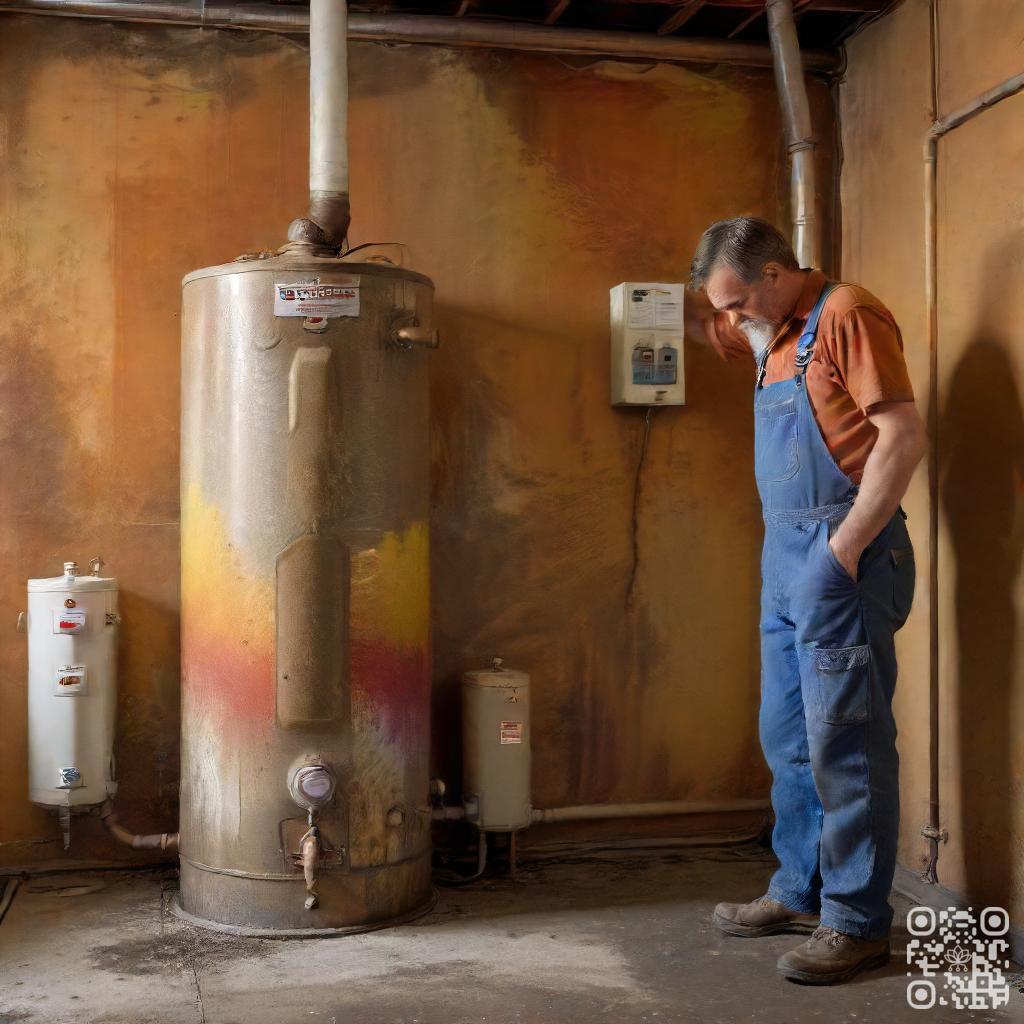
Common Mistakes to Avoid When Flushing a Water Heater
1. Not Turning Off the Power Supply
One of the most crucial steps when flushing a water heater is to ensure that the power supply is turned off. This is essential for your safety and to prevent any electrical accidents. Before starting the flushing process, locate the power switch or circuit breaker that controls the water heater and switch it off. This will avoid any potential risks and allow you to work on the heater without any electrical hazards.
2. Not Turning Off the Water Supply
Another common mistake to avoid is forgetting to turn off the water supply before flushing the water heater. Failing to do so can result in water flowing into the tank at the same time you are trying to drain it, making the flushing process ineffective. Locate the water shut-off valve connected to the water heater and close it tightly. This will prevent any new water from entering the tank and allow you to flush out the existing water properly.
3. Not Draining the Tank Completely
When flushing a water heater, it is crucial to drain the tank completely to remove any sediment or mineral buildup. Many people make the mistake of not draining the tank fully, leaving behind some debris that can continue to affect the heater’s performance. To ensure a thorough flush, attach a garden hose to the drain valve at the bottom of the tank and direct the other end to a suitable drainage area. Open the valve and let the water flow until it runs clear, indicating that the tank is emptied of any sediment.
| Mistake | Description |
|---|---|
| 1 | Not turning off the power supply |
| 2 | Not turning off the water supply |
| 3 | Not draining the tank completely |
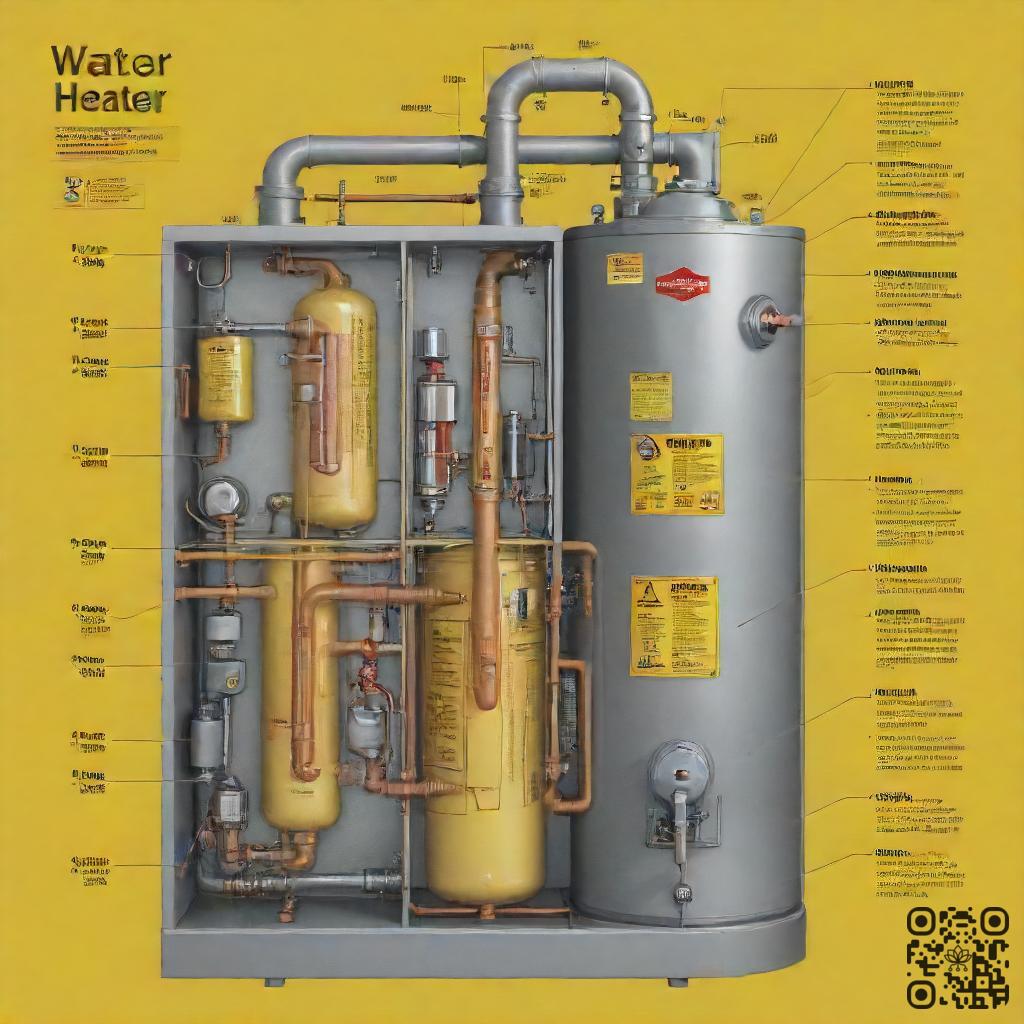
Tips for Maintaining a Water Heater
A water heater is an essential appliance that provides hot water for various household tasks. To ensure its longevity and optimal performance, follow these tips:
1. Regular Inspections
Regularly inspecting your water heater can help identify any potential issues early on. Look for signs of leaks, corrosion, or sediment buildup. If you notice any problems, it’s best to call a professional plumber to address them promptly.
2. Checking the Anode Rod
The anode rod plays a crucial role in preventing corrosion within the water heater tank. Over time, the rod can deteriorate and require replacement. Check the condition of the anode rod annually and replace it if necessary. This simple step can significantly extend the lifespan of your water heater.
3. Adjusting the Temperature
Setting the temperature of your water heater at the appropriate level is essential for both safety and energy efficiency. The recommended temperature is typically between 120 and 140 degrees Fahrenheit. Adjusting the temperature too high can lead to scalding accidents, at the same time setting it too low can result in bacterial growth. Find the right balance for your household’s needs.
| Tip | Description |
|---|---|
| 1. Regular Inspections | Inspect your water heater for leaks, corrosion, and sediment buildup. |
| 2. Checking the Anode Rod | Check the condition of the anode rod and replace it if necessary. |
| 3. Adjusting the Temperature | Set the temperature within the recommended range of 120-140 degrees Fahrenheit. |
Bottom Line
Flushing your water heater is an essential maintenance task that should not be overlooked. Neglecting to flush your water heater can lead to a buildup of sediment and minerals, which can cause damage to your unit and reduce its efficiency. Over time, this can result in higher energy bills and the need for costly repairs or replacement. Additionally, a lack of maintenance can lead to health hazards, such as the growth of harmful bacteria in your water supply. By flushing your water heater regularly, you can extend its lifespan, improve its performance, and ensure that your family has access to clean, safe water. Don’t wait until it’s too late – make flushing your water heater a priority today.
Read More:
1. Are There Signs My Water Heater Needs Flushing?
2. How To Flush A Gas Water Heater Safely?
