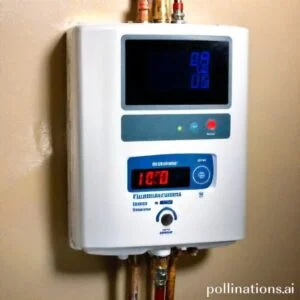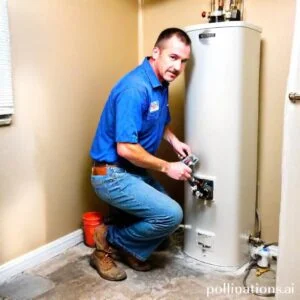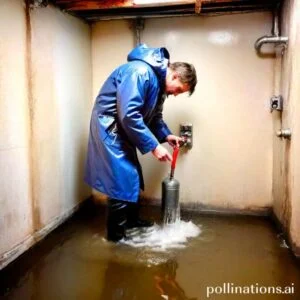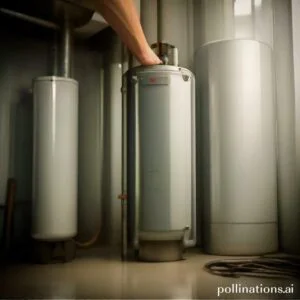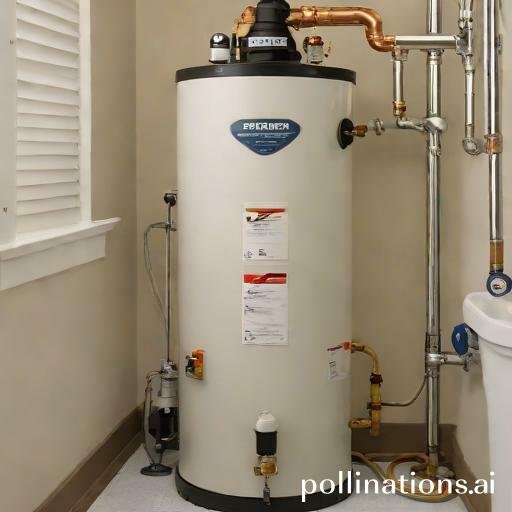
II. Before flushing, turn off the water heater and cold water supply, connect a hose to the drain valve, and open the valve to drain the tank.
III. After draining, close the valve, turn on the cold water supply, and open the hot water faucet to allow air to escape before turning on the heater.
Flushing a water heater is an essential maintenance task that ensures the longevity and efficiency of your appliance. In this guide, we will discuss the process of flushing a water heater specifically when using a water softener.
By removing sediment and mineral buildup, you can prevent clogs, improve water flow, and extend the lifespan of your water heater. Follow the step-by-step instructions to effectively flush your water heater and keep it running smoothly.
Say goodbye to inefficient heating and hello to optimized performance with this simple yet vital maintenance task.
Absorbing Water Softeners
1. How water softeners work
Water softeners are devices that help remove minerals, such as calcium and magnesium, from hard water. Hard water contains high levels of these minerals, which can cause various issues like limescale buildup, reduced soap effectiveness, and damage to appliances and plumbing systems.
Water softeners operate on a simple principle. They use a process called ion exchange to replace the calcium and magnesium ions in the water with sodium ions. This exchange is facilitated by resin beads inside the water softener tank. As hard water flows through the tank, the resin beads attract and hold onto the calcium and magnesium ions, releasing sodium ions into the water.
2. Types of water softeners
There are different types of water softeners available, each with its own advantages and limitations.
| Type | Advantages | Limitations |
|---|---|---|
| Salt-Based Ion Exchange Water Softeners | Highly effective at removing minerals; suitable for larger households or areas with very hard water | Require regular replenishment of salt; produce wastewater during the regeneration process |
| Salt-Free Water Conditioners | Do not require salt or produce wastewater; low maintenance | Not as effective as salt-based softeners for extremely hard water; may not provide the same softening effects |
| Reverse Osmosis Systems | Remove a wide range of contaminants, including minerals; provide purified drinking water | More expensive; not specifically designed for water softening |
It’s important to consider factors like water hardness, household size, and budget when choosing a water softener. Consulting with a professional or conducting thorough research can help you make an informed decision.
Preparing for Water Heater Flushing
Flushing your water heater regularly is essential for maintaining its efficiency and prolonging its lifespan. This process involves removing sediment and mineral buildup that can accumulate over time. By conforming to these simple steps, you can ensure a successful flushing and keep your water heater running smoothly.
Safety Precautions
Prior to starting the flushing process, it is crucial to take necessary safety precautions to avoid any accidents or injuries. Here are some important steps to follow:
- Turn off the power supply to the water heater to prevent electric shocks.
- Close the gas valve if you have a gas-powered water heater.
- Allow the water inside the tank to cool down before proceeding.
- Put on protective gloves and eyewear to protect yourself from hot water and debris.
Gathering Necessary Tools
Before you begin flushing your water heater, make sure you have the following tools readily available:
- A garden hose long enough to reach a suitable drainage area.
- A screwdriver or wrench to open the drain valve.
- A bucket or large container to collect the flushed water and sediment.
Turning off the Water Heater
Once you have taken the necessary safety precautions and gathered all the required tools, it’s time to turn off the water heater. Follow these steps:
- Locate the power supply switch or circuit breaker and switch it off.
- If you have a gas-powered water heater, turn the gas valve to the “off” position.
- Allow the water heater to cool down for at least one hour.
Draining the Water Heater
Relating to maintaining your water heater, one important task is draining the tank to remove sediment buildup and ensure optimal performance. Follow these steps to effectively drain your water heater:
1. Locating the Drain Valve
The first step is to locate the drain valve on your water heater. This valve is typically located near the bottom of the tank and is used to release the water.
2. Attaching a Hose to the Drain Valve
Next, you will need to attach a hose to the drain valve. This hose will be used to direct the water away from the tank and prevent any potential mess. Make sure the hose is securely attached to the valve to avoid any leaks.
3. Opening the Drain Valve
Once the hose is properly attached, it’s time to open the drain valve. Turn the valve counterclockwise to release the water from the tank. Keep in mind that the water may be hot, so exercise caution.
Draining your water heater is an important maintenance task that should be done regularly to prevent sediment buildup and maintain efficient operation. By abiding by these steps, you can ensure that your water heater continues to provide you with hot water when you need it.

Flushing the Water Heater with a Water Softener
Flushing your water heater regularly is essential for maintaining its efficiency and prolonging its lifespan. By connecting a water softener to your water heater, you can further enrich its performance and prevent mineral buildup. Here’s a step-by-step guide on how to flush a water heater with a water softener:
1. Connecting the Water Softener to the Water Heater
The first step is to connect your water softener to the water heater. Ensure that the water softener is properly installed and functioning correctly. You can consult the manufacturer’s instructions for guidance on the installation process. Once the connection is established, you’re ready to proceed to the next step.
2. Turning on the Water Softener
After connecting the water softener, make sure it is turned on and operating correctly. The water softener will remove the minerals from the water, preventing them from accumulating in your water heater. This step is crucial for maintaining optimal performance and extending the lifespan of your water heater.
3. Flushing the Water Heater with Soft Water
Now that the water softener is operational, it’s time to flush your water heater using soft water. Start by turning off the power supply to the water heater and closing the water inlet valve. Connect a hose to the drain valve of the water heater and place the other end in a suitable drainage area. Open the drain valve to release the water and any sediment or mineral buildup inside the tank. Allow the water to flow until it runs clear.
Once the water is clear, close the drain valve and remove the hose. Open the water inlet valve to refill the tank with soft water from the water softener. Turn on the power supply to the water heater and wait for it to heat the water to the desired temperature. Your water heater is now flushed and ready to provide you with efficient and clean hot water.
Flushing your water heater with a water softener is a simple yet effective way to maintain its performance and prevent mineral buildup. By abiding by these steps regularly, you can ensure that your water heater operates efficiently and lasts for years to come.
| Step | Description |
|---|---|
| 1 | Connecting the Water Softener to the Water Heater |
| 2 | Turning on the Water Softener |
| 3 | Flushing the Water Heater with Soft Water |
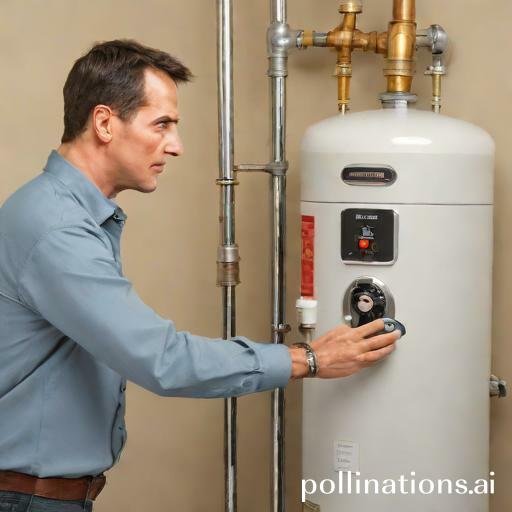
Refilling the Water Heater
Closing the drain valve
Before refilling your water heater, essential to close the drain valve securely. This valve is typically located near the bottom of the tank and is used to drain the water from the heater. By closing the drain valve properly, you ensure that the water will not leak out whilst refilling.
Turning on the cold water supply
Once the drain valve is closed, it’s time to turn on the cold water supply. Locate the valve that controls the water flow into your water heater and open it fully. This allows the cold water to enter the tank and start refilling the heater.
Turning on the water heater
After the cold water supply is turned on, you can now turn on the water heater itself. Look for the control knob or switch that activates the heating element or burner. Follow the manufacturer’s instructions to safely turn on the heater and set it to the desired temperature.
Refilling the water heater is a simple process that ensures you have a steady supply of hot water. By maintaining these steps, you can maintain the efficiency and lifespan of your water heater.
Note: Imperative to regularly maintain and refill your water heater to prevent issues such as sediment buildup or insufficient hot water supply.
Table: Water Heater Refilling Guidelines
| Step | Description |
|---|---|
| 1 | Close the drain valve securely |
| 2 | Turn on the cold water supply |
| 3 | Turn on the water heater |
Bottom Line
Flushing your water heater with a water softener is a simple and effective way to extend the life of your appliance and improve the quality of your hot water. By removing mineral buildup and sediment, you can prevent corrosion and improve energy efficiency. In contrast, it’s important to follow the manufacturer’s instructions and safety guidelines to avoid damaging your water heater or causing injury. Regular maintenance and flushing can also help you avoid costly repairs and replacements down the line. So, if you want to keep your water heater running smoothly and enjoy better hot water, consider flushing it with a water softener on a regular basis.
Read More:
1. Flushing And Its Impact On Water Heater Pressure Relief Valve
2. How Does Flushing Contribute To Water Heater Efficiency Ratings?
