II. Adding a water conditioner during the flushing process can help improve the water quality and prevent mineral buildup.
III. Follow the manufacturer’s instructions and safety precautions, and consider consulting a professional if unsure about the process.
Flushing your water heater is an essential maintenance task that helps prolong its lifespan and improve its efficiency. When combined with a water conditioner, the benefits are even greater.
By flushing out sediment and mineral buildup, you can prevent clogs, extend the life of your heater, and ensure clean and safe water for your household. In this guide, we will walk you through the step-by-step process of flushing your water heater with a water conditioner, providing you with the knowledge and confidence to maintain your water heater effectively.
Gather the Necessary Tools and Materials
1. Water conditioner
Water conditioner is an essential tool for maintaining the quality of your water. It helps to remove impurities and chemicals that may be harmful to your plants or fish. By using a water conditioner, you can ensure a healthy and thriving aquatic environment.
2. Garden hose
A garden hose is required for filling and draining water in your aquarium or pond. It provides a convenient way to transfer water from one location to another. Make sure to choose a hose that is long enough to reach your water source and is suitable for outdoor use.
3. Bucket
A bucket is a versatile tool that can be used for various tasks in maintaining your aquatic environment. It can be used for collecting water samples, transporting plants or fish, and carrying out water changes. Choose a bucket that is clean and free from any contaminants.
4. Screwdriver
A screwdriver is necessary for assembling or disassembling aquarium equipment. It is used to tighten or loosen screws and fasteners. Make sure to have a set of screwdrivers with different sizes and types to accommodate various equipment in your setup.
5. Pliers
Pliers are useful for handling and manipulating objects in your aquarium or pond. They can be used for tasks such as planting or rearranging aquatic plants, adjusting equipment, and removing debris. Choose pliers that have a comfortable grip and are suitable for water environments.
| Tool/Material | Function |
|---|---|
| Water conditioner | Removes impurities and chemicals from water |
| Garden hose | Transfers water to and from the aquarium or pond |
| Bucket | Collects water samples and aids in water changes |
| Screwdriver | Assembles and disassembles aquarium equipment |
| Pliers | Manipulates objects and adjusts equipment |
Having the necessary tools and materials is crucial for maintaining a healthy and thriving aquatic environment. By gathering these items, you can ensure that you are well-prepared to handle various tasks and challenges that may arise. Remember to always follow proper procedures and safety guidelines when using these tools to ensure the well-being of your aquatic pets and plants.
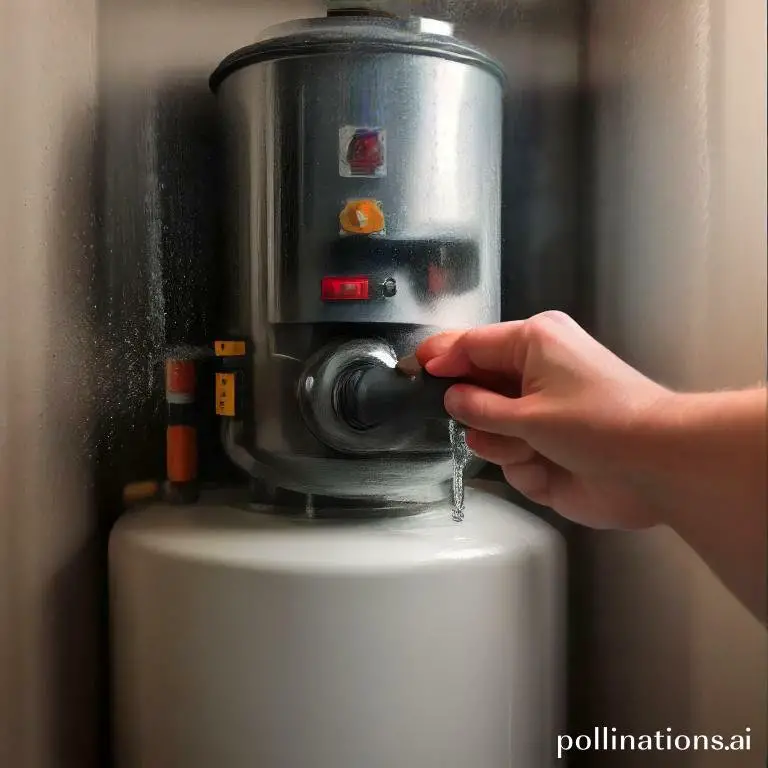
Turn Off the Power and Water Supply
As for shutting down your power and water supply, essential to follow the proper steps to ensure safety and avoid any potential damage. By turning off the power and water supply, you can prevent any accidents or mishaps that may occur.
1. Shut off the power supply
To begin, locate your main electrical panel. It is usually found in the basement or utility room of your home. Open the panel door and look for the main circuit breaker. Flip the switch to the “off” position to shut off the power supply to your entire house. This will prevent any electrical surges or hazards at the same time you work on other tasks.
2. Turn off the water supply
Next, you need to locate the main water valve. This is typically located near your water meter or in the basement. Turn the valve clockwise to shut off the water supply to your home. Vital to note that some houses may have multiple shut-off valves, so make sure to locate and close all of them.
Remember to exercise caution and follow these steps carefully. It is always a good idea to consult a professional if you are unsure about any aspect of turning off the power and water supply in your home.
Drain the Tank
1. Connect the garden hose to the drain valve
To start the process of draining the tank, you will need to connect a garden hose to the drain valve. This will allow the water to flow out of the tank smoothly and efficiently.
2. Open the drain valve
Once the garden hose is securely connected, it’s time to open the drain valve. This will release the water from the tank and begin the draining process.
3. Allow the water to drain completely
Be patient and allow the water to drain completely from the tank. Depending on the size of the tank and the water pressure, this may take some time. It’s important to ensure that all the water has been drained before moving on to the next step.
Add the Water Conditioner
In the realm of maintaining the water quality in your tank, adding a water conditioner is essential. Follow these steps to ensure your tank stays in optimal condition:
Step 1: Close the drain valve
Before adding the water conditioner, make sure to close the drain valve of your tank. This will prevent any water from flowing out and ensure that the conditioner is evenly distributed.
Step 2: Pour the water conditioner into the tank
Once the drain valve is closed, it’s time to add the water conditioner. Carefully pour the recommended amount of conditioner into the tank, following the instructions on the label. This will help neutralize any harmful substances in the water and create a safe environment for your aquatic creatures.
Step 3: Fill the tank with water
After adding the conditioner, fill the tank with fresh water. Be sure to use water that is suitable for your specific tank requirements, whether it’s freshwater or saltwater. Fill the tank slowly to avoid disturbing any existing inhabitants or decorations.
| Step | Description |
|---|---|
| 1 | Close the drain valve |
| 2 | Pour the water conditioner into the tank |
| 3 | Fill the tank with water |

Flush the Tank
Flushing the tank is an essential step in maintaining your system’s performance and longevity. Follow these simple steps to ensure a clean and clear tank:
1. Connect the garden hose to the cold water inlet
To begin the flushing process, securely attach a garden hose to the cold water inlet of your tank. This will allow for easy drainage and removal of any sediment or buildup.
2. Turn on the water supply
Once the hose is securely attached, turn on the water supply. This will allow a steady flow of water to enter the tank and begin the flushing process.
3. Allow the water to run until it is clear
Let the water run through the tank until it becomes clear. This may take a few minutes, depending on the amount of sediment present. Keep a close eye on the water to ensure it is free from any debris.
For more detailed instructions and maintenance tips, consult your system’s manual or contact a professional technician.
| Step | Instructions |
|---|---|
| 1 | Connect the garden hose to the cold water inlet |
| 2 | Turn on the water supply |
| 3 | Allow the water to run until it is clear |
Bottom Line
Flushing your water heater with a water conditioner is a simple and effective way to extend the life of your appliance and improve the quality of your hot water. By removing sediment and mineral buildup, you can prevent corrosion and improve energy efficiency. It’s important to follow the manufacturer’s instructions and safety precautions when flushing your water heater, and to use a high-quality water conditioner that is compatible with your appliance. Regular maintenance and flushing can help you avoid costly repairs and replacements down the line, and ensure that your water heater is functioning at its best. So, don’t neglect this important task and give your water heater the care it deserves.
Read More:
1. Diy Flushing For Water Heaters In Well Water Systems
2. How Does Flushing Contribute To Water Heater Smart Technology?


