
II. The process involves turning off power and water supply, draining the tank, and removing sediment and debris.
III. It is recommended to seek professional help or follow manufacturer’s instructions to avoid any further damage or accidents.
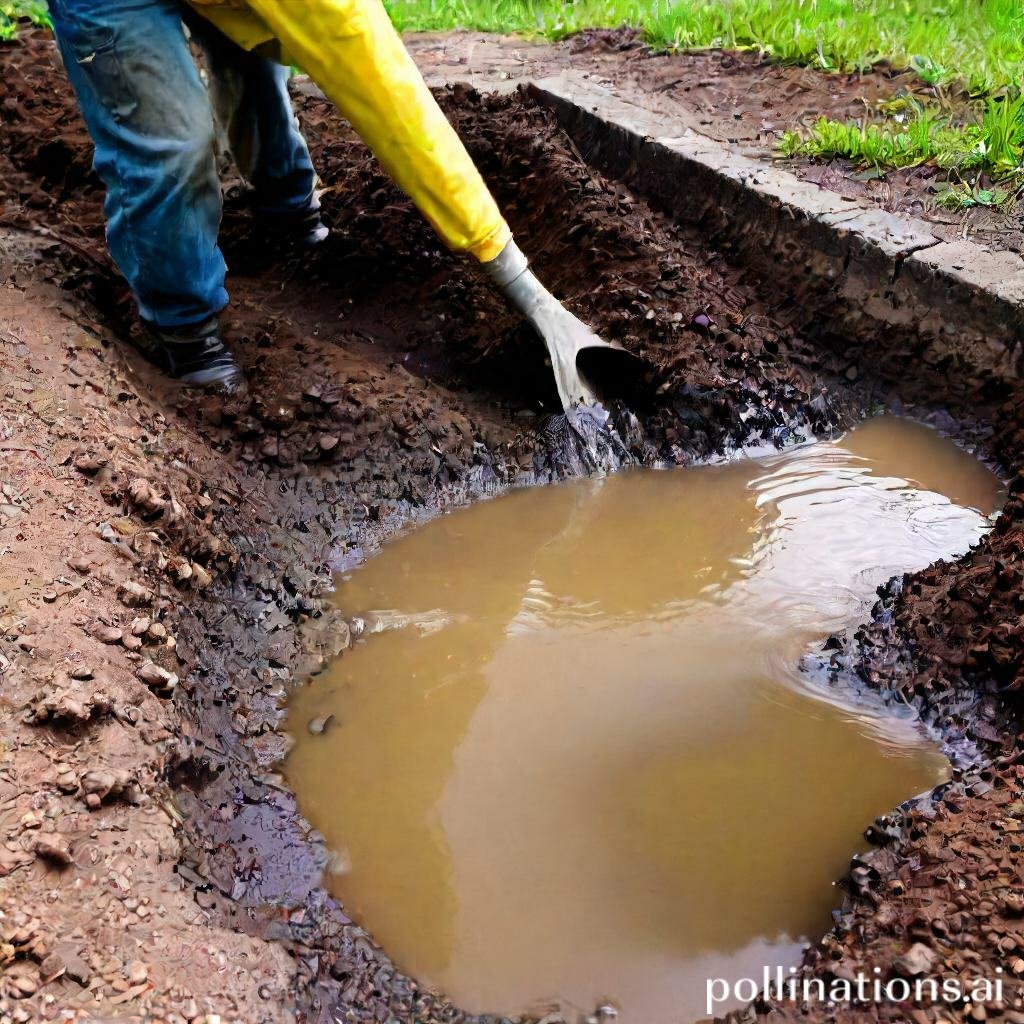
After a flood, it is crucial to properly flush your water heater to ensure its functionality and prevent any potential damage. Flushing the water heater involves removing sediment and debris that may have accumulated during the flood, which can affect its performance and lifespan.
By heeding a few simple steps, you can effectively clean your water heater and restore its optimal functioning. This process will help maintain the efficiency of your water heater and ensure the supply of clean and safe hot water for your household needs.
Turn Off Power and Water Supply
As for performing any kind of electrical or plumbing work, it is crucial to prioritize safety. Before you begin, make sure to turn off the power supply and water supply to avoid any accidents or damage. Follow these steps to effectively shut off both:
1. Shut off the power supply
To ensure your safety, locate the main electrical panel in your home or building. It is typically found in the basement, garage, or utility room. Open the panel and look for the main circuit breaker. Flip the switch to the “Off” position to cut off the power supply to the entire building. This will prevent any electrical current from flowing and minimize the risk of electric shocks or fires.
Remember to use caution when working with electrical components and always wear protective gear such as gloves and safety goggles.
2. Turn off the water supply
Prior to any plumbing repairs or installations, it is essential to turn off the water supply. Locate the main water valve, which is usually found near the water meter or where the main water line enters your property. Rotate the valve clockwise until it is completely closed. This will stop the flow of water and prevent any leaks or flooding in the course of you work.
It is also advisable to drain any remaining water from the pipes by opening faucets or flushing toilets after shutting off the main water supply. This will help avoid any water damage or residual pressure.
| Step | Description |
|---|---|
| 1 | Shut off the power supply by flipping the main circuit breaker switch to the “Off” position. |
| 2 | Turn off the water supply by closing the main water valve in a clockwise direction. |
Drain the Tank
As for maintaining your tank, draining it regularly is essential. This process helps to remove any built-up debris, sediment, or impurities that may have accumulated over time. Follow these steps to effectively drain your tank:
1. Attach a hose to the drain valve
To begin the draining process, you will need to attach a hose to the drain valve of your tank. This hose will serve as a channel for the water to flow out of the tank.
2. Open the valve and drain the tank
Once the hose is securely attached, it’s time to open the drain valve. Be sure to have a bucket or a suitable drainage area ready to collect the water. As you open the valve, the water will start flowing out through the hose, emptying the tank.
3. Flush the tank with clean water
After the tank has been drained completely, it’s important to flush it with clean water. This step helps to remove any remaining residue or impurities that might still be present. Use a hose or pour water directly into the tank, ensuring that it circulates and cleans all areas thoroughly.
Remove Sediment and Debris
Touching on maintaining your tank’s efficiency and prolonging its lifespan, it is crucial to regularly remove sediment and debris. By conforming to a few simple steps, you can ensure that your tank remains clean and free from any build-up that may hinder its performance.
1. Remove the drain valve and clean it
The first step in the process is to remove the drain valve from your tank. This valve is responsible for releasing any accumulated sediment and debris. By carefully unscrewing it, you can easily access and clean it.
- Turn off the power supply to the tank before proceeding.
- Attach a hose to the drain valve to divert the water away from the tank.
- Open the drain valve and allow the water to flow out.
- Inspect the valve for any signs of sediment or debris.
- Clean the valve thoroughly using a brush or cloth.
- Reattach the valve securely once cleaned.
2. Remove any sediment and debris from the tank
After cleaning the drain valve, it’s time to focus on the tank itself. Over time, sediment and debris can accumulate at the bottom, affecting the tank’s efficiency. Here’s how you can remove it:
- Turn off the power supply and ensure the tank is not under pressure.
- Attach a hose to the tank’s drain valve.
- Open the valve and allow the water to flow out, carrying away the sediment and debris.
- Monitor the water flow to ensure all debris is flushed out.
- Close the drain valve once the tank is empty.
3. Use a wet/dry vacuum to clean the tank
In some cases, simply draining the tank may not be enough to remove stubborn sediment or debris. In such situations, a wet/dry vacuum can be a useful tool:
- Ensure the power supply to the tank is turned off.
- Attach the wet/dry vacuum to the tank’s drain valve.
- Turn on the vacuum and carefully maneuver it inside the tank to suction out any remaining sediment or debris.
- Pay close attention to hard-to-reach areas and corners.
- Once the tank is clean, disconnect the vacuum and secure the drain valve.
Refill the Tank
Pertaining to maintaining your water heater, one important task is to regularly refill the tank. By embracing a few simple steps, you can ensure that your water heater continues to function efficiently and provide you with hot water whenever you need it.
1. Close the drain valve
The first step in the tank refill process is to close the drain valve. This valve is typically located at the bottom of the tank and is used to empty the tank for maintenance or repairs. By closing the drain valve, you prevent any water from escaping during the refill.
2. Turn on the water supply and refill the tank
Once the drain valve is closed, it’s time to turn on the water supply and refill the tank. Locate the water supply valve, which is usually located near the top of the tank, and turn it on. This will allow water to enter the tank and fill it up.
3. Open a hot water faucet to remove any air from the tank
As the tank refills, it’s important to open a hot water faucet to remove any air that may have entered the tank. This air can cause sputtering or uneven water flow, so it’s important to release it. Once you notice a steady flow of water from the faucet, you can close it.
| Steps | Description |
|---|---|
| 1 | Close the drain valve |
| 2 | Turn on the water supply and refill the tank |
| 3 | Open a hot water faucet to remove any air from the tank |

Turn the Power Back On
After following the steps outlined in the previous sections, it is time to turn the power back on and ensure everything is working smoothly. This final step is crucial for the proper functioning of your system. Here’s what you need to do:
1. Turn on the power supply
Locate the power switch or button for your system and flip it on. This will restore the electrical current to your system, allowing it to operate.
2. Wait for the water to heat up
Give your system some time to heat up the water to the desired temperature. This may take a few minutes, depending on the size and capacity of your system. You can use this time to prepare any additional materials or tools you may need.
3. Check for any leaks or issues
Once the water has reached the desired temperature, carefully inspect your system for any signs of leaks or issues. Look for any water dripping or pooling around the system, as well as any unusual sounds or smells. If you notice any problems, integral to address them promptly to avoid any further damage or safety hazards.
Note: It is always recommended to refer to the manufacturer’s instructions or consult a professional if you encounter any difficulties or uncertainties during the process.
| Step | Description |
|---|---|
| 1 | Turn on the power supply |
| 2 | Wait for the water to heat up |
| 3 | Check for any leaks or issues |
Bottom Line
Flushing a water heater after a flood is crucial to ensure the safety and efficiency of the appliance. It helps to remove any sediment, debris, or bacteria that may have accumulated in the tank during the flood. To flush a water heater, turn off the power supply, drain the tank, and refill it with clean water. Repeat the process until the water runs clear. It is recommended to hire a professional plumber to perform the task, especially if you are not familiar with the process. Regular maintenance and inspection of the water heater can also prevent future damage and prolong its lifespan. Remember, safety should always be a top priority when dealing with electrical appliances and water.
By adhering to the proper steps and precautions, you can ensure that your water heater is functioning properly and safely after a flood. Don’t neglect this important task, as it can save you from costly repairs and potential hazards in the future.
Read More:
1. Diy Flushing For Energy-Efficient Heating Elements
2. How Does Flushing Impact Water Heater Scale Buildup?