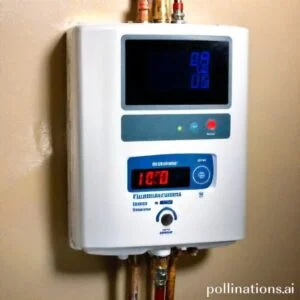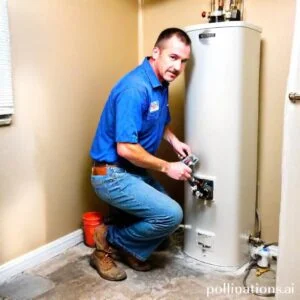
II. Before flushing your gas water heater, make sure to turn off the gas and water supply, and wait for the water to cool down to avoid injury.
III. Follow the manufacturer’s instructions on how to flush your gas water heater, which typically involves draining the tank, flushing out sediment and debris, and refilling the tank.
Flushing your gas water heater is an essential maintenance task that can help improve its efficiency and prolong its lifespan. By removing sediment and mineral buildup, you can ensure that your water heater continues to provide hot water effectively.
We will guide you through the steps involved in safely flushing your gas water heater, providing you with the knowledge and confidence to maintain your appliance effectively.
Safety Precautions
1. Turn off the gas supply
As for safety in your home or workplace, one important precaution is to always turn off the gas supply. This is especially crucial if you detect a gas leak or if you need to perform maintenance on gas appliances. By turning off the gas supply, you can prevent potential accidents or fires.
2. Turn off the water supply
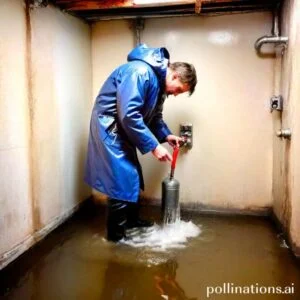
In addition to turning off the gas supply, it is equally important to turn off the water supply. This is particularly essential in situations where you need to repair a plumbing issue or if there is a risk of water damage. By shutting off the water supply, you can avoid further damage and potential flooding.
3. Allow the water to cool
If you are dealing with hot water, it is crucial to allow it to cool before attempting any repairs or maintenance. Hot water can cause severe burns and injuries. By giving the water enough time to cool down, you can protect yourself and others from potential accidents.
4. Wear protective gear
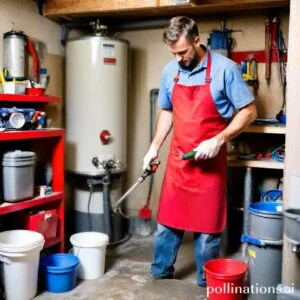
When working with potentially dangerous equipment or substances, always prioritize safety by wearing appropriate protective gear. This may include gloves, goggles, helmets, or masks, depending on the nature of the task. By wearing protective gear, you can minimize the risk of injuries and ensure your well-being.
5. Have a fire extinguisher nearby
As a precautionary measure, it is essential to have a fire extinguisher easily accessible in case of emergencies. Make sure the fire extinguisher is in good working condition and that you know how to properly use it. Having a fire extinguisher nearby can help prevent small fires from escalating and causing significant damage.
| Precaution | Description |
|---|---|
| Turn off the gas supply | Prevents accidents or fires related to gas leaks or maintenance. |
| Turn off the water supply | Avoids further damage and potential flooding during plumbing repairs. |
| Allow the water to cool | Prevents burns and injuries when working with hot water. |
| Wear protective gear | Minimizes the risk of injuries when dealing with dangerous substances or equipment. |
| Have a fire extinguisher nearby | Enables quick response to small fires, preventing them from escalating. |
Draining the Tank
Draining the tank is an essential maintenance task that ensures the longevity and efficiency of your system. By conforming to these simple steps, you can easily drain the tank and keep it in optimal condition.
1. Locate the drain valve
The first step in the tank draining process is to locate the drain valve. This valve is usually located at the bottom of the tank, near the base. Essential to identify the drain valve correctly to proceed with the draining process smoothly.
2. Attach a garden hose
Once you have located the drain valve, the next step is to attach a garden hose to it. The garden hose will act as a conduit for the water to flow out of the tank. Make sure the hose is securely attached to the drain valve to prevent any leaks or spills.
3. Open the drain valve
With the garden hose in place, it’s time to open the drain valve. Turn the valve counterclockwise to open it, allowing the water to start flowing out. Keep in mind that the water may be hot, so exercise caution during handling the hose and valve.
4. Allow the tank to drain completely
Once the drain valve is open, let the tank drain completely. This may take some time depending on the size of the tank and the water pressure. Indispensable to be patient and allow the tank to drain fully to ensure all the water is removed.
5. Close the drain valve
After the tank has drained completely, it’s time to close the drain valve. Turn the valve clockwise to close it tightly. This will prevent any water from flowing back into the tank and ensure that it is ready for the next use.
Flushing the Tank
In regard to maintaining your water heater, flushing the tank is an essential step that should not be overlooked. By obeying a few simple steps, you can ensure that your water heater is running efficiently and providing you with hot water whenever you need it.
1. Turn on the water supply
To begin the flushing process, start by turning on the water supply to your water heater. This will allow fresh water to enter the tank and help flush out any sediment or debris that may have accumulated over time.
2. Open the hot water faucet
Next, open the hot water faucet in your home. This will help create a flow of water through the tank, aiding in the flushing process. It’s important to open the hot water faucet specifically, as this will allow the water to circulate through the tank and remove any buildup.
3. Pour in a flushing solution
To further amplify the flushing process, consider using a flushing solution. These solutions are specifically designed to break down and remove sediment and mineral deposits from the tank. Follow the manufacturer’s instructions for the proper amount to use.
4. Let the solution sit for a few hours
After adding the flushing solution, allow it to sit in the tank for a few hours. This will give it time to break down any stubborn buildup and ensure a thorough flush.
5. Drain the tank again
Once the solution has had time to work its magic, it’s time to drain the tank again. Open the drain valve and let the water flow out until it runs clear. This will indicate that the tank has been successfully flushed.

Refilling the Tank
1. Close the drain valve
Before refilling your tank, make sure to close the drain valve securely. This will prevent any water from escaping and ensure a smooth filling process.
2. Remove the garden hose
Next, carefully detach the garden hose from the tank. Be cautious to avoid any spillage or damage to the hose or tank. This step is essential to prepare the tank for the incoming water.
3. Turn on the water supply
Once the hose is disconnected, locate the water supply valve and turn it on. This will allow water to flow into the tank and begin the refilling process. Ensure the valve is fully open to maintain a steady flow of water.
4. Open a hot water faucet
To facilitate the filling process, open a hot water faucet in your home. This will help release any trapped air inside the tank and improve the water flow. Leave the faucet open until a steady stream of water is observed.
5. Allow the tank to fill completely
Now, patiently wait for the tank to fill completely. The filling time may vary depending on the size of your tank and water pressure. Keep a close eye on the water level and ensure it reaches the desired capacity.
Remember to monitor the tank during the filling process to prevent any overflow or leaks. Once the tank is full, you can proceed with your regular usage of hot water.
| Step | Description |
|---|---|
| 1 | Close the drain valve |
| 2 | Remove the garden hose |
| 3 | Turn on the water supply |
| 4 | Open a hot water faucet |
| 5 | Allow the tank to fill completely |
Restarting the Heater
1. Turn on the gas supply
To restart the heater, begin by turning on the gas supply. This is an essential step in ensuring the heater has the necessary fuel to function properly. Make sure to follow all safety guidelines and instructions provided by the manufacturer.
2. Follow manufacturer’s instructions to relight the pilot
Next, refer to the manufacturer’s instructions to relight the pilot. The pilot light is a small flame that ignites the gas burner. Imperative to carefully follow the steps outlined in the manual to relight the pilot safely and effectively.
3. Adjust the temperature to the desired level
Once the pilot light is successfully relit, you can proceed to adjust the temperature to your desired level. This will ensure that the water in the heater reaches the desired warmth for your needs. Follow the temperature adjustment instructions provided by the manufacturer.
4. Check for leaks
After restarting the heater, it is crucial to check for any gas or water leaks. Leaks can pose a safety hazard and should be addressed immediately. Inspect all connections and joints carefully, and if you detect any leaks, turn off the gas supply and seek professional assistance.
5. Test the hot water
Finally, test the hot water to ensure that the heater is functioning correctly. Allow the water to run for a few minutes and check if it reaches the desired temperature. If the water is not heating properly or if you notice any issues, it is recommended to consult a professional for further assistance.
Restarting the heater requires following a step-by-step process to ensure safe and efficient operation. By carefully following the manufacturer’s instructions and conducting thorough checks, you can enjoy the comfort of hot water in your home.
| Step | Description |
|---|---|
| 1 | Turn on the gas supply |
| 2 | Follow manufacturer’s instructions to relight the pilot |
| 3 | Adjust the temperature to the desired level |
| 4 | Check for leaks |
| 5 | Test the hot water |
Bottom Line
Flushing a gas water heater is an essential maintenance task that should be performed regularly to ensure its optimal performance and longevity. Neglecting this task can lead to sediment buildup, reduced efficiency, and even safety hazards. To flush a gas water heater safely, you should turn off the gas supply, shut off the cold water supply, drain the tank, and refill it with fresh water. It’s also important to follow the manufacturer’s instructions and safety guidelines, wear protective gear, and use the right tools. By taking the time to flush your gas water heater, you can save money on energy bills, prevent costly repairs, and enjoy hot water that’s clean and safe to use.
Remember, if you’re not comfortable performing this task yourself, it’s always best to hire a professional plumber who can do it for you. With proper maintenance, your gas water heater can provide you with reliable hot water for years to come.
Read More:
1. What Tools Are Needed For Flushing A Water Heater?
2. Can I Flush My Water Heater Without A Hose?
