II. Sediment buildup can cause hot spots in the water heater tank, leading to premature failure and leaks.
III. Flushing should be done annually to prevent sediment buildup and extend the lifespan of the water heater.
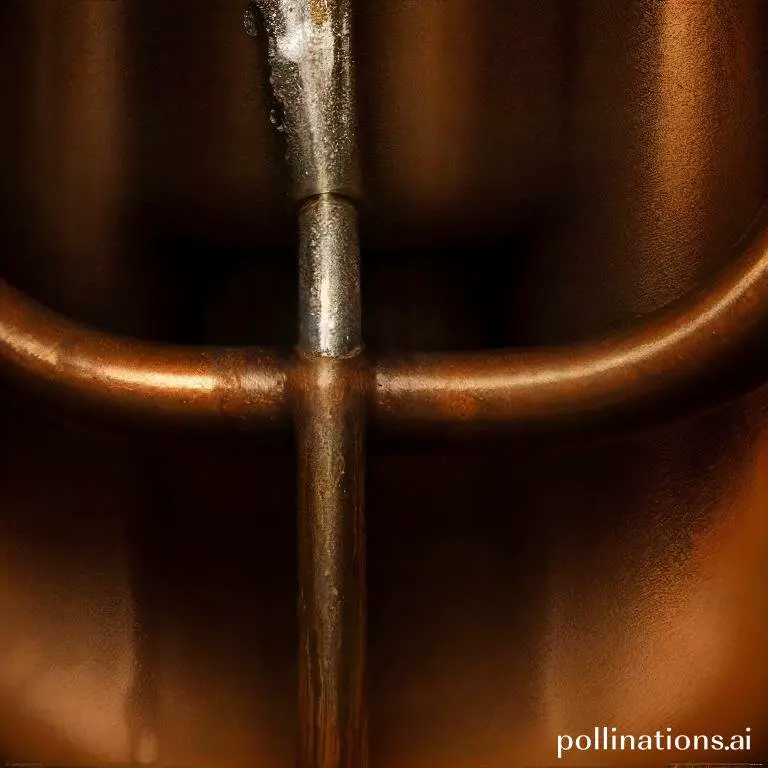
Flushing plays a crucial role in preventing water heater pipe corrosion. Over time, sediment and minerals can accumulate in the pipes, leading to corrosion and reduced efficiency.
Flushing the water heater regularly helps remove these deposits, ensuring smooth water flow and preventing corrosion. By flushing, you can extend the lifespan of your water heater and maintain its optimal performance.
So, if you want to avoid costly repairs and ensure your water heater lasts longer, regular flushing is the key.
Perceiving Water Heater Pipe Corrosion
1. Causes of water heater pipe corrosion
Water heater pipe corrosion can be caused by several factors, including:
- Hard water minerals: High levels of minerals like calcium and magnesium can react with the pipes, leading to corrosion over time.
- Acidic water: Water with a low pH level can be corrosive to pipes, causing them to deteriorate.
- High water temperature: Excessive heat can accelerate the corrosion process, particularly in older pipes.
- Electrochemical reactions: When different metals are present in the plumbing system, such as copper and iron, galvanic corrosion can occur.
2. Effects of pipe corrosion on water heater efficiency
Pipe corrosion in a water heater can have several negative effects on its efficiency:
- Reduced heat transfer: Corroded pipes can develop a layer of mineral deposits, hindering the transfer of heat from the water to the surrounding environment.
- Decreased water flow: Corrosion can lead to the formation of rust and sediment, which can clog the pipes and restrict water flow.
- Inefficient energy consumption: When the pipes are corroded, the water heater needs to work harder to reach the desired temperature, resulting in increased energy usage.
- Shortened lifespan: Pipe corrosion can weaken the structural integrity of the water heater, leading to leaks and potential failure.
Integral to address water heater pipe corrosion promptly to maintain optimal efficiency and prolong the lifespan of your water heater. Regular maintenance, such as flushing the system and using water softeners, can help prevent and mitigate corrosion issues.
| Causes of Pipe Corrosion | Effects on Water Heater Efficiency |
|---|---|
| Hard water minerals | Reduced heat transfer |
| Acidic water | Decreased water flow |
| High water temperature | Inefficient energy consumption |
| Electrochemical reactions | Shortened lifespan |
Flushing: An Effective Solution for Water Heater Pipe Corrosion
1. What is flushing?
Flushing is a very important maintenance procedure to clean water heater pipes and prevent sediment buildup and corrosion. It is a preventative measure that ensures the longevity and efficiency of your water heater system.
2. How flushing helps prevent pipe corrosion
Flushing plays a vital role in preventing pipe corrosion by eliminating mineral deposits, rust, and sediment that can build up over time. Deposits can corrode pipes, causing less water flow, reduced heat transfer, and system failure. Regular flushing removes these harmful substances, maintaining the integrity of your water heater and prolonging its lifespan.
3. How often should flush be done?
The frequency of flushing depends on various factors such as water quality, usage, and the type of water heater system. As a general guideline, it is recommended to flush your water heater at least once a year. Notwithstanding, in areas with hard water or high mineral content, more frequent flushing may be necessary. Consulting a professional plumber can help determine the ideal flushing schedule for your specific circumstances.
Steps to Flushing a Water Heater
1. Turn off the power supply
Before starting the flushing process, it is crucial to ensure the safety of both yourself and the equipment. Begin by turning off the power supply to the water heater. This prevents any accidental electrical shocks or damage during the procedure.
2. Turn off the water supply
Next, locate the water shut-off valve connected to your water heater. This valve controls the flow of water into the unit. Close the valve by turning it clockwise until it is fully closed. This step is essential to prevent any water from entering the heater during the flushing process.
3. Drain the water heater
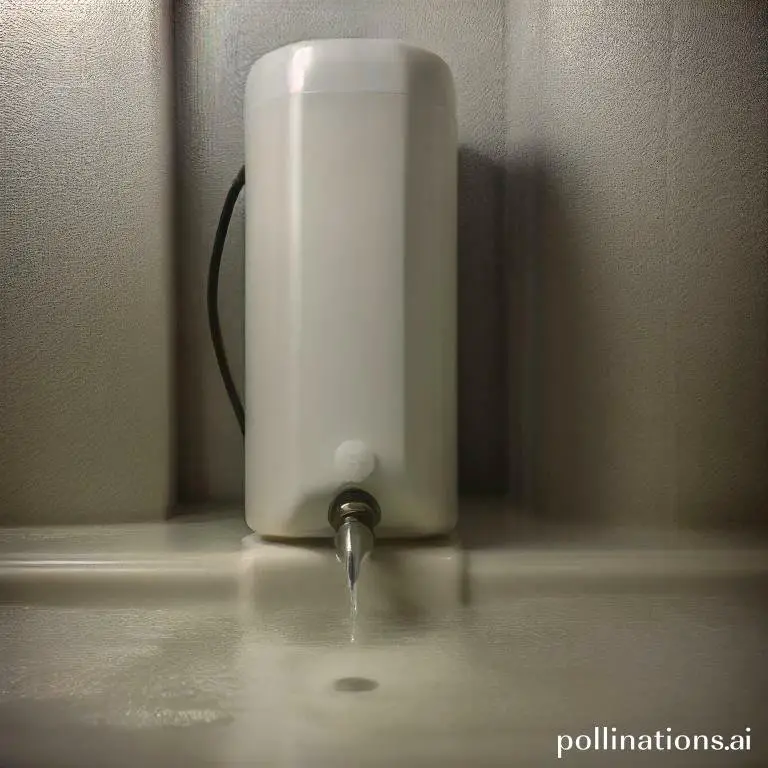
Attach a garden hose to the drain valve at the bottom of the water heater to start the flushing process. Place the other end of the hose in a suitable drainage area or connect it to a nearby floor drain. Open the drain valve by turning it counterclockwise. This will allow the water inside the heater to flow out through the hose, effectively draining the tank.
4. Flush the water heater
Once the water heater is drained, it’s time to flush out any sediment or buildup that may have accumulated inside. Connect the garden hose to a nearby faucet with strong water pressure. Turn on the faucet and allow the water to flow through the hose and into the drain valve. The force of the water will help dislodge and flush out any debris present in the tank.
5. Refill the water heater
After thoroughly flushing the water heater, close the drain valve and disconnect the garden hose. Slowly turn on the water supply valve to refill the tank. Take caution when avoiding any sudden surges of water, as this can cause damage to the equipment. After filling the tank, turn on the power supply. Then, your water heater will be ready to provide you with hot water efficiently and cleanly.
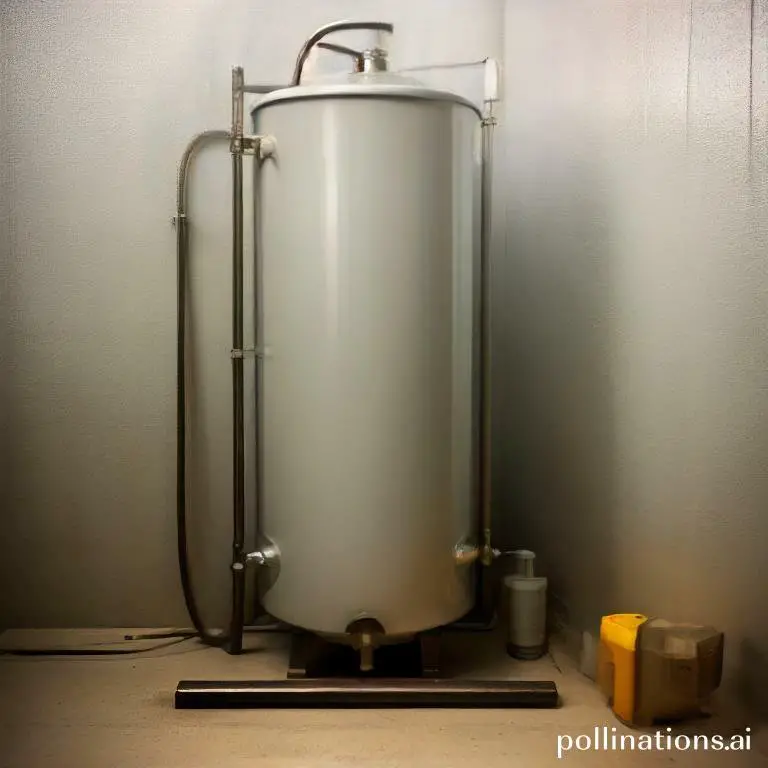
Tools Needed for Flushing Water Heater
Flushing a water heater is an essential maintenance task that helps extend the lifespan and efficiency of your appliance. To complete this process, you will need a few tools and safety equipment. Here are the tools required for flushing a water heater:
1. Garden Hose
A garden hose is necessary for connecting to the drain valve of the water heater. It allows you to direct the flow of water safely and efficiently.
2. Bucket
A bucket is needed to collect the flushed water and sediment that comes out of the water heater. This helps prevent any mess or damage to your surroundings.
3. Screwdriver
A screwdriver is required to open and close the drain valve of the water heater. It allows you to control the flow of water during the flushing process.
4. Gloves
Wearing gloves is important to protect your hands from hot water and possible debris in the water heater. It ensures your safety throughout the process.
5. Safety Goggles
Safety goggles are necessary to shield your eyes from any splashes or splatters during the flushing process. They provide an additional layer of protection.
Tips for Flushing a Water Heater
1. Check the Anode Rod
One of the important steps in maintaining your water heater is checking the anode rod. The anode rod is a metal rod that is designed to attract corrosive elements in the water, protecting the tank from rust and deterioration. Over time, the anode rod can become depleted and will need to be replaced. Inspect the anode rod regularly to ensure it is in good condition and functioning properly.
2. Check the Pressure Relief Valve
The pressure relief valve is a safety device that releases excess pressure from the water heater. Fundamental to check this valve regularly to ensure it is working correctly. To test the pressure relief valve, simply lift the lever and allow some water to discharge. If there is no water coming out or if the valve is leaking, it may need to be replaced. A faulty pressure relief valve can lead to dangerous pressure buildup in the water heater.
3. Check the Temperature Settings
Proper temperature settings are essential for the efficient and safe operation of your water heater. The recommended temperature setting is typically 120 degrees Fahrenheit (49 degrees Celsius). Higher temperatures can lead to scalding and wasted energy. Lower temperatures may not provide enough hot water for your needs. Check the temperature settings on your water heater and adjust accordingly.
| Tip | Description |
|---|---|
| 1. Check the Anode Rod | Inspect the anode rod regularly to ensure it is in good condition and functioning properly. |
| 2. Check the Pressure Relief Valve | Test the pressure relief valve to ensure it is working correctly and releasing excess pressure. |
| 3. Check the Temperature Settings | Adjust the temperature settings to ensure efficient and safe operation of the water heater. |
Bottom Line
Flushing your water heater regularly can significantly reduce the risk of pipe corrosion. Sediment buildup in the tank can cause corrosion, which can lead to leaks and other issues. Flushing the tank removes the sediment and helps to prevent corrosion. It is recommended to flush your water heater at least once a year, but more frequent flushing may be necessary if you have hard water or if you notice signs of corrosion. Additionally, using a water softener or installing a sacrificial anode rod can also help to prevent corrosion. By taking these steps, you can extend the life of your water heater and avoid costly repairs or replacements.
Read More:
1. Diy Flushing Tips For High-Altitude Water Heater Use
2. Flushing And Its Impact On Water Heater Anode Replacement


