II. Neglecting to flush an older water heater can lead to sediment buildup, corrosion, and decreased heating performance.
III. It is recommended to flush an older water heater at least once a year and to follow the manufacturer’s instructions for proper flushing techniques.
Flushing considerations for older water heater models are important to ensure optimal performance and longevity. As water heaters age, sediment and mineral buildup can occur, leading to reduced efficiency and potential damage.
Regular flushing helps to remove these deposits and maintain the efficiency of your water heater. By absorbing the flushing process and following the recommended guidelines, you can prolong the lifespan of your older water heater and enjoy reliable hot water for years to come.
Signs that your water heater needs flushing
Regular maintenance of your water heater is essential to ensure its optimal performance and longevity. One crucial aspect of this maintenance is flushing the water heater regularly. Flushing helps remove sediment and mineral buildup, which can affect the efficiency and lifespan of your appliance. Here are some signs that indicate your water heater needs flushing:
1. Discolored water
If you notice that the water coming out of your faucets is discolored, it’s a clear indication that your water heater needs flushing. Sediment and minerals accumulate over time and can cause the water to appear brown or rusty. Flushing the water heater will help eliminate these impurities and restore clear, clean water.
2. Strange noises
Another sign that your water heater requires flushing is the presence of strange noises. If you hear popping, cracking, or rumbling sounds coming from your water heater, it’s a sign that there is excessive sediment buildup. Flushing the water heater will remove this sediment, allowing it to operate quietly and efficiently.
3. Foul odor
A foul odor emanating from your hot water taps is an indication that your water heater needs flushing. The accumulation of bacteria and other organic matter can cause unpleasant smells. Flushing the water heater will eliminate these contaminants, ensuring that your hot water is odor-free.
Regularly flushing your water heater not only improves its performance but also extends its lifespan. It is recommended to flush your water heater at least once a year to prevent sediment buildup and maintain its efficiency. By contending with these signs promptly and flushing your water heater, you can enjoy clean, clear, and odor-free hot water for all your needs.
| Signs | Causes | Solutions |
|---|---|---|
| Discolored water | Sediment and mineral buildup | Flushing the water heater |
| Strange noises | Excessive sediment buildup | Flushing the water heater |
| Foul odor | Accumulation of bacteria and organic matter | Flushing the water heater |
Steps to Flush Your Water Heater
Regularly flushing your water heater is essential to maintain its efficiency and prolong its lifespan. By heeding these simple steps, you can ensure that your water heater continues to provide hot water effectively.
1. Turn off the Power Supply
Before starting the flushing process, it is crucial to turn off the power supply to your water heater. Locate the circuit breaker or switch connected to the heater and switch it off. This step will prevent any accidents or electrical hazards during the procedure.
2. Turn off the Water Supply
Next, locate the water supply valve connected to your water heater and turn it off. This valve is typically located near the top of the heater or on the incoming water pipe. Shutting off the water supply will prevent any new water from entering the tank during the flushing process.
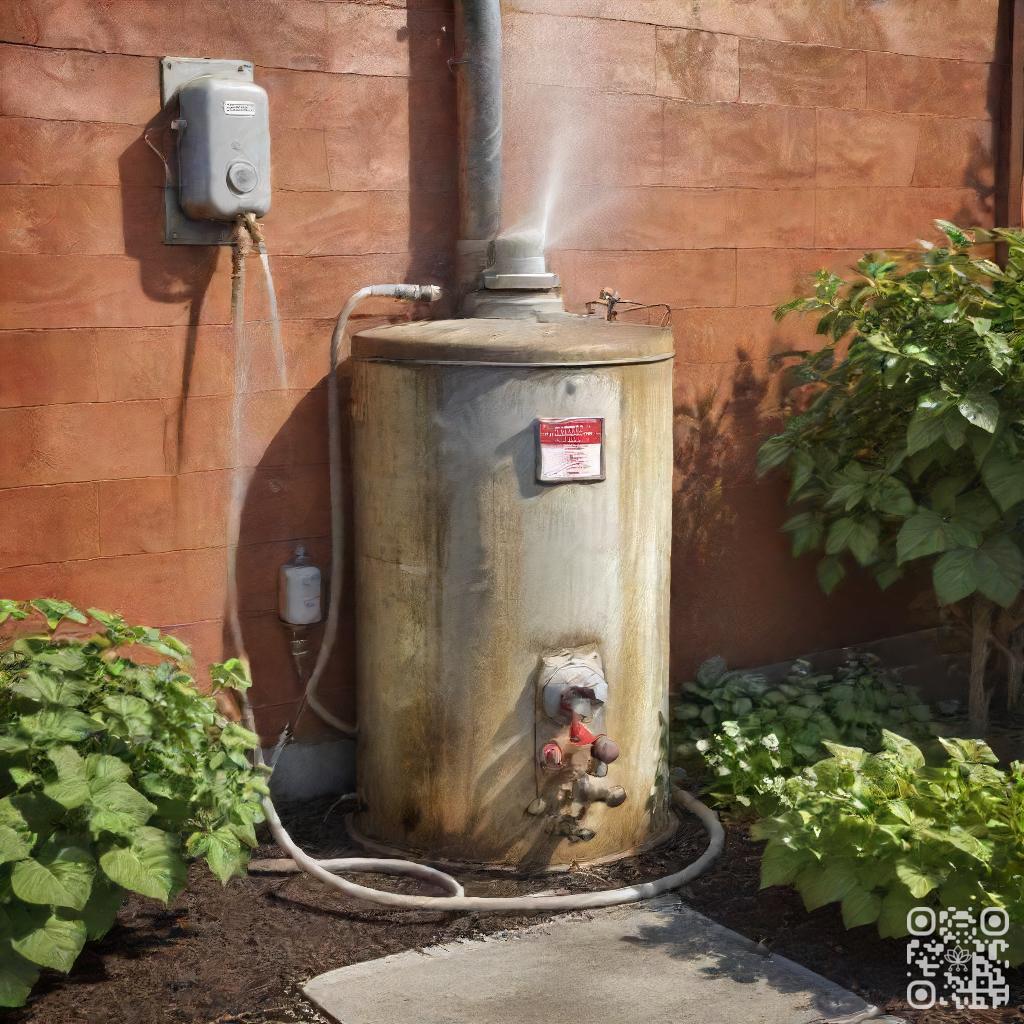
3. Drain the Tank
To drain the tank, connect a garden hose to the drain valve located at the bottom of the water heater. Place the other end of the hose in a suitable drainage area, such as a floor drain or outside. Open the drain valve and allow the water to flow out of the tank completely. Be cautious as the water may be hot.
4. Refill the Tank
Once the tank is drained, close the drain valve and remove the garden hose. Turn on the water supply valve to allow fresh water to fill the tank. Keep an eye on the hot water faucet in your home to ensure that all the air is purged from the system. Once a steady flow of water is achieved, you can proceed to the next step.
5. Turn the Power Supply Back On
In the end, restore the power supply to your water heater by switching on the circuit breaker or switch. This step will allow the heating element to start heating the newly refilled water. Give the water heater some time to heat the water to the desired temperature before using any hot water in your home.
Tools and Materials Needed for Flushing
Flushing your system regularly is an important maintenance task to ensure optimal performance and longevity. To successfully complete the flushing process, you will need the following tools and materials:
Garden Hose
A garden hose is essential for carrying out the flushing procedure. It allows you to connect to the water source and direct the flow of water through your system.
Bucket
A bucket is necessary for collecting any debris or sediment that is flushed out of your system. This will prevent it from clogging your drains or causing any damage.
Gloves
Wearing gloves is crucial to protect your hands and skin from any potentially harmful substances that may be present during the flushing process. It is always better to be safe than sorry.
Safety Goggles
Protecting your eyes is of utmost importance when flushing your system. Safety goggles will shield your eyes from any splashing water or debris, ensuring your safety throughout the process.
How often should you flush your water heater?
1. Manufacturer recommendations
Touching on maintaining your water heater, following the manufacturer’s recommendations is essential. Different water heater models may have specific guidelines for flushing frequency, which can vary based on factors such as the type of water heater, water quality, and usage.
It is recommended to consult the instruction manual or contact the manufacturer directly to determine the ideal flushing schedule for your particular water heater model. They will provide you with accurate information based on their product’s specifications and performance.
2. Factors that affect flushing frequency
Meanwhile manufacturer recommendations serve as a starting point, several factors can influence how often you should flush your water heater:
- Water quality: If you have hard water or water with high mineral content, it may lead to more sediment buildup in your water heater. Flushing it more frequently can help prevent the accumulation of deposits and maintain optimal performance.
- Usage: The more you use hot water in your household, the more sediment can accumulate in the tank. If your water heater is used heavily, it may require more frequent flushing to prevent efficiency loss and potential damage.
| Factor | Impact |
|---|---|
| Water quality | High mineral content can lead to more sediment buildup. |
| Usage | Heavy usage can result in increased sediment accumulation. |
DIY vs. Professional Flushing
Relating to flushing your system, you have two options: DIY or professional. Each method has its own pros and cons that you should consider before making a decision. In this section, we will traverse the benefits and drawbacks of both approaches, helping you make an informed choice.
1. Pros and Cons of DIY Flushing
DIY flushing can be a cost-effective solution for maintaining your system. By embracing simple instructions, you can perform the flush yourself, saving money on professional services. Additionally, DIY flushing allows you to have more control over the process and the products used.
- Pros:
- Cost-effective
- Control over the process
- Flexibility in choosing products
- Cons:
- Requires time and effort
- May lack expertise
- Potential for mistakes or damage
2. Benefits of Professional Flushing
During DIY flushing has its advantages, professional flushing offers several benefits that may outweigh the DIY approach. Professional technicians have the knowledge and experience to perform a thorough and efficient flush, ensuring optimal system performance.
- Benefits:
- Expertise and experience
- Efficient and thorough flush
- Identification and resolution of underlying issues
For more detailed information on flushing and expert advice tailored to your specific needs, consult with a professional technician who can provide personalized recommendations.
| Comparison | DIY Flushing | Professional Flushing |
|---|---|---|
| Cost | Lower | Higher |
| Expertise | Varies | High |
| Efficiency | Depends on individual | High |
| Outcome | Potentially satisfactory | Optimal |
Bottom Line
Relating to flushing older water heater models, it’s important to take into account the age and condition of the unit. Flushing can help remove sediment buildup and prolong the life of the heater, but it can also cause damage if not done properly. It’s recommended to consult with a professional plumber to determine the best flushing schedule and method for your specific water heater. Additionally, if your water heater is over 10 years old, it may be time to consider replacing it with a newer, more efficient model. Regular maintenance and proper care can help ensure your water heater continues to provide hot water for years to come.
Overall, flushing your older water heater can be a beneficial maintenance task, but it’s important to approach it with caution and seek professional advice if needed. By taking care of your water heater, you can save money on energy bills and avoid costly repairs or replacements in the future.
Read More:
1. How Does Flushing Impact Water Heater Pipe Corrosion?
2. Flushing For Improved Water Heater Valve Functionality


