
II. Sediment buildup can cause your water heater to work harder, increasing energy consumption and potentially leading to costly repairs.
III. Flushing your water heater is a simple process that can be done by following the manufacturer’s instructions or hiring a professional plumber to do it for you.
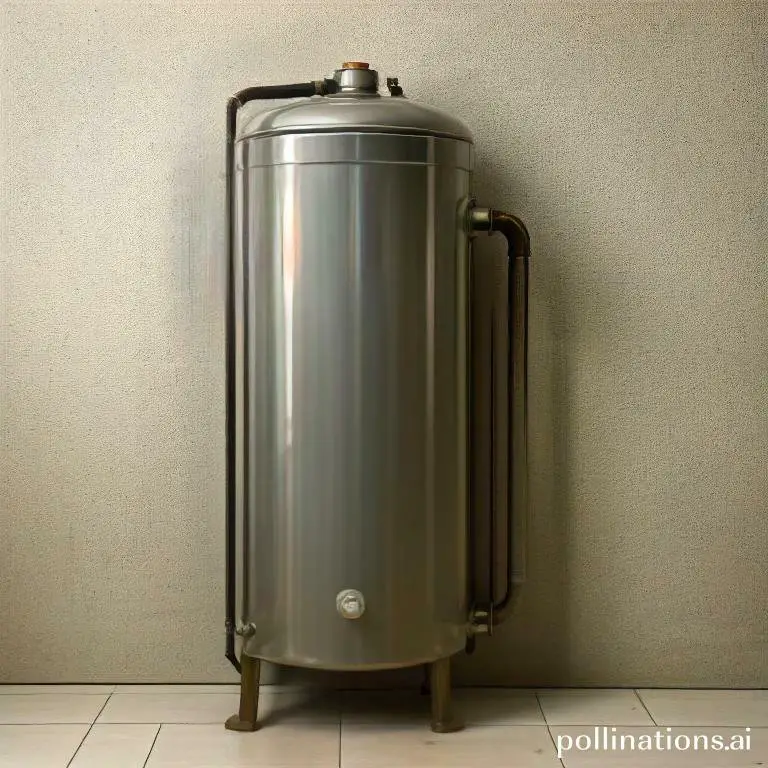
Flushing is an essential step in maintaining your water heater and ensuring its longevity. By regularly flushing your water heater, you can remove sediment and mineral buildup that can hinder its performance.
This buildup can affect the efficiency of your water heater, resulting in higher energy bills and decreased hot water supply. Flushing also helps to prevent corrosion, extend the lifespan of your water heater, and improve its overall performance.
It is a simple yet effective maintenance task that can save you money and ensure a reliable hot water supply for your everyday needs.
Signs Your Water Heater Needs Flushing
1. Decreased Hot Water Supply
If you’ve noticed a decrease in the amount of hot water coming from your faucets, it may be a sign that your water heater needs flushing. Over time, sediment and mineral deposits can build up in the tank, reducing its capacity and efficiency. Flushing the water heater can help to remove these deposits and restore your hot water supply to its normal level.
2. Discolored or Foul Smelling Water
Another indication that your water heater requires flushing is discolored or foul-smelling water. When sediment accumulates in the tank, it can cause the water to become discolored or develop a strange odor. Flushing the water heater will help to eliminate these contaminants, improving the quality and appearance of your water.
3. Strange Noises Coming from Your Water Heater
If you hear strange noises, such as popping or rumbling sounds, coming from your water heater, it may be a sign of sediment buildup. As the sediment settles at the bottom of the tank, it can cause the water to boil and create these noises. Flushing the water heater can remove the sediment, preventing further damage and ensuring quiet operation.
Regular maintenance, including flushing your water heater, is essential to keep it functioning optimally. By dealing with these signs promptly, you can extend the lifespan of your water heater and avoid costly repairs or replacements.
| Signs Your Water Heater Needs Flushing |
|---|
| 1. Decreased Hot Water Supply |
| 2. Discolored or Foul Smelling Water |
| 3. Strange Noises Coming from Your Water Heater |
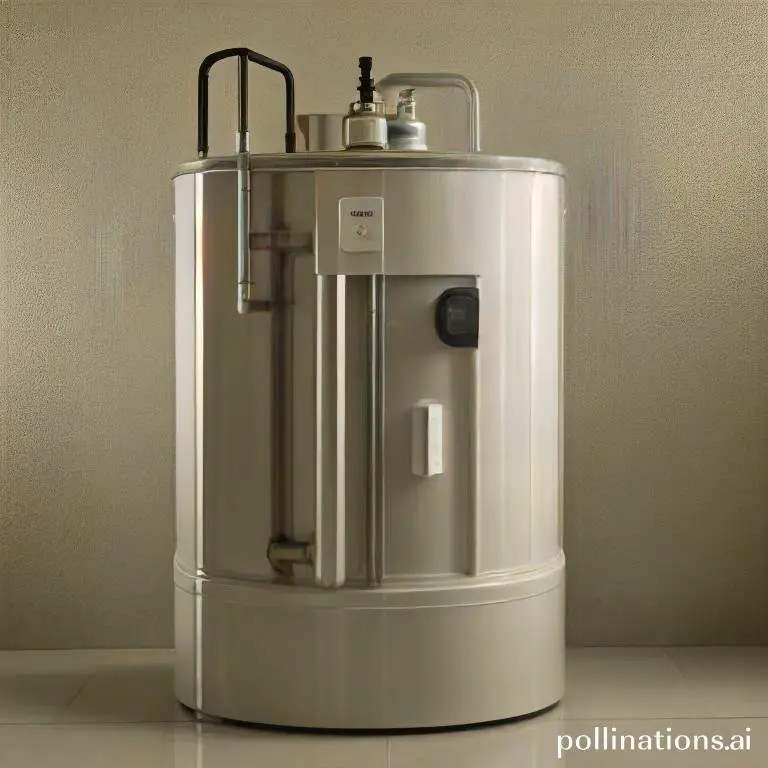
Tools and Materials Needed for Flushing Your Water Heater
Flushing your water heater is an essential maintenance task that helps to prolong its lifespan and ensure optimal performance. To successfully complete this task, you will need specific tools and materials. Here is a list of what you will require:
1. Safety Gear
Before you begin flushing your water heater, it is crucial to prioritize safety. Protect yourself by wearing the necessary safety gear. This includes:
- Gloves: Use heat-resistant gloves to shield your hands from hot surfaces.
- Eye Protection: Wear safety goggles or glasses to prevent any debris from getting into your eyes.
- Protective Clothing: Consider wearing long sleeves and pants to protect your skin.
2. Drainage Equipment
Flushing your water heater involves draining the tank, so you will need the following drainage equipment:
- Hose: A hose long enough to reach a suitable drainage area, such as a floor drain or outdoor space.
- Bucket: In case you need to collect the flushed water manually, have a bucket nearby.
3. Cleaning Solutions
Using cleaning solutions can help remove sediment and mineral buildup from your water heater. Here are some recommended options:
- Vinegar: White vinegar is a natural and effective cleaner for flushing your water heater.
- Descaling Solution: Consider using a descaling solution specifically designed for water heaters.
Step-by-Step Guide to Flushing Your Water Heater
Flushing your water heater is an essential maintenance task that helps to prolong its lifespan and ensure optimal performance. By removing sediment and mineral buildup, you can prevent clogs, improve efficiency, and maintain the quality of your hot water. Follow this step-by-step guide to effectively flush your water heater:
1. Turn Off Your Water Heater
Before starting the flushing process, it is crucial to turn off your water heater to avoid any potential accidents or damage. Locate the power source and switch off the unit.
2. Attach the Hose to the Drain Valve
Next, locate the drain valve at the bottom of your water heater. Attach a garden hose securely to the valve, ensuring there are no leaks or loose connections.
3. Open the Drain Valve
Once the hose is securely attached, open the drain valve by turning it counterclockwise. Make sure to place the other end of the hose in a suitable drainage location, such as a floor drain or outside area.
4. Flush the Tank
With the drain valve open, allow the water heater tank to flush out all the accumulated sediment and debris. This process may take a few minutes, so be patient and let the water flow until it runs clear.
5. Refill and Restart Your Water Heater
After the tank has been thoroughly flushed, close the drain valve by turning it clockwise. Remove the hose and ensure there are no leaks. Refill the tank by turning on the cold water supply and wait until it is full. Finally, turn on the power to restart your water heater.
Regularly flushing your water heater can help maintain its efficiency and prolong its lifespan. By obeying this step-by-step guide, you can ensure that your water heater operates at its best, providing you with reliable hot water whenever you need it.
Tips for Maintaining Your Water Heater After Flushing
1. Set a Flushing Schedule
Regular flushing is essential for maintaining the efficiency and longevity of your water heater. After flushing your water heater, integral to establish a flushing schedule to ensure that sediment and mineral buildup is consistently removed. This will help prevent clogs and keep your water heater running smoothly.
2. Check the Anode Rod
The anode rod plays a crucial role in preventing corrosion inside your water heater tank. After flushing, inspect the condition of the anode rod. If it is heavily corroded or worn out, it’s time for a replacement. A new anode rod will help extend the lifespan of your water heater and protect it from rust and damage.
3. Insulate Your Water Heater
Proper insulation can significantly improve the energy efficiency of your water heater. After flushing, consider insulating your water heater to minimize heat loss. This will help reduce energy consumption and save you money on utility bills. Make sure to follow the manufacturer’s guidelines when insulating your water heater.
4. Monitor Your Water Heater’s Performance
After flushing and performing maintenance tasks, keep a close eye on your water heater’s performance. Watch for any signs of leaks, unusual noises, or a decrease in hot water supply. Promptly addressing these issues can prevent further damage and ensure that your water heater continues to operate efficiently.
| Tip | Description |
|---|---|
| 1. Set a Flushing Schedule | Regularly flush your water heater to remove sediment and mineral buildup. |
| 2. Check the Anode Rod | Inspect and replace the anode rod if necessary to prevent corrosion. |
| 3. Insulate Your Water Heater | Properly insulate your water heater to improve energy efficiency. |
| 4. Monitor Your Water Heater’s Performance | Keep an eye on your water heater for any issues and address them promptly. |
Common Mistakes to Avoid When Flushing Your Water Heater
Flushing your water heater is an essential maintenance task that helps prolong the lifespan and efficiency of your unit. Nonetheless, there are some common mistakes that homeowners often make during this process. By being aware of these mistakes and avoiding them, you can ensure a successful and effective flushing of your water heater.
1. Not Turning Off the Water Heater
One of the most crucial steps in flushing your water heater is to turn off the unit before starting the process. Failing to do so can result in serious injuries or damage to the unit. Make sure to locate the power switch or circuit breaker and turn it off before proceeding with the flushing.
2. Using the Wrong Cleaning Solution
Choosing the right cleaning solution is essential for effectively removing sediment and mineral buildup from your water heater. Using the wrong solution can damage the tank or leave behind residue. Consult your water heater’s manual or seek professional advice to determine the appropriate cleaning solution for your specific unit.
3. Not Flushing the Tank Completely
During the flushing process, it’s important to ensure that you flush the tank thoroughly to remove all the sediment and debris. Failing to do so can result in clogs and decrease the efficiency of your water heater. Follow the manufacturer’s instructions or seek professional assistance to ensure a complete and thorough flushing.
4. Not Refilling the Tank Properly
After flushing the tank, it’s crucial to refill it properly before turning the water heater back on. Failing to refill the tank can lead to dry-firing, which can damage the heating elements. Take your time to refill the tank slowly and ensure that it is properly filled before restoring power to the unit.
| Mistake | Solution |
|---|---|
| Not Turning Off the Water Heater | Locate the power switch or circuit breaker and turn it off before flushing. |
| Using the Wrong Cleaning Solution | Consult the water heater’s manual or seek professional advice for the appropriate cleaning solution. |
| Not Flushing the Tank Completely | Follow the manufacturer’s instructions or seek professional assistance to ensure a thorough flush. |
| Not Refilling the Tank Properly | Take your time to slowly refill the tank and ensure it is properly filled before restoring power. |
Bottom Line
Flushing your water heater is a crucial preventive maintenance task that can extend the lifespan of your appliance and improve its efficiency. Over time, sediment and mineral buildup can accumulate in your tank, leading to corrosion, leaks, and other issues. By flushing your water heater regularly, you can remove these deposits and keep your appliance running smoothly. It’s recommended to flush your water heater at least once a year, or more frequently if you have hard water or notice signs of sediment buildup. If you’re not comfortable performing this task yourself, consider hiring a professional plumber to do it for you. By taking care of your water heater, you can save money on repairs and replacements and ensure that you have hot water when you need it.
Read More:
1. Is There A Specific Flushing Schedule For Hard Water Areas?
2. Importance Of Flushing During Water Heater Installation


