II. Failure to flush a water heater can result in sediment accumulation, which can clog the dip tube and reduce the efficiency of the water heater.
III. Regular flushing of the water heater can ensure proper dip tube function, improve energy efficiency, and prevent costly repairs or replacements.
Flushing is a crucial maintenance task for water heaters that greatly affects the function of the dip tube. Over time, sediment and minerals build up in the tank, causing the dip tube to become clogged and hinder the flow of hot water.
Regular flushing helps remove these deposits, ensuring that the dip tube functions properly and delivers hot water efficiently. By mastering the impact of flushing on the water heater’s dip tube, homeowners can maintain their water heaters effectively and enjoy a steady supply of hot water.
Assimilating the Water Heater Dip Tube
The water heater dip tube is an essential component of a water heater system. It plays a crucial role in ensuring that hot water is distributed evenly throughout the tank, providing efficient and consistent hot water supply.
1. What is a Water Heater Dip Tube?
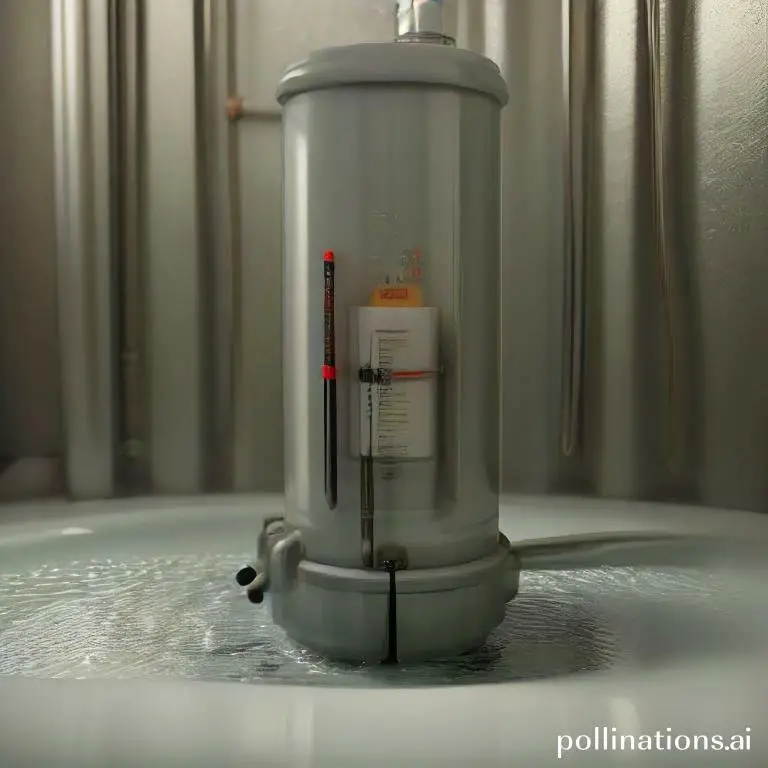
A water heater dip tube is a long, narrow tube made of plastic or metal that is inserted into the top of the water heater tank. Its main purpose is to direct cold water from the top of the tank to the bottom, where it can be heated by the heating element.
This tube extends to the bottom of the tank, allowing the cold water to be delivered near the heating source. It ensures that the hot water stays at the top of the tank and is readily available for use.
2. How Does a Water Heater Dip Tube Work?
When cold water enters the tank through the inlet pipe, it is directed by the dip tube to the bottom of the tank. As the water flows through the tube, it is exposed to the heating element, which heats the water to the desired temperature.
Once the water is heated, it rises to the top of the tank, ready to be used. The dip tube plays a crucial role in separating the incoming cold water from the hot water at the top, ensuring a constant supply of hot water.
3. What Happens When a Water Heater Dip Tube Fails?
If a water heater dip tube fails, it can cause various issues with the hot water supply. One common problem is a decrease in water temperature. Without a functioning dip tube, cold water may mix with the hot water near the top of the tank, resulting in lukewarm or cold water being delivered to faucets and showers.
In some cases, a failed dip tube can also cause sediment buildup in the tank, reducing its efficiency and potentially causing damage to the heating element. Regular inspection and maintenance of the dip tube are essential to ensure the proper functioning of a water heater system.
| Benefits of a Water Heater Dip Tube | Common Issues with Dip Tubes |
|---|---|
| Efficient hot water distribution: The dip tube ensures that hot water stays at the top of the tank, ready for use. | Decreased water temperature: A failed dip tube can result in lukewarm or cold water being delivered. |
| Prevents sediment buildup: A functioning dip tube helps prevent sediment accumulation in the tank. | Sediment buildup: A failed dip tube can lead to sediment accumulation, reducing efficiency. |
| Consistent hot water supply: The dip tube ensures a constant supply of hot water throughout its use. | Potential damage to heating element: Sediment buildup caused by a failed dip tube can damage the heating element. |
Signs of a Failing Water Heater Dip Tube
As for your water heater, it’s important to be aware of signs that indicate a failing dip tube. A dip tube is a crucial component that delivers cold water to the bottom of the tank, ensuring a steady supply of hot water. If the dip tube is not functioning properly, you may experience various problems:
1. Reduced Hot Water Supply
One of the first signs of a failing dip tube is a reduced hot water supply. You may notice that your showers are not as warm as they used to be or that it takes longer for the hot water to reach your faucets. This can be a frustrating issue, especially during colder months.
2. Cold Water Entering the Hot Water Supply
Another sign of a failing dip tube is when cold water starts entering the hot water supply. You may notice a sudden burst of cold water meanwhile using hot water, which can be quite unpleasant. This happens because the dip tube is not properly directing the cold water to the bottom of the tank.
3. No Hot Water Supply
In severe cases, a failing dip tube can result in a complete lack of hot water supply. If you turn on your faucets or shower and only cold water comes out, it’s likely that the dip tube is no longer functioning correctly. This is a clear indication that your water heater needs attention.
4. Unusual Noises Coming from the Water Heater
If you hear strange noises coming from your water heater, such as popping or rumbling sounds, it could be a sign of a failing dip tube. These noises occur because the dip tube is broken or deteriorated, causing disruptions in the flow of water. It’s important to address this issue promptly to avoid further damage to your water heater.
Flushing the Water Heater Dip Tube
1. When Should You Flush Your Water Heater Dip Tube?
Regular maintenance and care for your water heater is essential to ensure its efficiency and longevity. Flushing the water heater dip tube is a crucial step in this process. Over time, mineral deposits can accumulate in the dip tube, causing it to become clogged or inefficient. It is recommended to flush your water heater dip tube every year or whenever you notice a decrease in water flow or temperature.
2. How to Flush Your Water Heater Dip Tube
Flushing your water heater dip tube is a relatively simple process that can be done by obeying these steps:
- Turn off the power supply to the water heater and let it cool down.
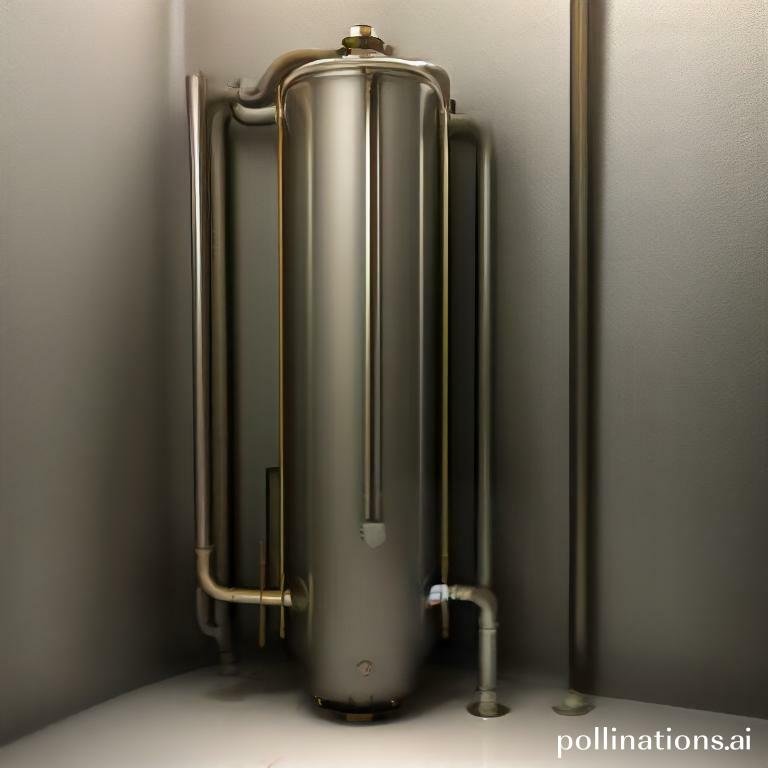
- Locate the drain valve at the bottom of the water heater and attach a garden hose.
- Place the other end of the hose in a suitable drainage area, such as a floor drain or outside.
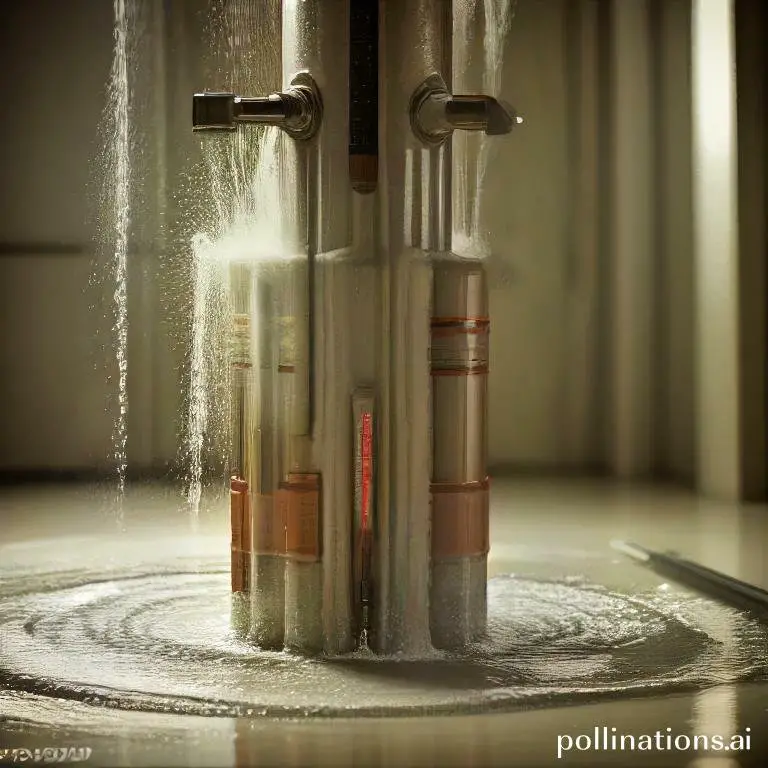
- Open the drain valve and allow the water to flow out, flushing out any sediment or debris.
- Once the water runs clear, close the drain valve and remove the hose.
- Turn on the water supply and let the tank refill.
- Finally, turn on the power supply to the water heater.
3. Materials Required for Flushing Your Water Heater Dip Tube
To successfully flush your water heater dip tube, you will need the following materials:
- A garden hose
- A suitable drainage area
Regularly flushing your water heater dip tube will help maintain its efficiency and prevent any potential issues. By adhering to these simple steps and adhering to the recommended maintenance schedule, you can ensure the optimal performance of your water heater for years to come.
Benefits of Flushing Your Water Heater Dip Tube
Improved Hot Water Supply
Flushing your water heater dip tube can significantly improve the hot water supply in your home. Over time, mineral deposits and sediment can accumulate in the dip tube, causing it to become clogged. This can result in reduced hot water flow and longer wait times for hot water. By flushing the dip tube, you can remove these deposits and restore the efficiency of your water heater.
Increased Water Heater Efficiency
Flushing the dip tube of your water heater can also help improve its overall efficiency. When the dip tube is clogged, your water heater has to work harder to heat the water, leading to increased energy consumption. By flushing the dip tube, you can remove the buildup and allow the water heater to operate more efficiently, resulting in lower energy bills.
Prolonged Water Heater Lifespan
Regularly flushing the dip tube of your water heater can help prolong its lifespan. The accumulation of sediment and mineral deposits can cause corrosion and damage to the water heater tank and other components. By flushing the dip tube, you can prevent these issues and extend the life of your water heater, saving you money on costly repairs or replacements.
| Benefits | |
|---|---|
| Improved Hot Water Supply | Removes clogs for better flow |
| Increased Water Heater Efficiency | Reduces energy consumption |
| Prolonged Water Heater Lifespan | Prevents corrosion and damage |
Maintenance Tips for Water Heater Dip Tube
The water heater dip tube is a crucial component that delivers cold water from the top of the tank to the bottom, ensuring an efficient heating process. To ensure the longevity and proper functioning of your water heater dip tube, follow these maintenance tips:
1. Regular Flushing Schedule
Flushing your water heater regularly is essential to remove sediment buildup that can clog the dip tube. Sediment accumulation can decrease the efficiency of your water heater and lead to premature failure. Follow these steps to flush your water heater:
- Turn off the power supply or gas source to the water heater.
- Attach a hose to the drain valve at the bottom of the tank.
- Place the other end of the hose in a suitable drain or outside area.
- Open the drain valve and allow the water to flow out until it runs clear.
- Close the drain valve and remove the hose.
- Turn on the power supply or gas source to the water heater.
2. Water Heater Dip Tube Replacement
If you notice a significant decrease in hot water supply or experience cold water at the tap despite the water heater operating correctly, it may be time to replace the dip tube. Follow these steps to replace the dip tube:
- Turn off the power supply or gas source to the water heater.
- Drain the water heater following the flushing steps mentioned above.
- Locate the dip tube, usually located near the top of the tank.
- Disconnect the dip tube from the water inlet connection.
- Install the new dip tube by connecting it to the water inlet connection.
- Reassemble any components that were removed during the process.
- Turn on the power supply or gas source to the water heater.
3. Professional Water Heater Maintenance
In the course of regular flushing and dip tube replacement can be done by homeowners, it’s advisable to have a professional plumber perform annual maintenance on your water heater. A professional can inspect the dip tube, along with other components, to ensure everything is functioning correctly and address any potential issues.
| Flushing Schedule | Dip Tube Replacement | Professional Maintenance |
|---|---|---|
| Regular flushing helps remove sediment buildup | Replacing a worn-out dip tube restores hot water supply | Annual professional maintenance ensures optimal performance |
| Recommended every 6-12 months | Depends on the condition of the dip tube | Once a year |
Bottom Line
Flushing your water heater is an important maintenance task that can help extend the life of your appliance and improve its efficiency. Nevertheless, it’s important to be aware of the potential impact on your dip tube function. Flushing can dislodge sediment and debris that can clog the dip tube, leading to reduced hot water flow and other issues. To minimize the risk of dip tube problems, it’s important to follow manufacturer guidelines for flushing frequency and technique, and to monitor your water heater’s performance closely after flushing. If you do experience dip tube issues, a professional plumber can help diagnose and repair the problem.
Overall, regular flushing is a key part of water heater maintenance, but it’s important to be aware of the potential impact on dip tube function and take steps to minimize the risk of problems. With proper care and attention, you can keep your water heater running smoothly and enjoy reliable hot water for years to come.
Read More:
1. Diy Flushing For Improved Water Heater Insulation
2. Flushing And Its Impact On Water Heater Pressure Relief Valve


