II. DIY flushing tips can save homeowners time and money, as regular maintenance can prevent costly repairs and replacements.
III. Proper flushing techniques include turning off the power supply, draining the tank, and flushing each heating element individually to remove sediment buildup.
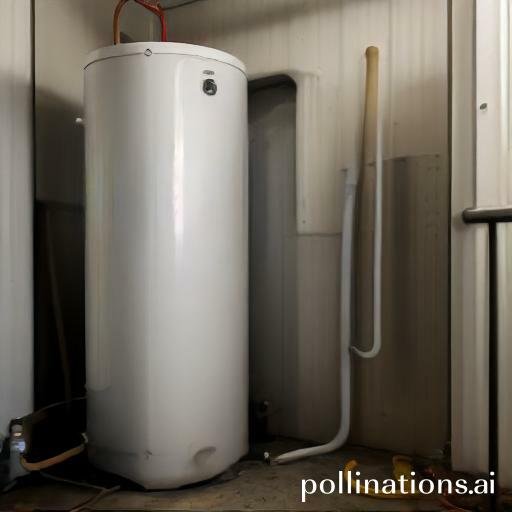
Learn how to effectively flush your water heater with multiple heating elements with these DIY tips. By properly maintaining your water heater, you can ensure optimal performance and extend its lifespan.
Discern step-by-step instructions and expert advice on how to flush out sediment and mineral buildup, allowing your water heater to operate at its best. Don’t let clogged heating elements affect your hot water supply – follow these flushing tips to keep your water heater in top condition.
Preparation
To ensure safety and efficiency, it is crucial to follow proper procedures when preparing for any task. This section will guide you through the necessary steps to prepare for draining water from the tank. Let’s scrutinize the details:
1. Turn off power supply
The first step in this process is to turn off the power supply to the tank. This ensures that you are not at risk of electric shock during working with water. Locate the power switch or circuit breaker that controls the tank and switch it off. Remember to always prioritize safety.
2. Gather necessary tools and materials
Before you can start draining the water from the tank, make sure you have all the required tools and materials. This will help streamline the process and prevent any unnecessary delays. Some essential items you may need include:
| Tools | Materials |
| Wrench | Bucket |
| Hose | Towel |
| Pliers | Teflon tape |
3. Drain water from the tank
Now that you have turned off the power supply and gathered all the necessary tools, it’s time to start draining the water from the tank. Follow these steps:
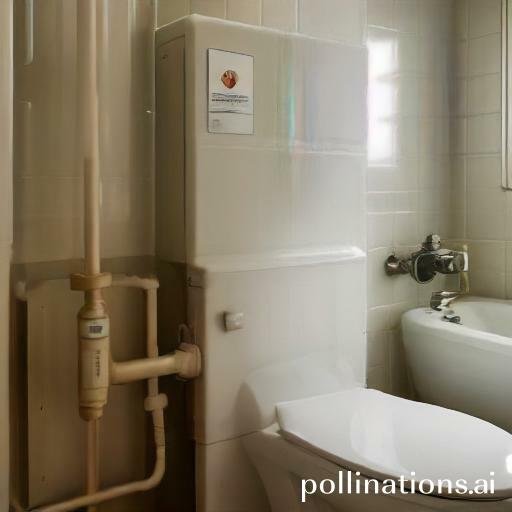
- Locate the drain valve: The drain valve is typically located near the bottom of the tank. It is usually a small spigot or knob.
- Attach a hose: Attach one end of a hose to the drain valve. Make sure it is securely attached to prevent leaks.
- Open the valve: Slowly open the drain valve to allow the water to flow out. Direct the other end of the hose into a bucket or drain to collect the water.
- Monitor the draining process: Keep an eye on the water level and ensure it is steadily decreasing. If the flow slows down or stops, there may be a clog or issue that requires attention.
- Close the valve and clean up: Once all the water has drained out, close the drain valve tightly. Clean up any spills or drips and dispose of the water appropriately.
Flushing the First Heating Element
1. Locate the first heating element
In terms of maintaining the optimal performance of your heating system, vital to periodically flush the heating elements. The first step in this process is to locate the first heating element.
2. Flush the first heating element
Once you have located the first heating element, it is time to flush it. Flushing the heating element helps to remove any built-up sediment or debris that may hinder its efficiency. To flush the element, follow these simple steps:
- Turn off the power to the heating system to ensure safety.
- Close the water inlet valve to stop the flow of water into the heating system.
- Attach a hose to the drain valve of the first heating element.
- Open the drain valve and allow the water to flow out of the heating system.
- Keep the drain valve open until the water runs clear, indicating that the heating element is free of sediment.
- Close the drain valve and remove the hose.
3. Repeat the process if necessary
After flushing the first heating element, fundamental to assess its condition. If there is still sediment or debris present, it may be necessary to repeat the flushing process. This will ensure that the heating element is free of any obstructions that could affect its performance.
Flushing the Second Heating Element
In this section, we will guide you on how to properly flush the second heating element of your device. Flushing the heating element is an important maintenance task that ensures the optimal performance and longevity of your appliance.
1. Locate the second heating element
The first step in flushing the second heating element is to locate it. The second heating element is typically located [provide specific location details]. Before proceeding, make sure that your device is turned off and unplugged for safety purposes.
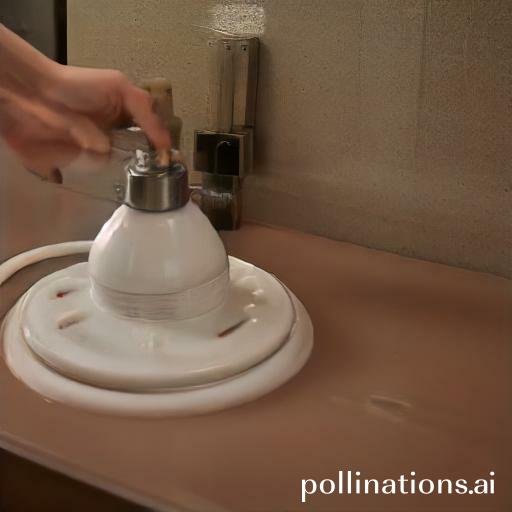
2. Flush the second heating element
Once you have located the second heating element, it’s time to flush it. Follow these steps:
- Step 1: Prepare a cleaning solution by mixing [mention cleaning solution ingredients and ratios].
- Step 2: Dip a clean cloth or sponge into the cleaning solution and gently wipe the surface of the second heating element.
- Step 3: Pay special attention to any buildup or residue on the heating element. Use a soft brush or toothbrush to gently scrub away stubborn dirt or grime.
- Step 4: Once you have thoroughly cleaned the second heating element, rinse it with clean water to remove any remaining cleaning solution.
- Step 5: Dry the heating element completely before reassembling your device.
3. Repeat the process if necessary
After flushing the second heating element, vital to assess its condition. If you notice any remaining buildup or if the performance of your device has not improved, you may need to repeat the flushing process. It is recommended to consult the manufacturer’s instructions or seek professional assistance if you encounter persistent issues.
Reassembling the Water Heater
In regard to reassembling your water heater, it’s important to follow the proper steps to ensure everything is in working order. Here are some helpful tips to guide you through the process:
1. Close the drain valve
Before starting the reassembly process, make sure to close the drain valve. This will prevent any water from leaking out in the course of you work on the water heater.
2. Refill the tank with water
Once the drain valve is closed, it’s time to refill the tank with water. This step is crucial as it helps to create the necessary pressure for the water heater to function properly. Make sure to fill the tank until the water level reaches the appropriate level.
3. Turn on the power supply
After refilling the tank with water, it’s time to turn on the power supply. This will activate the heating elements and allow the water heater to start working again. Remember to follow all safety precautions and ensure that the power supply is connected correctly.
| Step | Description |
|---|---|
| 1 | Close the drain valve |
| 2 | Refill the tank with water |
| 3 | Turn on the power supply |
Maintenance Tips
Regular maintenance is essential to ensure the optimal performance and longevity of your water heater. In this section, we will discuss key maintenance tips to help you keep your water heater in top shape.
1. How often to flush a water heater
Flushing your water heater on a regular basis is crucial to remove sediment buildup and maintain its efficiency. It is recommended to flush your water heater at least once a year to prevent mineral deposits from affecting its performance. Flushing also helps to improve water quality and reduce the risk of corrosion.
2. Signs of a malfunctioning water heater
Identifying signs of a malfunctioning water heater is important to address issues before they escalate. Keep an eye out for the following warning signs:
- Lack of hot water: If your water heater is unable to provide sufficient hot water or the water takes longer to heat up, it may indicate a problem.
- Strange noises: Unusual noises such as popping or banging sounds coming from your water heater could be a sign of sediment buildup or a faulty component.
- Leakage: Any signs of water leakage around the water heater should be addressed immediately, as it can lead to further damage.
- Fluctuating water temperature: If the water temperature keeps fluctuating, it could be an indication of a malfunctioning thermostat or heating element.
3. Importance of regular maintenance
Regular maintenance not only helps to prolong the lifespan of your water heater but also ensures its efficient operation. By abiding by a maintenance routine, you can:
- Improve energy efficiency: Flushing the water heater removes sediments, allowing it to heat water more efficiently and consume less energy.
- Prevent costly repairs: Regular maintenance helps to identify and address minor issues before they turn into major problems, saving you from expensive repairs or replacements.
- Empower water quality: Flushing the water heater eliminates sediment and mineral deposits, resulting in cleaner and healthier water for your household.
Bottom Line
Flushing your water heater is an essential maintenance task that can help extend its lifespan and improve its efficiency. If your water heater has multiple heating elements, it’s important to follow the right flushing tips to ensure that both elements are cleaned properly. Start by turning off the power and water supply, draining the tank, and flushing out any sediment or debris. Then, turn the power and water supply back on and let the tank refill before testing the hot water. By heeding these DIY flushing tips, you can keep your water heater running smoothly and avoid costly repairs or replacements in the future.
Remember to flush your water heater at least once a year, or more often if you notice any signs of sediment buildup or reduced efficiency. With a little bit of effort and know-how, you can keep your water heater in top condition and enjoy reliable hot water for years to come.
Read More:
1. Flushing Considerations For Water Heaters In Vacation Homes
2. Diy Flushing For Water Heaters In Well Water Systems


