II. Flushing the water heater removes sediment buildup, improving water flow and increasing efficiency.
III. Following proper safety precautions and using the correct tools and materials is essential for a successful DIY flush.
Flushing your water heater can help improve its performance and restore the desired water pressure. By conforming to these simple steps, you can easily unclog any mineral deposits or sediment buildup within your water heater, ensuring a steady and satisfying hot water flow.
Say goodbye to low hot water pressure issues and enjoy the comfort of a fully functioning water heater with this DIY flushing technique.
Perceiving the Causes of Low Hot Water Pressure
Low hot water pressure can be a frustrating and inconvenient issue to deal with. In order to address this problem effectively, fundamental to understand the underlying causes. Here are some common factors that can contribute to low hot water pressure:
Sediment buildup in the tank
Over time, sediments such as dirt, sand, and minerals can accumulate at the bottom of the hot water tank. This sediment buildup can restrict the flow of hot water, resulting in low water pressure. Regular maintenance, such as flushing the tank to remove sediments, can help prevent this issue.
Clogged or damaged pipes
Clogs or damage in the pipes that carry hot water can also lead to low water pressure. Blockages caused by mineral deposits, rust, or other debris can impede the flow of water. Inspecting the pipes and clearing any obstructions can help restore proper water pressure.
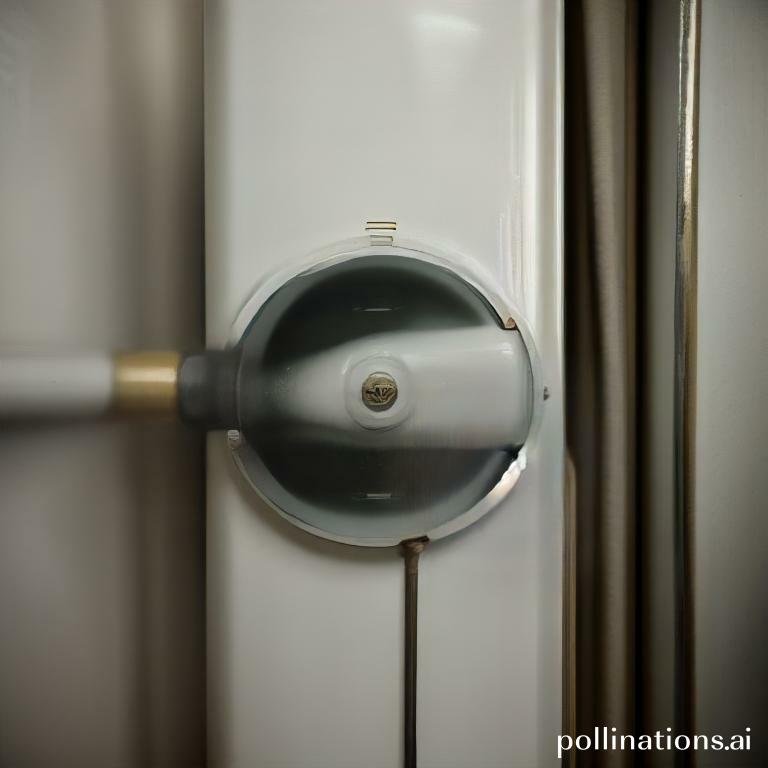
Faulty pressure relief valve
The pressure relief valve is an important safety feature in a hot water system. If this valve is faulty or not functioning correctly, it can cause fluctuations in water pressure. Replacing a faulty pressure relief valve can help alleviate low hot water pressure issues.
Malfunctioning heating element
The heating element in a hot water tank is responsible for heating the water. If the heating element is malfunctioning or not working efficiently, it can affect the overall performance of the hot water system, including water pressure. Inspecting and replacing a faulty heating element can improve hot water pressure.
| Causes | Solutions |
|---|---|
| Sediment buildup in the tank | Regular tank flushing to remove sediment |
| Clogged or damaged pipes | Inspecting and clearing obstructions in pipes |
| Faulty pressure relief valve | Replacing faulty pressure relief valve |
| Malfunctioning heating element | Inspecting and replacing faulty heating element |
Preparing for the Flushing Process
As for preparing for the flushing process, there are a few important steps to follow. By gathering the necessary tools and materials beforehand, you can ensure a smooth and efficient process.
Gathering necessary tools and materials
- Bucket: A bucket will be needed to collect any water that is drained during the flushing process.
- Gloves: Essential to protect your hands during the process, so be sure to wear gloves.
- Flush valve wrench: This tool will be necessary for loosening and removing the flush valve.
- Clean cloth: Having a clean cloth on hand will be useful for wiping away any dirt or debris.
Turning off the power supply and water source
Before beginning the flushing process, it is crucial to turn off the power supply and water source to ensure safety and prevent any accidental water flow.
To turn off the power supply, locate the circuit breaker or switch that controls the water heater and switch it off.
To turn off the water source, locate the main water supply valve and turn it clockwise until it is fully closed.
Draining the tank
Once the power supply and water source are turned off, it is time to drain the tank. This step is important to remove any remaining water and sediment.
To drain the tank, connect a hose to the drain valve located at the bottom of the tank. Place the other end of the hose in a suitable drainage area, such as a floor drain or outside.
Open the drain valve and allow the water to flow out of the tank. Be sure to open any nearby faucets to help facilitate the draining process.
Once the tank is fully drained, close the drain valve and remove the hose. You are now ready to proceed with the flushing process.
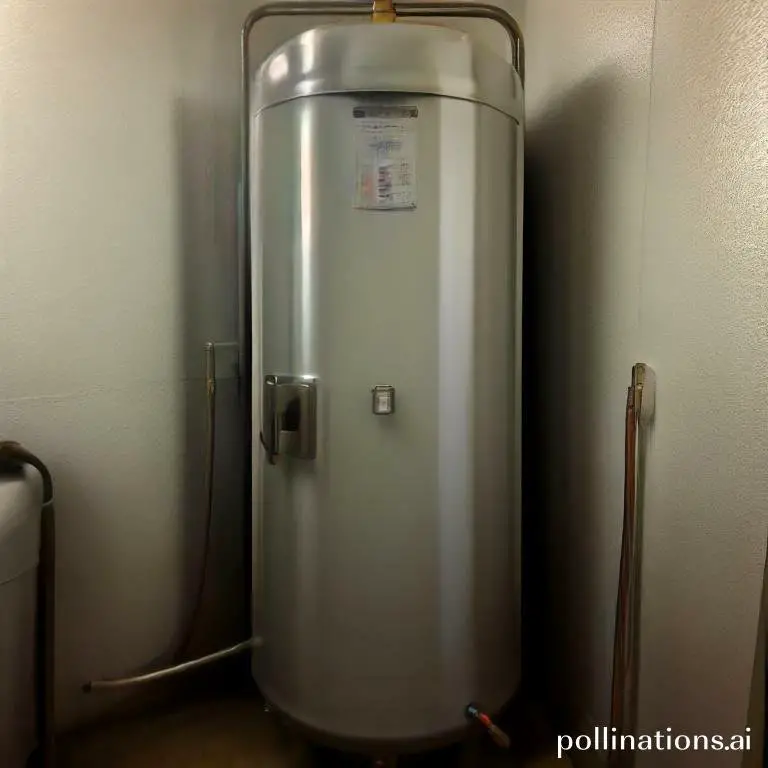
Flushing the Water Heater
Flushing the water heater is an essential maintenance task that can greatly extend the lifespan and efficiency of your appliance. By removing sediment buildup, you can ensure that your water heater operates at its optimal level and provides you with hot water when you need it most.
Step-by-step instructions for flushing the tank
Flushing the tank is a relatively simple process that can be done in a few easy steps. Here’s how:
- Turn off the power supply to the water heater. This can usually be done by switching off the circuit breaker or turning off the gas supply.
- Attach a hose to the drain valve located at the bottom of the tank. Make sure the other end of the hose is positioned to safely drain the water.
- Open the pressure relief valve on the top of the tank to allow air into the system and facilitate the draining process.
- Open the drain valve and let the water flow out of the tank. Be careful, as the water may be hot.
- Once the tank is empty, close the drain valve and remove the hose.
- Turn on the water supply to the tank and let it fill up completely.
- Turn the power supply back on and wait for the water to heat up.
Tips for removing stubborn sediment buildup
In some cases, you may encounter stubborn sediment buildup that is difficult to remove. Here are a few tips to help you tackle this issue:
- Use a descaling solution specifically designed for water heaters. This can help break down and remove stubborn sediment.
- Consider using a water softener to prevent future sediment buildup.
- If the sediment is particularly stubborn, you may need to repeat the flushing process multiple times.
Importance of flushing the tank multiple times
Flushing the tank multiple times is crucial to ensure that all sediment is completely removed. By flushing the tank multiple times, you can prevent any leftover sediment from causing damage or reducing the efficiency of your water heater. Regular flushing can also help prevent clogs and extend the lifespan of your appliance.
Refilling and Restarting the Water Heater
In this section, we will guide you through the process of refilling and restarting your water heater. By embracing these steps, you can ensure the optimal performance of your water heater and avoid any potential leaks.
Refilling the Tank with Clean Water
The first step in restarting your water heater is to refill the tank with clean water. This ensures that you have a fresh supply of hot water for your needs. Here are the steps to follow:
- Turn off the power supply to the water heater.
- Locate the cold water supply valve and turn it off.
- Attach a garden hose to the drain valve at the bottom of the tank.
- Place the other end of the hose in a suitable drainage area.
- Open the drain valve and allow the tank to drain completely.
- Once the tank is empty, close the drain valve.
- Remove the hose from the drain valve.
- Locate the cold water supply valve and turn it on.
- Allow the tank to fill with clean water.
- Once the tank is full, turn on the power supply to the water heater.
Restarting the Water Heater and Checking for Leaks
Once you have refilled the tank, it’s time to restart the water heater. Follow these steps to ensure a smooth restart:
- Locate the power switch or control panel for your water heater.
- Turn on the power supply to the water heater.
- Wait for the water heater to heat up and provide hot water.
- Meanwhile the water heater is heating up, carefully inspect the area around the tank for any signs of leaks.
- If you notice any leaks, turn off the power supply and address the issue before proceeding.
Tips for Maintaining the Water Heater’s Optimal Performance
To keep your water heater in optimal condition, consider the following tips:
- Regularly check for any signs of leaks or damage.
- Flush the tank annually to remove sediment buildup.
- Insulate the hot water pipes to reduce heat loss.
- Adjust the temperature settings to conserve energy.
- Consider installing a water softener to prevent mineral deposits.
Troubleshooting Common Issues
Identifying and fixing leaks
In terms of water heaters, leaks can be a common problem that homeowners may encounter. Fundamental to promptly identify and fix any leaks to prevent further damage and ensure optimal performance of your water heater.
- Start by inspecting the connections and valves for any visible signs of leakage. Look for water puddles or damp areas around the water heater.
- If you notice a leak, turn off the power supply to the water heater and shut off the water supply.
- Tightly secure any loose or damaged connections using a wrench or pliers. Replace any faulty valves or fittings.
- Once the repairs are made, turn on the water supply and power to the water heater. Monitor for any signs of leakage to ensure that the issue has been resolved.
Addressing low hot water pressure after flushing
After flushing your water heater to remove sediment buildup, you may experience low hot water pressure. This can be a result of air pockets or debris that have entered the system during the flushing process. Here’s how you can address this issue:
- Turn off the power supply to the water heater and shut off the water supply.
- Open all hot water faucets in your home to release any trapped air.
- Once the faucets are running smoothly, close them one by one, starting from the closest faucet to the water heater.
- Turn on the water supply and power to the water heater.
- Check the hot water pressure at the faucets to ensure that it has returned to normal.
Checking for other potential issues with the water heater
In addition to leaks and low hot water pressure, there are other potential issues that you should check for to maintain the functionality of your water heater:
- Inspect the temperature and pressure relief valve to ensure it is functioning properly. This valve is designed to release pressure and prevent the water heater from exploding.
- Check the anode rod for corrosion. The anode rod helps prevent the tank from rusting, but it may need to be replaced if it is heavily corroded.
- Monitor the water temperature to ensure it is set at an appropriate level. Adjust if necessary.
- Regularly flush the water heater to remove sediment buildup and maintain its efficiency.
Bottom Line
Flushing your water heater is a simple DIY task that can help improve low hot water pressure. Essential to turn off the power supply and water source before starting the process. You can use a garden hose to drain the tank and remove any sediment buildup. Regular flushing can extend the life of your water heater and improve its efficiency. If you are not comfortable performing this task, it is best to hire a professional plumber. Remember to check your water heater’s manual for specific instructions and safety precautions.
By taking the time to flush your water heater, you can save money on energy bills and avoid costly repairs. Don’t let low hot water pressure ruin your daily routine. Take action today and enjoy a steady flow of hot water in your home.
Read More:
1. Flushing For Improved Water Heater Energy Consumption
2. Diy Flushing Tips For Water Heaters With Multiple Heating Elements