II. Flushing the water heater removes sediments and minerals that can build up over time, reducing the unit’s efficiency and increasing energy costs.
III. Regular flushing can also prevent leaks and other issues, saving homeowners money on repairs and replacements in the long run.
Flushing your water heater is a simple and cost-effective way to elevate its efficiency and prolong its lifespan. By removing sediment and mineral buildup, you can ensure that your water heater operates at its optimal level, providing you with hot water whenever you need it.
Follow our step-by-step guide to easily flush your water heater and enjoy the benefits of improved insulation and energy savings.
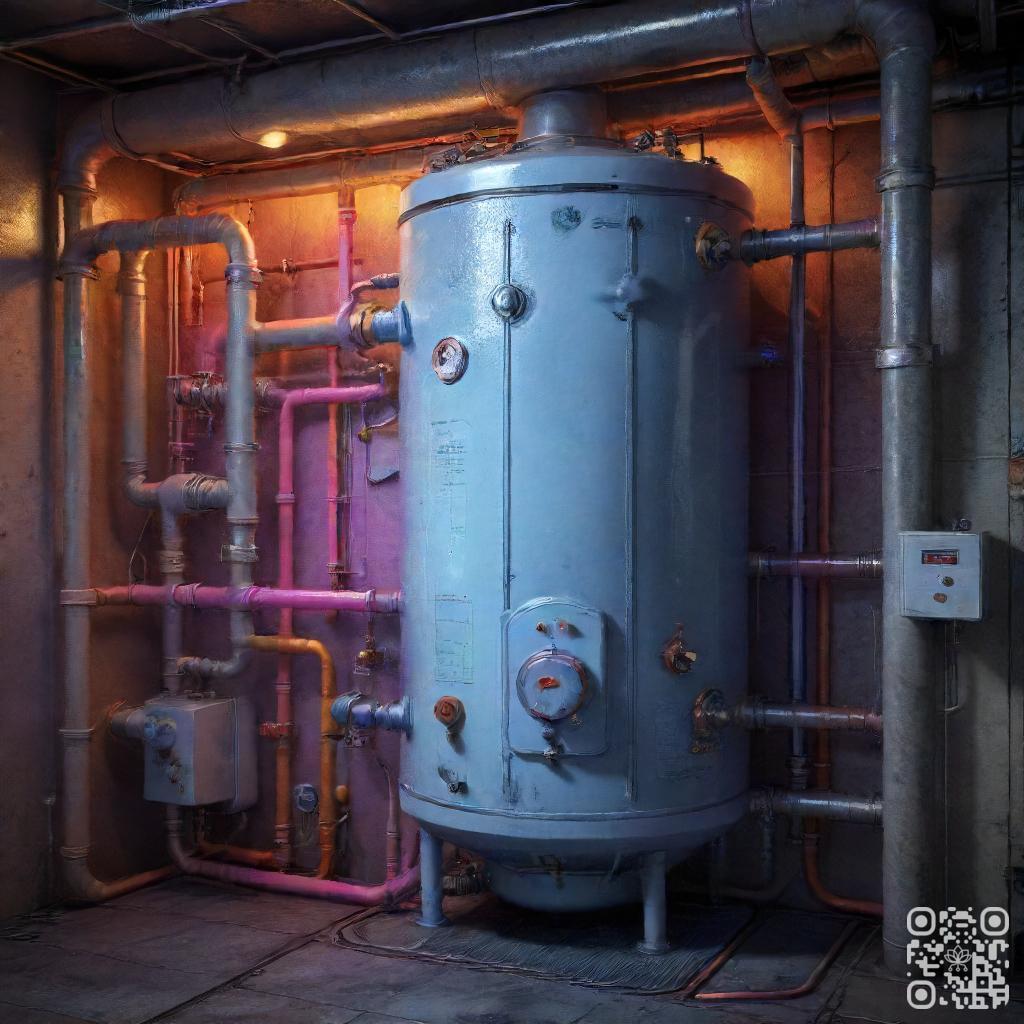
Embracing Water Heater Insulation
Water heater insulation plays a crucial role in ensuring energy efficiency and cost savings. By discerning the purpose of insulation in water heaters, the types of insulation materials used, and the factors that affect insulation efficiency, you can make informed decisions to optimize your water heating system.
1. Purpose of Insulation in Water Heaters
The primary purpose of insulation in water heaters is to minimize heat loss. Insulation acts as a barrier, preventing the escape of heat from the water tank. By reducing heat loss, insulation helps maintain water temperature, reducing the frequency of heating cycles and ultimately saving energy.
Proper insulation also ensures that hot water remains hot for longer periods, allowing you to have readily available hot water whenever you need it. This is particularly beneficial during colder months when heat loss is more prominent.
2. Types of Insulation Materials Used in Water Heaters
Water heaters are typically insulated using either fiberglass or foam insulation. Fiberglass insulation consists of fine glass fibers, which provide excellent thermal resistance. Foam insulation, in contradistinction, is made of polyurethane foam and offers superior insulation properties due to its high R-value.
Both fiberglass and foam insulation are effective in reducing heat loss, but foam insulation generally provides better insulation performance. It is essential to choose a water heater with adequate insulation to maximize energy efficiency and minimize heat loss.
3. Factors Affecting Insulation Efficiency
Several factors can impact the insulation efficiency of water heaters. One crucial factor is the thickness of the insulation. Thicker insulation generally provides better insulation performance, reducing heat loss to a greater extent.
The quality of the insulation material also matters. High-quality insulation materials with a higher R-value offer superior insulation properties, ensuring minimal heat loss.
The condition of the insulation is another critical factor. Over time, insulation may deteriorate or become damaged, compromising its effectiveness. Regular maintenance and inspection of the insulation can help identify any issues and ensure optimal insulation efficiency.
| Factors Affecting Insulation Efficiency | Impact |
|---|---|
| Insulation Thickness | Minimizes heat loss |
| Insulation Material Quality | Enhances insulation performance |
| Insulation Condition | Affects insulation effectiveness |
Signs of Poor Water Heater Insulation
Having poor insulation in your water heater can lead to several issues that can affect both your comfort and your budget. It’s important to be aware of the signs that indicate your water heater insulation may be inadequate.
1. Increased energy bills
One of the first signs of poor water heater insulation is a noticeable increase in your energy bills. When your water heater is not properly insulated, it loses heat more quickly, causing it to work harder and use more energy to maintain the desired temperature. This can result in higher energy costs month after month.
2. Longer heating time
If you’ve noticed that it takes longer than usual for your water heater to heat up, it could be a sign of poor insulation. Inefficient insulation allows heat to escape more easily, which means it takes longer for the water to reach the desired temperature. This can be frustrating and inconvenient, especially during colder months when you rely on hot water for various purposes.
3. Noisy water heater
Poor insulation can also contribute to a noisy water heater. When the insulation is insufficient, the water heater has to work harder to maintain the desired temperature, resulting in increased strain on the system. This strain can cause the water heater to make loud banging or popping noises as it heats up. If you notice unusual noises coming from your water heater, it’s worth checking the insulation.
4. Reduced hot water supply
Inadequate insulation can lead to a reduced hot water supply in your home. When heat is lost through the walls of the water heater, the water cools down more quickly, resulting in a limited amount of hot water available for use. This can be particularly inconvenient if you have a large household or rely heavily on hot water for daily tasks.
Benefits of DIY Flushing for Improved Insulation
Flushing your water heater regularly is a simple yet effective DIY task that can bring numerous benefits. By maintaining a few steps, you can improve the insulation efficiency of your water heater and enjoy long-lasting advantages. Let’s traverse the benefits of DIY flushing:
1. Improved Insulation Efficiency
When sediment builds up in your water heater, it can reduce its insulation efficiency. Flushing the tank removes this sediment, allowing the insulation to work more effectively. With improved insulation, your water heater can maintain desired temperatures for longer periods, saving energy and ensuring a steady supply of hot water.
2. Increased Lifespan of the Water Heater
Regular DIY flushing helps extend the lifespan of your water heater. Sediment buildup can lead to corrosion and other issues that can shorten the lifespan of your appliance. By flushing the tank, you remove the sediment and prevent potential damage, increasing the longevity of your water heater.
3. Reduced Energy Bills
A water heater that is insulated correctly can operate more efficiently, resulting in reduced energy bills. Flushing your water heater removes sediment that can cause the appliance to work harder and consume more energy. By flushing regularly, you can optimize energy usage and save money on your utility bills.
4. Improved Hot Water Supply
Sediment accumulation can also affect the hot water supply in your home. It can lead to reduced water flow and slower heating times. Flushing your water heater eliminates sediment and ensures a consistent and reliable hot water supply. You can enjoy hot showers and efficient water usage without any interruptions.
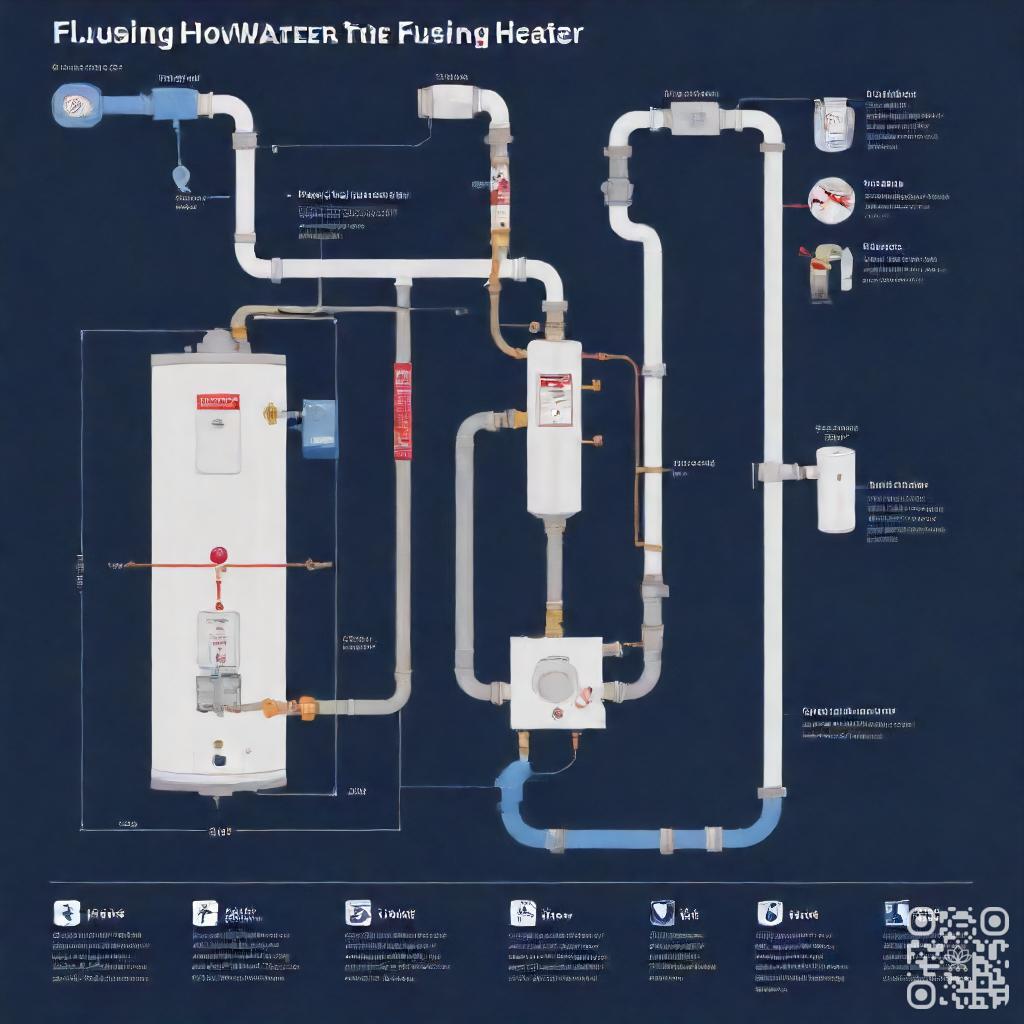
How to Flush Your Water Heater
Flushing your water heater is an essential maintenance task that helps to prolong its lifespan and ensure optimal performance. By adhering to a few simple steps, you can effectively remove sediment buildup and improve the efficiency of your water heater.
1. Turn off the power supply
Prior to flushing your water heater, it is crucial to turn off the power supply. This will prevent any accidents and ensure your safety throughout the process. Locate the circuit breaker or switch that controls the power to your water heater and switch it off.
2. Turn off the water supply
Next, you’ll need to turn off the water supply to your water heater. Locate the shut-off valve, typically located on the cold water pipe entering the heater. Turn the valve clockwise to shut off the water flow.
3. Drain the water heater
Once the power and water supply are turned off, you can begin draining the water heater. Connect a hose to the drain valve located at the bottom of the tank. Place the other end of the hose in a suitable drainage area, such as a floor drain or outside. Open the drain valve and allow the water to flow out until it runs clear.
4. Flush the water heater
After draining the water heater, it’s time to flush out any remaining sediment. Close the drain valve and carefully turn the water supply back on. This will create a forceful flow of water that will help to dislodge and flush out any remaining sediment or debris. Allow the water to run for a few minutes until it appears clear.
5. Refill the water heater
Once the water runs clear, close the drain valve and turn off the water supply. With the drain valve closed, you can now safely turn the power supply back on. Open a hot water faucet in your home to release any air from the system. Once water flows steadily from the faucet, your water heater is refilled and ready for use.
| Steps | Description |
|---|---|
| 1 | Turn off the power supply |
| 2 | Turn off the water supply |
| 3 | Drain the water heater |
| 4 | Flush the water heater |
| 5 | Refill the water heater |
Precautions and Safety Measures
Relating to any task involving potentially hazardous substances, it is crucial to prioritize safety above all else. Proper precautions and safety measures must be taken to ensure the well-being of everyone involved. In this section, we will discuss the necessary steps to protect yourself and others during the flushing process.
1. Protective Gear to Wear
Wearing the appropriate protective gear is essential to safeguard against any potential harm. When engaging in the flushing process, make sure to equip yourself with the following:
- Gloves: Protect your hands from any chemicals or debris by wearing gloves made of durable material.
- Goggles: Safeguard your eyes from splashes or any airborne particles by wearing protective goggles.
- Mask: Prevent inhalation of harmful fumes or dust particles by wearing a mask that covers your nose and mouth.
- Apron: Shield your body from any spills or splatters by wearing a protective apron.
2. Safety Precautions to Take
Alongside the necessary protective gear, it is crucial to follow safety precautions to minimize any risks involved. Ensure that you adhere to the following guidelines:
- Read Instructions: Familiarize yourself with the flushing process instructions provided by the manufacturer.
- Ventilation: Ensure that the area where you are carrying out the process is well-ventilated to prevent the accumulation of fumes.
- Secure Containers: Make sure that the containers used for the flushing process are properly sealed and secure to avoid any leaks or spills.
- Proper Disposal: Dispose of any waste or used materials in accordance with local regulations and guidelines.
3. Things to Avoid During the Flushing Process
During conducting the flushing process, pivotal to be aware of certain actions or substances that should be avoided. To ensure a safe and effective process, steer clear of the following:
- Smoking: Never smoke or allow open flames near the flushing area, as it can lead to dangerous situations.
- Mixing Chemicals: Do not mix different chemicals during the flushing process, as it can result in hazardous reactions.
- Improper Storage: Avoid storing chemicals or flushing materials near heat sources or in direct sunlight.
- Overexposure: Limit your exposure to chemicals by obeying the recommended time frames and procedures.
Bottom Line
DIY flushing is an effective way to improve the insulation of your water heater. By removing sediment buildup, you can increase the efficiency of your heater and save money on energy bills. It’s important to follow proper safety precautions and manufacturer guidelines when flushing your water heater. Regular maintenance, including flushing, can also extend the lifespan of your water heater. If you’re not comfortable performing DIY flushing, consider hiring a professional plumber. Overall, taking care of your water heater can lead to significant cost savings and a more comfortable home.
Remember, a well-maintained water heater is essential for a comfortable and efficient home. DIY flushing is a simple and cost-effective way to improve your water heater’s insulation and save money on energy bills. Don’t neglect your water heater – take the time to perform regular maintenance and enjoy the benefits of a well-functioning appliance.
Read More:
1. How Does Flushing Contribute To Water Heater Efficiency Ratings?
2. Flushing For Improved Water Heater Sacrificial Anode Lifespan


