II. DIY flushing can save you money on maintenance costs.
III. Flushing your water heater is a simple process that can be done with basic tools and minimal experience.
Flushing your water heater regularly helps prevent sediment buildup, which can lead to decreased efficiency and potential damage. By performing this simple maintenance task yourself, you can save money on professional services and ensure your water heater operates at its best for years to come.
This article will provide you with the necessary information to understand the importance of DIY flushing and how it can help you maximize your water heater warranty.
Preparing for Flushing
Before flushing your water heater, pivotal to take a few necessary steps to ensure safety and efficiency. By abiding by these guidelines, you can prepare yourself for a successful flushing process.
1. Turning off the power supply to the water heater
Prior to flushing, it is crucial to turn off the power supply to your water heater. This will prevent any accidents or electrical mishaps during the process. Locate the circuit breaker or switch that controls the power to your water heater and switch it off.
2. Shutting off the water supply to the water heater
In order to properly flush your water heater, you need to shut off the water supply. Locate the water shut-off valve near the water heater and turn it clockwise to stop the flow of water. This will ensure that no water enters the tank at the same time you are flushing it.
3. Gathering necessary tools and equipment
Before you begin flushing, gather all the necessary tools and equipment you will need for the process. This may include a hose, a bucket, a wrench, and gloves. Having these items on hand will make the flushing process more efficient and hassle-free.
Once you have completed these preparations, you are ready to proceed with the flushing of your water heater. Remember to follow the manufacturer’s instructions and guidelines for your specific model. Flushing your water heater regularly helps remove sediment and mineral buildup, ensuring optimal performance and extending its lifespan.
| Steps | Actions |
|---|---|
| 1. | Turn off the power supply to the water heater |
| 2. | Shut off the water supply to the water heater |
| 3. | Gather necessary tools and equipment |
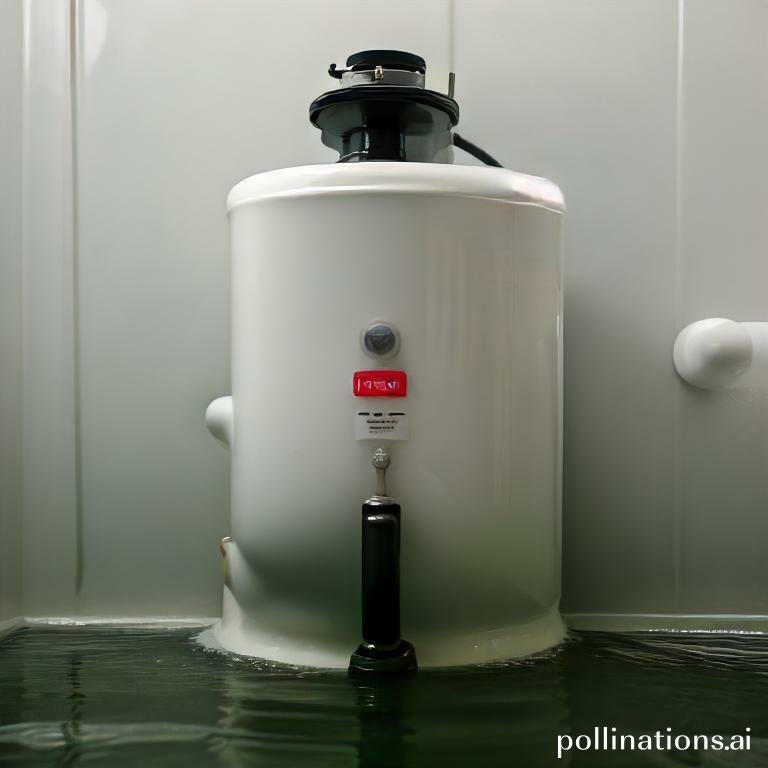
Draining the Water Heater
Draining the water heater is an essential maintenance task that helps to prolong its lifespan and ensure optimal performance. By abiding by a few simple steps, you can easily drain the water heater and prevent any potential issues. Here’s how:
1. Connecting a garden hose to the drain valve
The first step is to locate the drain valve on your water heater. It is typically located near the bottom of the tank. Once you have located the drain valve, connect a garden hose to it. Ensure that the hose is securely attached to prevent any leaks or spills.
2. Opening the drain valve and allowing the water to flow out
Once the hose is connected, slowly open the drain valve. This will allow the water to start flowing out of the tank and through the hose. Be careful as the water may be hot, so use caution when handling the hose or standing near the drain valve.
3. Flushing the tank with cold water until it runs clear
Meanwhile the water is draining, it’s a good idea to flush the tank with cold water. This helps to remove any sediment or buildup that may have accumulated over time. Simply turn on a cold water faucet nearby and let it run until the water coming out of the tank runs clear.
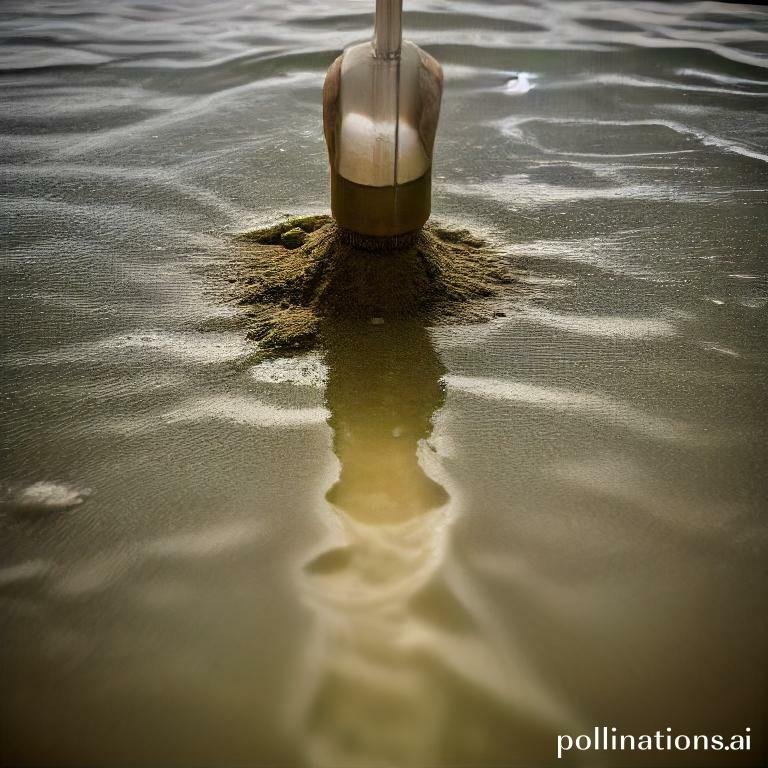
Removing Sediment Buildup
Sediment buildup in a water heater can reduce its efficiency and lead to various problems. To ensure optimal performance and prolong the lifespan of your water heater, it’s important to regularly remove sediment buildup. Follow these steps to effectively eliminate sediment from your water heater:
1. Turning off the cold water supply and closing the drain valve
Before beginning the sediment removal process, make sure to turn off the cold water supply to your water heater. This will prevent any new water from entering the tank. Additionally, close the drain valve to ensure that water doesn’t escape during the cleaning process.
2. Refilling the tank with cold water
Once the cold water supply and drain valve are closed, refill the tank with cold water. This will help create the necessary pressure for the sediment removal solution to effectively break down the buildup.
3. Adding a sediment removal solution and allowing it to sit
Choose a suitable sediment removal solution and carefully add it to the water heater through the designated opening. Allow the solution to sit in the tank for a recommended amount of time as specified by the manufacturer. This will allow the solution to penetrate and loosen the sediment.
4. Draining the water heater again to remove sediment buildup
After the sediment removal solution has had enough time to work, it’s time to drain the water heater again. Open the drain valve and let the water, along with the loosened sediment, flow out of the tank. Repeat this process until the water runs clear and free from sediment.
Regularly removing sediment buildup from your water heater will not only improve its efficiency but also prevent potential issues such as reduced water flow and premature wear and tear. By abiding by these steps, you can ensure that your water heater functions optimally and provides you with a reliable supply of hot water.
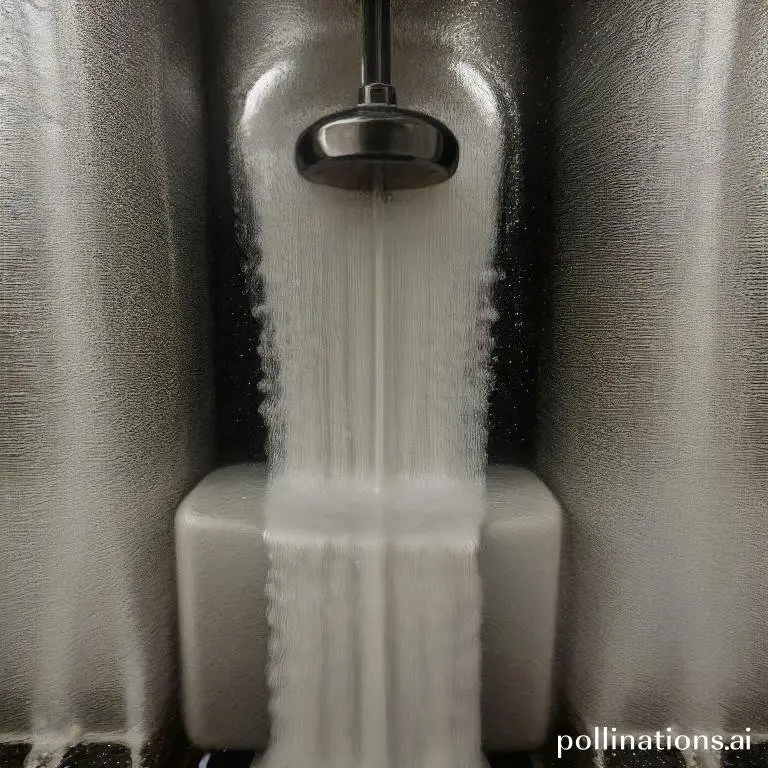
Finishing the Flushing Process
After completing the initial steps of draining and flushing your water heater, it is essential to properly finish the process to ensure optimal performance and longevity. Follow these final steps to complete the flushing process:
1. Closing the drain valve and removing the garden hose
Once you have successfully drained the sediment from your water heater, carefully close the drain valve. Ensure it is tightly secured to prevent any leaks or water wastage. Next, remove the garden hose that was attached to the drain valve. Take your time and be cautious to avoid any accidental spills.
2. Refilling the tank with water
With the drain valve closed and the hose removed, it’s time to refill the tank with fresh water. Slowly open the cold water supply valve to allow water to flow into the tank. Monitor the tank’s water level and ensure it reaches its normal capacity. This step may take some time, so be patient and allow the tank to fill completely.
3. Turning on the power supply and allowing the water heater to heat up
Once the tank is filled with water, it’s time to restore power to your water heater. Locate the power supply switch or breaker and turn it back on. This will enable the water heater to start heating the newly refilled water. Give the heater some time to heat up the water to the desired temperature.
| Step | Description |
|---|---|
| 1 | Closing the drain valve and removing the garden hose |
| 2 | Refilling the tank with water |
| 3 | Turning on the power supply and allowing the water heater to heat up |
Maintenance Tips for Extended Warranty
In the realm of protecting your investment and ensuring the longevity of your appliances, following proper maintenance tips is crucial. This section will provide you with a comprehensive guide to maintaining your extended warranty, focusing specifically on water heater maintenance.
1. Flushing the water heater annually
Regularly flushing your water heater can significantly improve its performance and extend its lifespan. Over time, sediment and mineral buildup can accumulate at the bottom of the tank, reducing its efficiency and potentially causing damage. By flushing the water heater annually, you can remove these deposits and prevent any potential issues.
Steps to flush your water heater:
- Turn off the power supply to the water heater.
- Attach a hose to the drain valve and place the other end in a suitable drainage location.
- Open the drain valve and allow the water to flow out until it runs clear.
- Close the drain valve and remove the hose.
- Turn on the water supply and allow the tank to refill before turning the power back on.
2. Checking the anode rod regularly
The anode rod plays a crucial role in preventing corrosion inside the water heater tank. Over time, the rod can deteriorate and become less effective, leaving your tank vulnerable to rust and damage. By checking the anode rod regularly and replacing it when necessary, you can protect your water heater and preserve its warranty.
Steps to check the anode rod:
- Locate the anode rod on top of the water heater.
- Use a wrench to loosen and remove the anode rod.
- Inspect the rod for signs of corrosion or depletion.
- If the rod is significantly corroded or worn, replace it with a new one.
3. Insulating the water heater to improve efficiency
Insulating your water heater can help to improve its energy efficiency and reduce heat loss. By reducing heat loss, your water heater won’t have to work as hard to maintain the desired temperature, ultimately saving you money on your energy bills. Additionally, insulating your water heater can help to extend its lifespan and protect it from external elements.
Steps to insulate your water heater:
- Turn off the power supply to the water heater.
- Measure the height and circumference of your water heater.
- Purchase an insulation blanket that is suitable for your water heater’s dimensions.
- Wrap the insulation blanket around the water heater, ensuring it covers the top, bottom, and sides.
- Secure the insulation blanket with tape or straps.
Bottom Line
Flushing your water heater regularly is a simple DIY task that can help extend the life of your appliance and maintain your warranty. Neglecting to flush your water heater can lead to sediment buildup, corrosion, and decreased efficiency, which can ultimately result in costly repairs or replacement. By embracing the manufacturer’s instructions and flushing your water heater at least once a year, you can prevent these issues and ensure that your appliance continues to function properly. Additionally, flushing your water heater can improve the quality of your hot water and reduce the risk of contamination. So, take the time to flush your water heater and enjoy the benefits of a longer-lasting appliance and a more reliable supply of hot water.
Read More:
1. How To Flush A Water Heater With An Expansion Tank?
2. Flushing Considerations For Older Water Heater Models


