II. Regular flushing removes sediment and mineral buildup, improving system performance and extending its lifespan.
III. Flushing should be done annually or as recommended by the manufacturer to ensure optimal efficiency.
DIY flushing is a simple and effective way to maintain your water heater’s energy efficiency. Over time, sediment buildup can reduce your heater’s efficiency, leading to higher energy bills and shorter lifespan.
Flushing your heater once a year can help prevent these issues and keep your water heater running smoothly. In this guide, we’ll provide step-by-step instructions on how to flush your water heater, along with tips for maximizing energy efficiency.
Perceiving your water heater
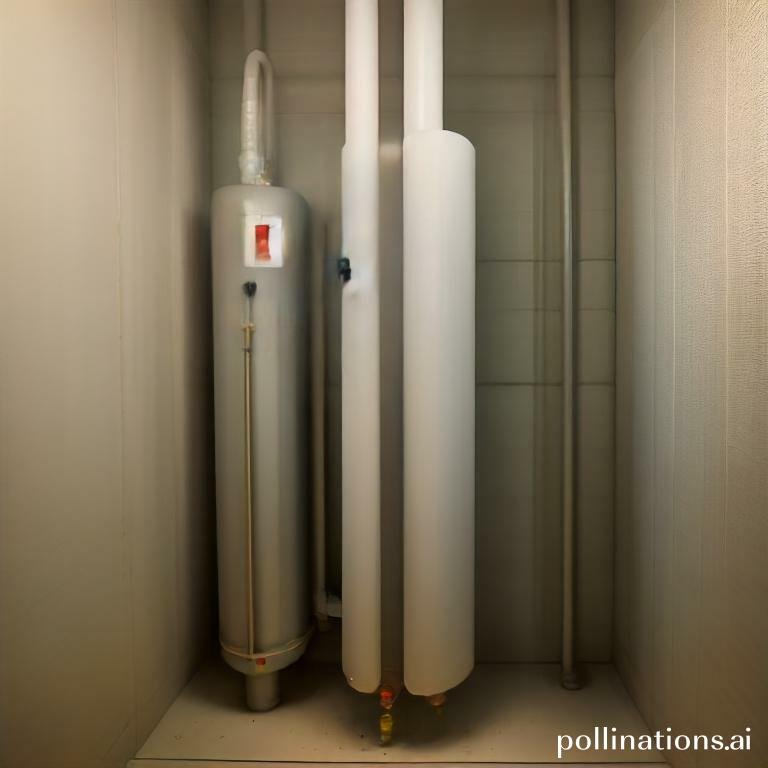
Your water heater is an essential appliance in your home that provides hot water for various purposes. To ensure its optimal performance and longevity, vital to understand how it works and the factors that can impact its efficiency. In this section, we will investigate the different types of water heaters and their efficiency ratings, as well as the effects of sediment buildup on efficiency.
1. Types of water heaters and their efficiency ratings
There are several types of water heaters available in the market, each with its own advantages and efficiency ratings. The most common types include:
| Type | Efficiency Rating |
|---|---|
| Tankless Water Heaters | High |
| Storage Tank Water Heaters | Medium |
| Heat Pump Water Heaters | High |
| Solar Water Heaters | High |
Integral to choose a water heater that suits your household needs and offers high efficiency to save energy and reduce utility bills.
2. How sediment buildup affects efficiency
Over time, sediment, such as minerals and debris, can accumulate at the bottom of your water heater tank. This buildup can have a significant impact on its efficiency by insulating the heating element from the water, causing it to work harder and consume more energy. As a result, your water heater may take longer to heat water and experience a decrease in overall performance.
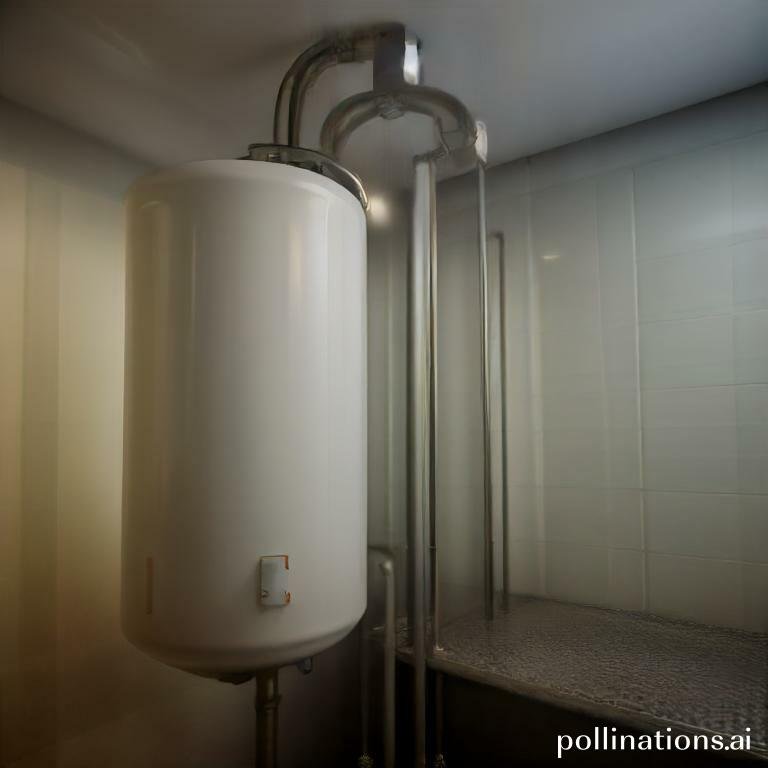
To prevent sediment buildup, regular maintenance, such as flushing the tank, is crucial. This process involves draining the tank to remove accumulated sediment, ensuring optimal efficiency and extending the lifespan of your water heater.
Tools and Materials Needed for DIY Flushing
Relating to DIY flushing, having the right tools and materials is essential for a successful project. In this section, we will probe the necessary items you will need to complete the job safely and efficiently.
1. Safety Precautions
- Protective Gear: Before you begin any DIY flushing project, it is crucial to prioritize your safety. Make sure to wear protective gear such as gloves, safety goggles, and a face mask to shield yourself from any potential hazards.
- Ventilation: Ensure that the area where you will be conducting the flushing process is well-ventilated. Open windows or use fans to improve air circulation and prevent the buildup of fumes.
- Read Instructions: Familiarize yourself with the flushing procedure by reading the manufacturer’s instructions carefully. This will help you understand the process and avoid any mistakes that could lead to damage.
2. Required Tools and Materials
To successfully carry out a DIY flushing project, you will need the following tools and materials:
| Tools | Materials |
|---|---|
| Adjustable Wrench | Flush Valve Seal |
| Screwdriver Set | Flapper |
| Plunger | Flush Handle |
| Pliers | Flush Valve |
| Bucket | Water Supply Line |
Step-by-step guide to DIY flushing
Regular maintenance is essential to keep your water heater running efficiently and to prolong its lifespan. Flushing your water heater periodically helps remove sediment and mineral buildup, ensuring optimal performance. Follow this step-by-step guide to flush your water heater and maintain its functionality:
1. Shutting off the power and water supply
Prior to starting the flushing process, it is crucial to turn off the power supply to your water heater. Locate the circuit breaker that controls the heater and switch it off. Additionally, find the cold water supply valve and shut it off to prevent any water from entering the tank during the flushing process.
2. Draining the tank and removing sediment
Attach a garden hose to the drain valve located at the bottom of the water heater tank. Place the other end of the hose in a suitable drainage area or connect it to a nearby floor drain. Open the drain valve and allow the water to flow out. This process will help remove sediment and debris that may have accumulated at the bottom of the tank. Let the water drain completely before proceeding.
- Removing stubborn sediment: If you notice stubborn sediment that is difficult to remove, you can use a small brush or a cloth to gently scrub the tank’s bottom.
- Inspecting the anode rod: Whilst the tank is draining, it is an ideal time to check the condition of the anode rod. If the rod appears heavily corroded or worn out, consider replacing it to extend the life of your water heater.
3. Refilling and restarting the water heater
Once the tank is completely drained, close the drain valve and remove the hose. Close any open faucets or fixtures you may have opened during the draining process. Turn on the cold water supply valve to refill the tank. Allow the tank to fill completely before restoring power to the water heater. Once the tank is full, switch on the circuit breaker to restore power, and your water heater will begin heating the newly filled water.
Regularly flushing your water heater will help maintain its efficiency and prevent issues caused by sediment buildup. By conforming to this step-by-step guide, you can ensure that your DIY flushing process is effective and successful.
Maintenance Tips for Energy-Efficient Water Heating
1. Regular Flushing Schedule
One crucial aspect of maintaining an energy-efficient water heating system is adhering to a regular flushing schedule. Flushing your water heater helps remove sediment buildup, which can reduce its efficiency over time. Sediment accumulation not only affects the performance of your water heater but can also lead to costly repairs or even premature failure.
2. Temperature Control and Insulation
Another important aspect of maintaining energy efficiency in your water heating system is temperature control and insulation. Setting your water heater’s thermostat to the appropriate temperature can help prevent excessive energy consumption.
Consider reducing the temperature setting to a moderate level that still meets your household’s hot water needs. This not only saves energy but also reduces the risk of scalding accidents.
Additionally, insulating your water heater and the surrounding pipes can minimize heat loss, ensuring that the water stays hot for longer periods. Insulation materials such as foam pipe sleeves or insulation blankets can be easily installed and help improve the overall energy efficiency of your water heating system.
| Key Maintenance Tips: | |
|---|---|
| Regular Flushing: | Flushing your water heater removes sediment buildup and improves efficiency. |
| Temperature Control: | Set your water heater’s thermostat to a moderate level to save energy and prevent scalding. |
| Insulation: | Insulate your water heater and pipes to minimize heat loss and improve energy efficiency. |
Troubleshooting Common Water Heater Issues
1. No Hot Water
If you’re experiencing a lack of hot water from your water heater, there are a few potential causes to consider:
- Thermostat Settings: Check that the thermostat on your water heater is set to the appropriate temperature. Adjust it if necessary.
- Pilot Light: If you have a gas water heater, make sure the pilot light is lit. If it’s not, relight it according to the manufacturer’s instructions.
- Electrical Issues: For electric water heaters, check the circuit breaker to ensure it hasn’t tripped. If it has, reset it and monitor for any further issues.
2. Leaks and Water Damage
Water leaks can cause significant damage and should be addressed immediately. Here’s what to do if you notice a leak:
- Inspect the Tank: Check the water heater tank for any visible signs of leakage, such as puddles or dampness. If you find a leak, contact a professional plumber to assess and repair the issue.
- Pressure Relief Valve: The pressure relief valve helps regulate the pressure inside the water heater. If it’s leaking, it may need to be replaced.
- Pipes and Connections: Inspect the pipes and connections around the water heater for any signs of leaks. Tighten any loose connections or replace damaged pipes as necessary.
3. Strange Noises
If your water heater is making unusual noises, it could indicate an underlying problem. Consider the following:
- Sediment Buildup: Over time, sediment can accumulate at the bottom of the water heater tank, causing rumbling or popping sounds. Flushing the tank can help remove the sediment and resolve the issue.
- Expansion and Contraction: The heating and cooling of the water inside the tank can cause the tank to expand and contract, resulting in cracking or popping sounds. This is typically harmless but can be addressed by installing an expansion tank.
- Internal Issues: If the noises persist or are accompanied by other symptoms, such as reduced hot water supply, it’s recommended to contact a professional to inspect the water heater for any internal issues.
Bottom Line
DIY flushing is a simple and effective way to maintain your water heater and improve its energy efficiency. By flushing your water heater regularly, you can remove sediment buildup and extend the lifespan of your appliance. This can also help you save money on energy bills and reduce your carbon footprint. Despite this, it’s important to follow the manufacturer’s instructions and safety guidelines when flushing your water heater. If you’re not comfortable doing it yourself, consider hiring a professional plumber to do it for you. With proper maintenance, your water heater can provide you with reliable and efficient hot water for years to come.
So, if you want to keep your water heater in top condition and save money on energy costs, make sure to flush it regularly. This simple DIY task can go a long way in improving your home’s energy efficiency and reducing your environmental impact. Start today and enjoy the benefits of a well-maintained water heater!
Read More:
1. How To Troubleshoot Issues After Water Heater Flushing?
2. Flushing In Homes With Hard And Soft Water


