II. Flushing your water heater tank can remove sediment buildup that causes the odor.
III. Regular flushing of your water heater can extend its lifespan and improve its efficiency.
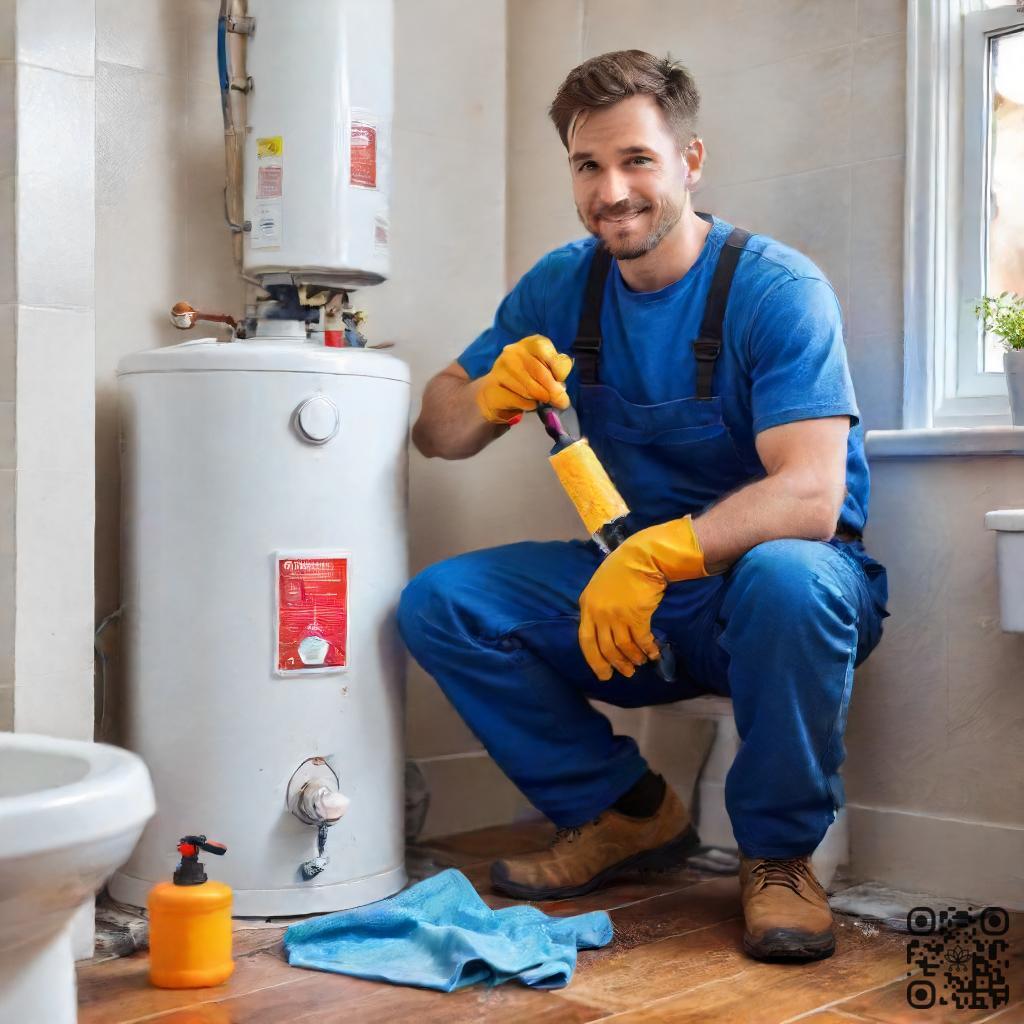
If you’ve noticed a foul odor coming from your hot water, it may be time to flush your water heater. This DIY task can improve the quality of your hot water and extend the life of your appliance.
In this article, we’ll provide step-by-step instructions on how to flush your water heater and eliminate any unpleasant smells.
What is DIY Flushing?
DIY flushing, also known as do-it-yourself flushing, is a process that involves cleaning and maintaining various systems and components of a device or equipment on your own, without the need for professional assistance. It is a cost-effective and convenient way to ensure the optimal performance and longevity of your devices.
1. Cognizing the Process of DIY Flushing
DIY flushing typically involves the removal of accumulated debris, sediment, or contaminants from the system or component. This is done by using specific cleaning agents, flushing solutions, or techniques that are suitable for the particular device or equipment.
For example, in the case of a car engine, DIY flushing may involve draining the old engine oil, replacing the oil filter, and using a flushing solution to remove any sludge or impurities. This helps to improve the lubrication and overall performance of the engine.
2. Benefits of DIY Flushing
There are several benefits to performing DIY flushing:
- Cost savings: By performing the flushing yourself, you can save money that would otherwise be spent on professional services.
- Convenience: DIY flushing can be done at your own convenience, without the need to schedule appointments or wait for service providers.
- Maintenance: Regular DIY flushing helps to maintain the efficiency and functionality of your devices, reducing the risk of breakdowns or malfunctions.
- Longevity: By removing accumulated debris or contaminants, DIY flushing can extend the lifespan of your devices, allowing them to perform optimally for a longer period.
3. When to Perform DIY Flushing
The timing for DIY flushing depends on the specific device or equipment. Notwithstanding, there are some general guidelines to consider:
- Manufacturer’s recommendations: Check the manufacturer’s instructions or guidelines for any recommended flushing intervals or procedures.
- Regular maintenance schedule: Incorporate DIY flushing into your regular maintenance routine to ensure consistent performance.
- Visible signs of contaminants: If you notice visible signs of debris, sediment, or reduced performance, it may be a sign that DIY flushing is required.
Step-by-step guide to DIY flushing
Flushing your water heater tank is an important maintenance task that can help improve the performance and lifespan of your water heater. In this step-by-step guide, we will walk you through the process of DIY flushing, ensuring that your water heater is clean and efficient.
1. Preparation for DIY flushing
Prior to starting the flushing process, it is crucial to prepare yourself and gather all the necessary tools and materials. Here’s what you’ll need:
- A hose
- A bucket
- A screwdriver
- A pipe wrench
- Vinegar or a descaling solution
- A towel or rag
Once you have collected these items, you are ready to move on to the next step.
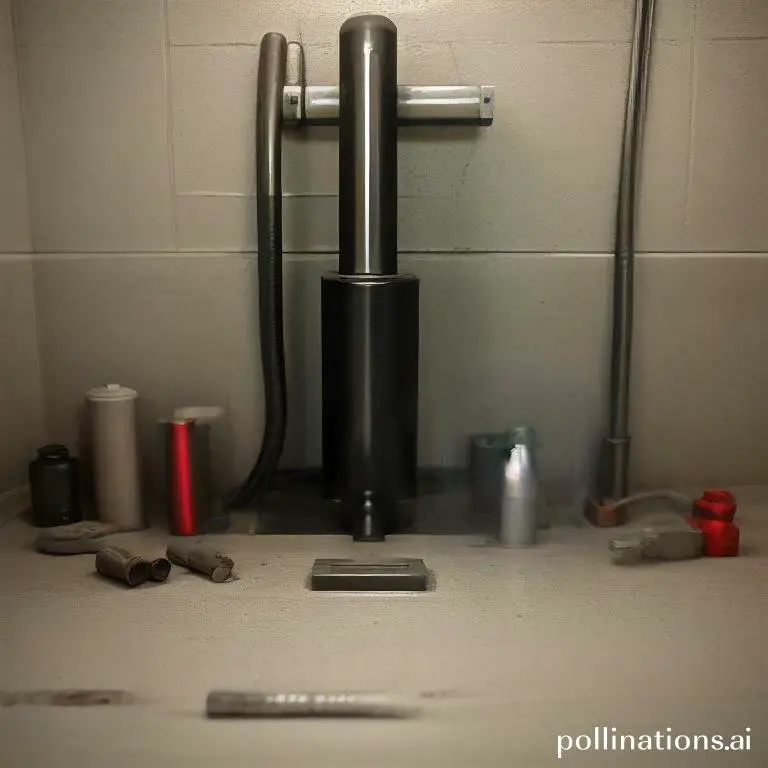
2. Draining the water heater tank
Before flushing the tank, you must first drain the water heater. Follow these steps:
- Turn off the power supply to the water heater.
- Locate the drain valve at the bottom of the tank.
- Attach a hose to the drain valve and place the other end in a suitable drainage area or bucket.
- Open the drain valve and allow the water to flow out of the tank completely.
- Once the tank is empty, close the drain valve.
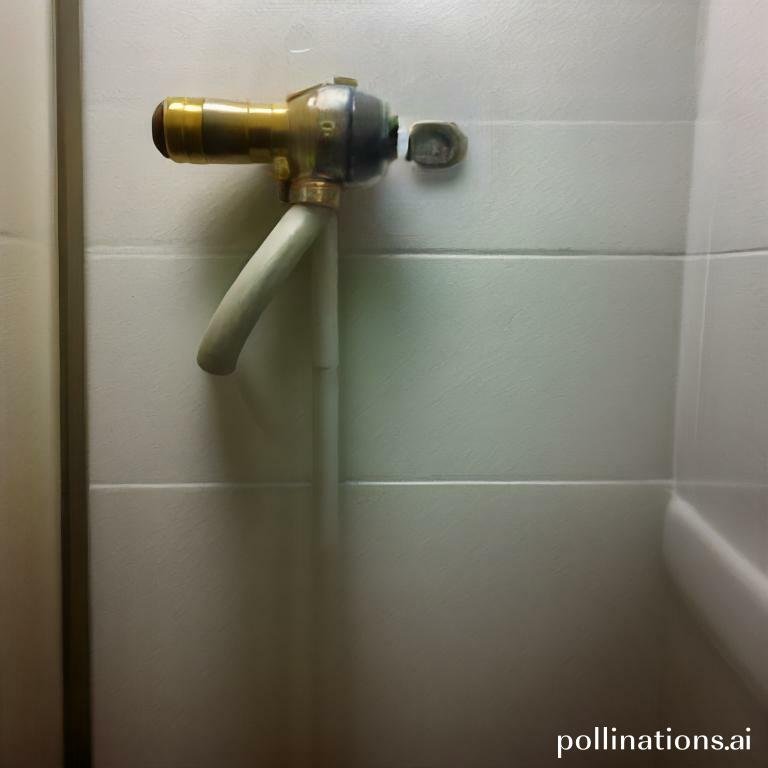
3. Flushing the water heater tank
Now that the tank is drained, it’s time to flush out any sediment or debris that may have accumulated. Follow these steps:
- Close the incoming water supply valve to the water heater.
- Open a hot water faucet in your home to relieve pressure.
- Locate the cold water inlet valve on the water heater and open it.
- Allow the water to flow through the tank and out of the drain valve. This will flush out any remaining sediment.
- Continue flushing until the water runs clear.
4. Refilling the water heater tank
After flushing the tank, it’s time to refill it. Follow these steps:
- Close the drain valve.
- Turn on the cold water supply valve to the water heater.
- Open a hot water faucet in your home to allow air to escape from the system.
- Wait for the tank to fill completely.
5. Testing the hot water for improved smell
Once the tank is refilled, it’s important to test the hot water for any improved smell. Turn on a hot water faucet and check for any unusual odors. If there is still a smell, you may need to repeat the flushing process or consult a professional plumber.
Tools and materials needed for DIY flushing
List of necessary tools
- Wrench: A wrench is an essential tool for loosening and tightening connections.
- Plunger: A plunger is used to create pressure and force out clogs in the plumbing system.
- Snake or auger: A snake or auger is a flexible tool used to remove stubborn clogs from drains and pipes.
- Pliers: Pliers are useful for gripping and turning pipes or fittings.
- Screwdriver: A screwdriver is needed for removing or tightening screws on fixtures.
List of necessary materials
- Bucket: A bucket is useful for collecting water or debris during the flushing process.
- Rubber gloves: Rubber gloves protect your hands from dirty water and chemicals.
- Plumbing tape: Plumbing tape is used to create a watertight seal on pipe connections.
- Chemical drain cleaner: Chemical drain cleaners can help dissolve stubborn clogs.
- Hot water: Hot water can be used to flush out minor clogs and maintain the cleanliness of pipes.
In regard to DIY flushing, having the right tools and materials is crucial for a successful outcome. The list of necessary tools includes a wrench, plunger, snake or auger, pliers, and screwdriver. These tools will help you tackle various plumbing issues, from loosening connections to removing clogs.
Alongside the tools, you’ll also need a list of necessary materials. A bucket will come in handy for collecting water or debris during the flushing process, meanwhile rubber gloves will protect your hands from dirty water and chemicals. Plumbing tape is essential for creating a watertight seal on pipe connections, and a chemical drain cleaner can help dissolve stubborn clogs. Additionally, hot water can be used to flush out minor clogs and keep your pipes clean.
Safety Precautions for DIY Flushing
1. Importance of Safety Precautions
Touching on DIY flushing, it is essential to prioritize safety precautions. Proper safety measures not only protect you from potential risks and hazards but also ensure a successful and stress-free flushing process.
2. Potential Risks and Hazards
Before starting any DIY flushing project, it is crucial to understand the potential risks and hazards involved. Flushing systems can contain harmful chemicals and substances that may cause skin irritation, respiratory problems, or even more severe health issues if not handled properly. Additionally, incorrect flushing techniques can lead to damage to pipes, fixtures, and the overall plumbing system.
3. Safety Precautions to Take During DIY Flushing
To ensure your safety and the effectiveness of the flushing process, here are some essential safety precautions to follow:
- Wear Protective Gear: Always wear protective gloves, goggles, and a face mask to shield yourself from potential chemical splashes or inhalation.
- Read Instructions Carefully: Before starting the flushing process, thoroughly read and understand the instructions provided by the manufacturer or the DIY guide.
- Ventilate the Area: Ensure proper ventilation in the flushing area to minimize exposure to fumes and chemicals.
- Use the Right Tools: Utilize the appropriate tools and equipment recommended for the flushing task to prevent accidents or damage.
- Turn off Water Supply: Before initiating any flushing, always turn off the water supply to prevent accidental water leakage or flooding.
- Follow Recommended Flushing Procedures: Adhere to the recommended flushing procedures step-by-step to avoid any mishaps or system malfunctions.
- Dispose of Chemicals Properly: After completing the flushing process, dispose of any chemicals or waste materials safely and according to local regulations.
Troubleshooting DIY Flushing Problems
In this section, we will discuss common problems that may occur during DIY flushing and provide possible causes and solutions for each issue.
1. Common Problems During DIY Flushing
When attempting to flush your system on your own, you may encounter several common problems. Integral to be aware of these issues in order to effectively troubleshoot and resolve them.
- Low water pressure: One common problem is low water pressure during flushing. This can result in incomplete flushing and may leave behind residue or clogs.
- Inconsistent flushing: Another issue is inconsistent flushing, where the water flow may be weak or sporadic. This can lead to ineffective cleaning of the system.
- Leaking pipes: It is not uncommon for DIY flushing to cause leaks in pipes, especially if they are old or damaged. This can result in water damage and further plumbing issues.
2. Possible Causes and Solutions
- Low water pressure: Low water pressure during flushing can be caused by a clogged or partially closed water supply valve. Ensure that the valve is fully open and free from obstructions.
- Inconsistent flushing: Inconsistent flushing can be caused by mineral deposits or debris blocking the flush holes or jets. Use a cleaning solution or vinegar to dissolve these deposits and ensure clear water flow.
- Leaking pipes: Leaks in pipes can occur due to loose connections or damaged seals. Check all connections and replace any damaged seals or pipes to prevent further leaks.
| Problem | Cause | Solution |
|---|---|---|
| Low water pressure | Clogged or partially closed water supply valve | Ensure valve is fully open and clear of obstructions |
| Inconsistent flushing | Mineral deposits or debris blocking flush holes or jets | Use cleaning solution or vinegar to dissolve deposits |
| Leaking pipes | Loose connections or damaged seals | Check connections and replace damaged seals or pipes |
Bottom Line
DIY flushing is an effective way to get rid of the unpleasant smell from your water heater. Regular maintenance of your water heater can help you avoid costly repairs and replacements. Flushing your water heater once a year can extend its lifespan and improve its efficiency. Imperative to follow the manufacturer’s instructions and safety precautions when flushing your water heater. If you are not comfortable doing it yourself, it is best to hire a professional plumber. By taking care of your water heater, you can enjoy clean and hot water for years to come.
Remember, a smelly water heater is not only unpleasant but can also be a health hazard. Don’t ignore the signs of a smelly water heater. Take action and flush your water heater today. With a little effort, you can improve the quality of your hot water and ensure the safety of your family. So, don’t wait any longer, grab your tools and get started!
Read More:
1. Flushing For Improved Water Heater Valve Functionality
2. Diy Flushing Tips For High-Altitude Water Heater Use


