II. The best time to flush a water heater is when it is not in use, such as during routine maintenance or when the tank is completely empty.
III. If you must flush your water heater while it’s in use, it is important to follow proper safety precautions and turn off the power supply before beginning the process.
Flushing a water heater is an important maintenance task that helps to keep it running efficiently and extends its lifespan. Many people wonder if they can flush their water heater in the course of it’s in use.
The answer is no. Flushing a water heater requires turning off the power supply and letting the water cool down.
It is not safe or recommended to flush a water heater during it’s in use due to the risk of scalding or electrical accidents. It’s best to wait until the water heater is not in use and has cooled down before attempting to flush it.
Why flush a water heater?
Flushing a water heater is an essential maintenance task that offers numerous benefits. Let’s traverse why it is crucial to flush your water heater regularly:
1. Benefits of flushing a water heater
Regularly flushing your water heater helps improve its efficiency and extends its lifespan. By removing sediment buildup, you can optimize the heating element’s performance, leading to lower energy consumption and reduced utility bills. Flushing also prevents corrosion and rust, ensuring the longevity of your water heater.
2. Exposition of sediment buildup in water heaters
Sediment buildup occurs naturally over time in water heaters. When water enters the tank, it carries minerals, dirt, and debris. As the water heats up, these particles settle at the bottom of the tank, forming sediment. This sediment can include minerals like calcium and magnesium, which are commonly found in hard water areas.
3. Impact of sediment buildup on water heater performance
When sediment accumulates in the water heater, it acts as an insulating layer, hindering heat transfer. This insulation reduces the efficiency of the heating element, making it work harder and consume more energy to heat the water. Over time, sediment buildup can lead to decreased hot water supply, increased energy costs, and even damage to the water heater tank.
Regularly flushing your water heater helps remove this sediment, allowing the heating element to operate efficiently and maintain optimal performance. By preventing sediment buildup, you can enjoy consistent hot water supply, save on energy costs, and prolong the lifespan of your water heater.
| Benefits of Flushing a Water Heater | Demonstration of Sediment Buildup | Impact of Sediment Buildup on Performance |
|---|---|---|
| 1. Improved efficiency and extended lifespan | 1. Natural accumulation of minerals, dirt, and debris | 1. Reduced heating efficiency and increased energy consumption |
| 2. Lower energy consumption and reduced utility bills | 2. Settlement of particles at the bottom of the tank | 2. Decreased hot water supply and potential tank damage |
| 3. Prevention of corrosion and rust | 3. Insulating layer hindering heat transfer |
When to Flush a Water Heater?
Flushing a water heater is an important maintenance task that should not be overlooked. Regular flushing helps to maintain the efficiency and longevity of your water heater, ensuring that it continues to provide you with hot water when you need it. In this section, we will discuss the recommended frequency for flushing a water heater, signs that indicate the need for flushing, and how to check for sediment buildup.
1. Recommended Frequency for Flushing a Water Heater
Experts recommend flushing a water heater at least once a year. Over time, sediments such as minerals and debris accumulate at the bottom of the tank. These sediments can cause various issues, including reduced heating efficiency, corrosion, and even tank failure. Flushing the water heater annually helps to remove these sediments and prevent potential problems.
2. Signs that Indicate the Need for Flushing a Water Heater
There are several signs that indicate it may be time to flush your water heater. If you notice a decrease in water temperature or a significant drop in hot water pressure, it could be a sign that sediment buildup is affecting the performance of your water heater. Additionally, if you hear unusual noises coming from the tank or notice a foul odor in your hot water, these can also be indicators that flushing is necessary.
3. Clarification of How to Check for Sediment Buildup
To check for sediment buildup in your water heater, follow these steps:
- Turn off the power supply to the water heater.
- Close the cold water supply valve.
- Attach a garden hose to the drain valve at the bottom of the tank.
- Place the other end of the hose in a suitable drainage area.
- Open the drain valve and allow the water to flow out.
- Observe the water coming out of the hose. If it appears cloudy or contains visible sediment, it is a clear indication that flushing is necessary.
Once you have determined that flushing is required, follow the manufacturer’s instructions to complete the process. Flushing the water heater will help to remove sediment buildup, ensuring optimal performance and extending the lifespan of your water heater.
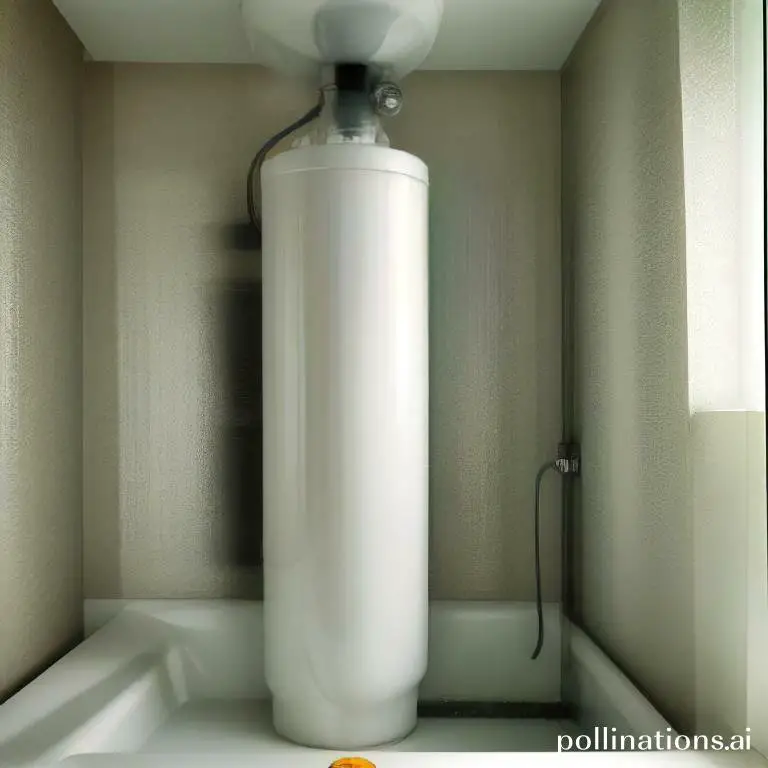
How to Flush a Water Heater
Flushing a water heater is an essential maintenance task that helps prolong its lifespan and ensure optimal performance. By removing sediment and mineral buildup, you can improve energy efficiency and prevent costly repairs. Follow these steps to flush your water heater:
Preparation before Flushing a Water Heater
- Turn off the power supply: Before starting the flushing process, turn off the electricity or gas supply to the water heater. This will prevent any accidents or damage.
- Gather the necessary tools: You will need a garden hose, a bucket, and a pair of gloves for safety.
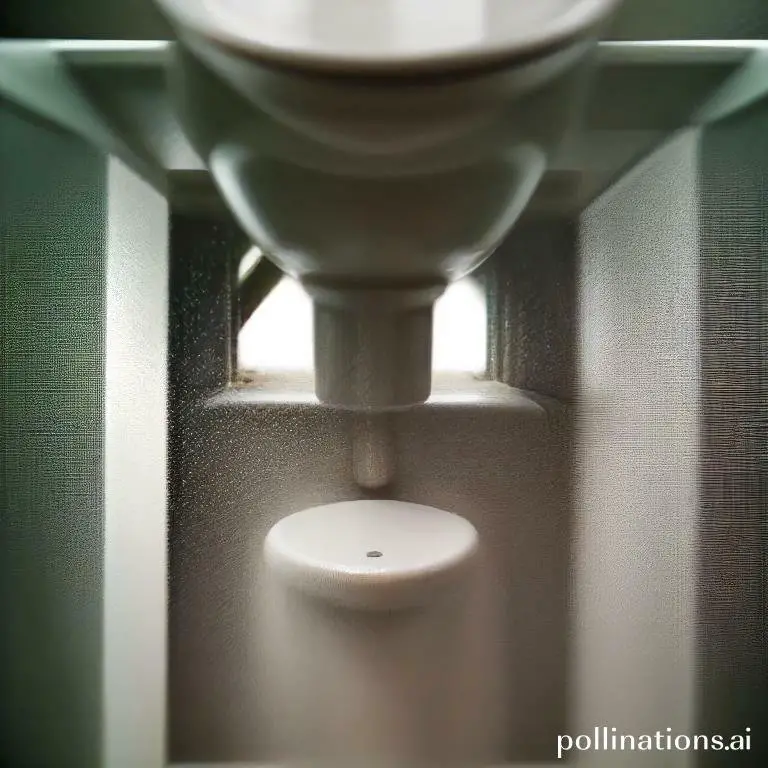
- Locate the drain valve: Find the drain valve at the bottom of the water heater. It is usually a brass or plastic valve with a hose connection.
Steps to Flush a Water Heater
- Connect the hose: Attach one end of the hose to the drain valve and place the other end in a safe drainage area, like a floor drain or outside.
- Open the drain valve: Slowly open the valve to allow the water to flow out through the hose. Be careful as the water may be hot.
- Flush the tank: Let the water flow until it runs clear, indicating that all the sediment has been flushed out. This may take a few minutes.
- Close the drain valve: Once the water runs clear, close the drain valve tightly to prevent any leaks.
- Refill the tank: Turn on the water supply and allow the tank to fill back up. Check for any leaks around the connections.
- Turn on the power supply: Once the tank is full, turn on the electricity or gas supply to the water heater.
Safety Precautions when Flushing a Water Heater
When flushing a water heater, it’s important to take some safety precautions:
- Wear gloves to protect your hands from hot water and sharp edges.
- Be cautious of hot water: The water inside the tank can be scalding hot, so be careful to avoid burns.
- Ensure proper ventilation: If you have a gas water heater, make sure the area is well-ventilated to prevent gas buildup.
- Follow manufacturer instructions: Always refer to the manufacturer’s guidelines for specific instructions on flushing your water heater.
Regularly flushing your water heater will help maintain its efficiency and extend its lifespan. By abiding by these steps and taking the necessary safety precautions, you can ensure that your water heater functions optimally for years to come.
DIY vs. Professional Flushing
1. Pros and Cons of DIY Flushing
Flushing your system regularly is essential for maintaining its optimal performance. Meanwhile some individuals prefer to tackle this task themselves, there are both advantages and disadvantages to DIY flushing.
One of the benefits of DIY flushing is the cost-saving aspect. By performing the flush on your own, you can avoid paying for professional services. Additionally, you have the freedom to choose the time and frequency of the flush according to your convenience.
Conversely, there are a few drawbacks to consider. To start with, DIY flushing requires a certain level of expertise and knowledge about the system. If not done correctly, it can lead to further complications or damage, resulting in costly repairs. Moreover, it can be time-consuming and labor-intensive, especially if you are not familiar with the process.
2. Advantages of Professional Flushing
Alternatively, opting for professional flushing services offers several advantages that may outweigh the DIY approach.
First and foremost, professionals possess the necessary expertise and experience to ensure an efficient and thorough flush. They have access to specialized equipment and tools, enabling them to remove sediment, buildup, and contaminants effectively. This professional touch can extend the lifespan of your system and improve its overall performance.
Furthermore, professional flushing services often include a comprehensive inspection of your system. This allows them to identify any potential issues or leaks that may require attention, preventing future problems and costly repairs.
3. Cost Comparison of DIY and Professional Flushing
When comparing the costs between DIY and professional flushing, it is crucial to consider both short-term and long-term expenses.
In the course of DIY flushing may seem cost-effective initially, the risk of potential damage and subsequent repairs can outweigh the savings. Professional services may have an upfront cost, but they provide peace of mind and ensure a thorough flush without any risks of errors or complications.
Additionally, professional flushing can help identify and address underlying issues that DIY flushing may overlook. By preventing major problems down the line, professional services can save you money in the long run.
Table: Cost Comparison of DIY and Professional Flushing| DIY Flushing | Professional Flushing |
|---|---|
| Initial cost savings | Expertise and experience |
| Time-consuming | Thorough and efficient flush |
| Potential for errors and damage | Identification of underlying issues |
| Prevention of future problems |
Maintenance tips for water heaters
Water heaters are an essential component of any household, providing hot water for various purposes. To ensure the longevity and efficiency of your water heater, it is crucial to follow proper maintenance practices. This section will guide you through the necessary steps to keep your water heater in optimal condition.
1. Regular inspection of water heaters
Inspecting your water heater regularly is vital to identify any potential issues before they escalate. Start by checking for leaks or signs of corrosion on the tank and pipes. Additionally, ensure that the connections are secure and there are no loose fittings. It is also recommended to examine the thermostat settings and adjust them if necessary.
2. Importance of temperature and pressure relief valve
The temperature and pressure relief valve is a crucial safety feature of water heaters. This valve helps regulate the temperature and pressure inside the tank, preventing any dangerous build-up. Regularly test the valve by lifting the lever and ensuring that water flows out smoothly. If the valve is faulty or not functioning correctly, it should be replaced immediately.
3. Other maintenance tasks for water heaters
In addition to regular inspections, certain maintenance tasks should be performed to optimize the performance of your water heater. These tasks include flushing the tank to remove sediment buildup, checking and cleaning the burner or heating elements, and insulating the pipes to prevent heat loss. It is also recommended to drain a small amount of water from the tank periodically to remove any accumulated sediment.
| Maintenance Tasks | Frequency |
|---|---|
| Regular inspection | Every 6 months |
| Temperature and pressure relief valve testing | Every 6 months |
| Tank flushing | Annually |
| Burner or heating element cleaning | Annually |
| Pipe insulation | As needed |
| Draining sediment | Every 6 months |
Bottom Line
Flushing your water heater is an essential maintenance task that should be done regularly to ensure its longevity and efficiency. Despite this, it is not recommended to flush your water heater meanwhile it’s in use. This can cause serious safety hazards and damage to your system. It’s best to turn off the power supply and let the water cool down before flushing. Also, make sure to follow the manufacturer’s instructions and use the right tools and equipment to avoid any mishaps. By flushing your water heater regularly, you can prevent sediment buildup, improve water quality, and save money on energy bills. So, make it a part of your routine maintenance and enjoy a reliable and efficient water heating system for years to come.
Read More:
1. How Does Flushing Impact Water Heater Warranty?
2. Flushing For Tankless Water Heater Scaling


