II. Knowing when to replace the anode rod and how to do it can extend the lifespan of your water heater.
III. Proper safety precautions, tools, and step-by-step instructions are necessary for a successful DIY anode rod replacement.
Anode rod replacement is an important maintenance task for water heaters, as it helps prevent corrosion and extends the lifespan of the tank. We will provide tips and advice on how to troubleshoot common issues that may arise during the replacement process.
By apprehending the steps involved and knowing how to address potential problems, you can save time and money by tackling this task on your own. So let’s get started and learn how to troubleshoot anode rod replacement effectively.
Signs of a Worn Out Anode Rod
1. Strange Noises from the Water Heater
If you are hearing strange noises coming from your water heater, it may be a sign that the anode rod is worn out. The anode rod is responsible for attracting corrosive elements in the water, protecting the tank from rust and corrosion. Over time, this rod can become depleted and ineffective, allowing sediment to build up in the tank. This buildup can lead to knocking or popping sounds as the water heater heats up.
2. Rusty Water
Another indication that your anode rod needs to be replaced is if you notice rusty water coming from your faucets. As the anode rod deteriorates, the tank may start to rust, causing the water to become discolored. If you see rust particles or a reddish tint in your water, it’s time to consider replacing the anode rod.
3. Foul Odor from the Water Heater
A foul odor emanating from your water heater can also be a sign of a worn out anode rod. As the rod deteriorates, bacteria can thrive in the warm, stagnant water. This can result in a smell similar to rotten eggs. If you notice an unpleasant odor coming from your water heater, it’s a good idea to check the condition of the anode rod.
Regular maintenance and inspection of your water heater’s anode rod is essential to ensure its proper functioning and longevity. By monitoring for these signs of a worn out anode rod, you can address the issue promptly and avoid costly repairs or replacement of the entire water heater.
| Signs | Possible Cause | Solution |
|---|---|---|
| Strange Noises | Sediment buildup | Replace anode rod |
| Rusty Water | Tank corrosion | Replace anode rod |
| Foul Odor | Bacterial growth | Replace anode rod |
Steps to Replace an Anode Rod
Replacing the anode rod in your water heater is an essential maintenance task that helps prolong its lifespan and prevent corrosion. Follow these steps to replace the anode rod:
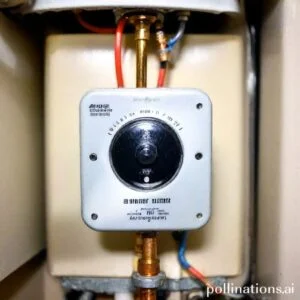
1. Turn off the Power Supply
To ensure your safety, the first step is to turn off the power supply to the water heater. Locate the circuit breaker or the switch specifically dedicated to your water heater and switch it off.
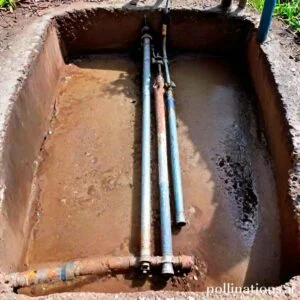
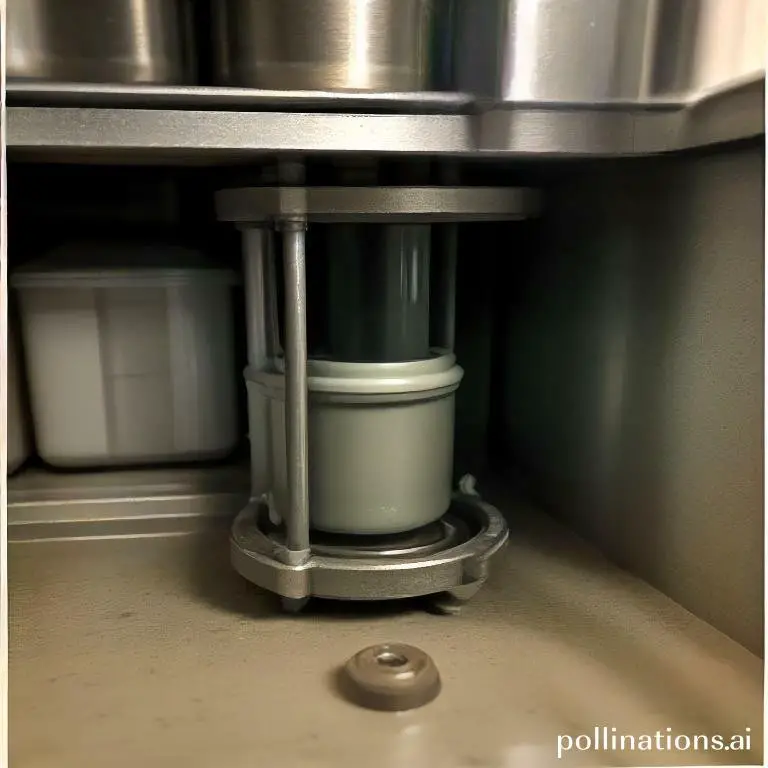
2. Drain the Water Heater
Before proceeding with the replacement, you need to drain the water heater to relieve the pressure and ensure a smooth process. Connect a hose to the drain valve at the bottom of the water heater and place the other end in a suitable drainage area. Open the valve to allow the water to flow out.
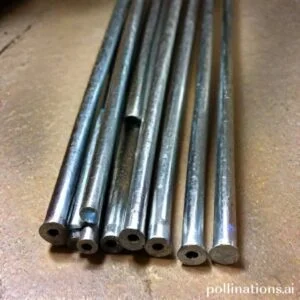
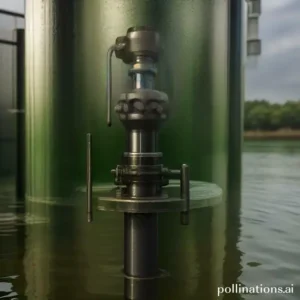
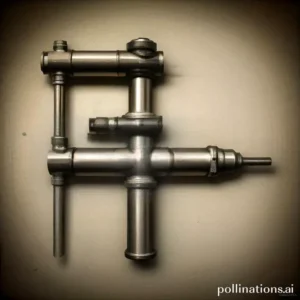
3. Locate the Anode Rod
The anode rod is typically located on top of the water heater and is connected to the hot water outlet pipe. It may be covered by a cap or a hex nut. Remove any covering to access the anode rod.
4. Remove the Anode Rod
Using a socket wrench or a suitable tool, loosen and remove the anode rod from its position. Be cautious as the anode rod might be corroded and require some effort to loosen. Once removed, inspect the condition of the anode rod to determine if it needs replacement.
5. Install the New Anode Rod
Take the new anode rod and apply plumber’s tape on the threaded end to ensure a tight seal. Insert the new anode rod into the same position and tighten it securely. Avoid over-tightening to prevent damage to the water heater.
Common Mistakes to Avoid During Anode Rod Replacement
1. Using the Wrong Type of Anode Rod
As for anode rod replacement, one of the most common mistakes is using the wrong type of rod. Pivotal to choose an anode rod that is compatible with your water heater’s material and the type of water you have. Failure to select the right rod can result in reduced effectiveness and premature failure.
2. Forgetting to Turn off the Power Supply
Before starting the anode rod replacement process, it is crucial to turn off the power supply to the water heater. This step ensures your safety and prevents any electrical accidents. Failing to do so can lead to electric shocks and other hazards, so always remember to switch off the power before proceeding.
3. Failing to Drain the Water Heater Completely
Another mistake to avoid is neglecting to drain the water heater completely before replacing the anode rod. This step is essential to remove any sediment or buildup that may have accumulated over time. Failing to drain the water heater can result in reduced efficiency and potential damage to the new anode rod.
Troubleshooting Tips for Anode Rod Replacement
1. Difficulty in Removing the Anode Rod
If you are facing difficulty in removing the anode rod from your water heater, there are a few steps you can take to make the process easier. To start with, make sure you have the right tools for the job, such as a socket wrench or a breaker bar. These tools will provide the necessary leverage to loosen the rod. Additionally, applying penetrating oil to the threads of the rod can help loosen any rust or corrosion that may be causing it to stick. Allow the oil to penetrate for a few minutes before attempting to remove the rod again. If the rod still won’t budge, you may need to apply heat using a propane torch or heat gun. Be careful when using heat, as excessive heat can damage the surrounding components of the water heater. With the combination of the right tools, penetrating oil, and heat if necessary, you should be able to successfully remove the anode rod.
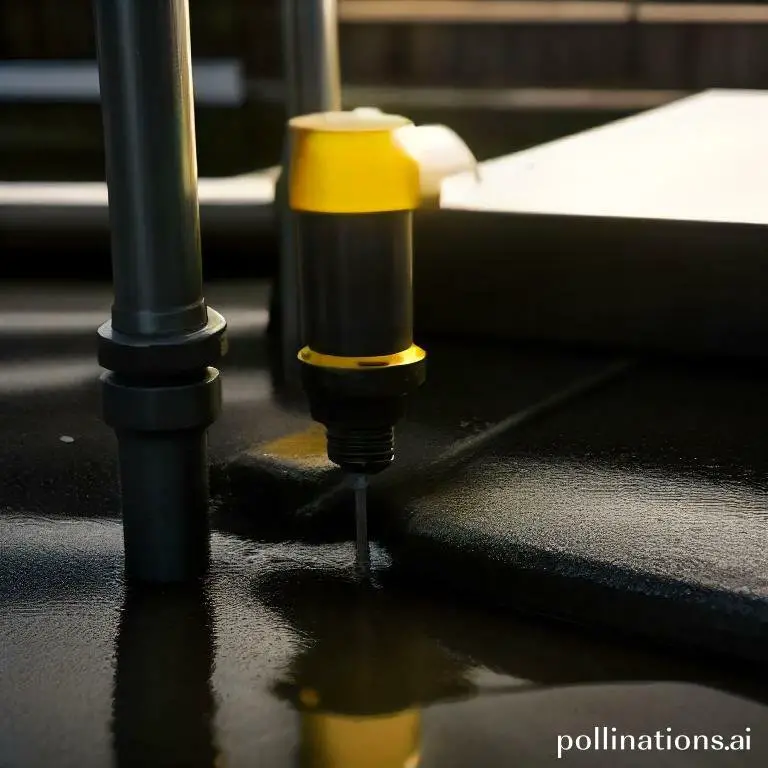
2. Leaking Water Heater after Anode Rod Replacement
If you notice a leak from your water heater after replacing the anode rod, there are a few potential causes to consider. To start with, check that the new anode rod is securely installed and tightened to the correct torque. A loose or improperly installed rod can cause water to leak from the tank. Additionally, inspect the threads of the water heater tank for any damage or cracks that could be causing the leak. If you find any issues, you may need to replace the tank or consult a professional for further assistance. Another possible cause of a leaking water heater after anode rod replacement is a faulty T&P (temperature and pressure) relief valve. This valve is designed to release excess pressure or temperature from the tank, and if it is malfunctioning, it can cause leaks. In this case, you should replace the T&P valve to resolve the issue.
3. Incorrect Installation of the New Anode Rod
If you suspect that the new anode rod has been incorrectly installed, essential to rectify the situation to ensure optimal performance of your water heater. Start by checking the manufacturer’s instructions for proper installation guidelines. Make sure that you have selected the correct replacement rod for your specific water heater model. Double-check that the rod is inserted into the tank and tightened securely. If the rod is not installed properly, it may not provide adequate protection against corrosion, reducing the lifespan of your water heater. If you are unsure about the installation process, it is recommended to consult a professional plumber who can ensure that the anode rod is correctly installed.
| Troubleshooting Tips | Summary |
|---|---|
| Difficulty in Removing the Anode Rod | Use the right tools, apply penetrating oil, and consider heat if necessary |
| Leaking Water Heater after Anode Rod Replacement | Check installation, inspect tank for damage, and replace faulty T&P valve if needed |
| Incorrect Installation of the New Anode Rod | Refer to manufacturer’s instructions, select correct replacement, and ensure proper installation |
Benefits of DIY Anode Rod Replacement
Replacing the anode rod in your water heater is a simple yet effective DIY project that can bring numerous benefits. By observing this step-by-step guide, you can enjoy the advantages of cost savings, improved water quality, and an extended life for your water heater.
1. Cost Savings
One of the primary benefits of replacing the anode rod yourself is the cost savings it offers. Hiring a professional for this task can be expensive, but by doing it yourself, you can save a significant amount of money. With just a few basic tools and the right replacement rod, you can easily complete the process without breaking the bank.
2. Improved Water Quality
Another advantage of DIY anode rod replacement is the improvement in water quality. Over time, the anode rod in your water heater can deteriorate and release sediments into the water, affecting its taste and odor. By replacing the rod, you can eliminate these impurities and enjoy cleaner and fresher water for your daily needs.
3. Extended Life of the Water Heater
Regularly replacing the anode rod can significantly extend the life of your water heater. The anode rod acts as a sacrificial component, attracting corrosive elements that would otherwise damage the tank. By replacing the rod before it completely deteriorates, you can prevent premature tank failure and ensure that your water heater lasts for many more years.
| Benefit | Description |
|---|---|
| Cost Savings | By DIY replacement, you save money on professional services. |
| Improved Water Quality | Replacing the anode rod eliminates impurities, enhancing taste and odor of water. |
| Extended Life of the Water Heater | Regular anode rod replacement prevents tank failure, increasing the lifespan of the water heater. |
Bottom Line
Replacing an anode rod in your water heater is a simple DIY task that can save you money in the long run. In contrast, it’s important to troubleshoot any issues that may arise during the process. Make sure to turn off the power and water supply before beginning, and use the proper tools and safety equipment. If you encounter a stuck or corroded anode rod, try using a breaker bar or penetrating oil to loosen it. If you’re still having trouble, consider seeking professional help. Regularly replacing your anode rod can extend the life of your water heater and prevent costly repairs. Don’t neglect this important maintenance task!
In summary, DIY anode rod replacement can be a cost-effective solution for maintaining your water heater. By troubleshooting any issues and following proper safety procedures, you can successfully replace your anode rod and ensure the longevity of your appliance.
Read More:
1. Anode Rod Replacement Impact On Water Pressure
2. Diy Anode Rod Replacement For Beginners: Step-By-Step