II. DIY anode rod replacement can save money on professional services, but it requires a significant time commitment and technical knowledge.
III. The time needed for DIY anode rod replacement varies depending on the type of water heater, accessibility, and the complexity of the task, but it typically takes several hours to complete.
Replacing an anode rod in your water heater is a task that can be done easily and quickly, saving you time and money. By adhering to a few simple steps, you can ensure the longevity and efficiency of your water heater.
With just a few hours of your time, you can successfully replace the anode rod and extend the lifespan of your water heater. Don’t let this essential maintenance task become a hassle, take control of your water heater’s performance today!
Tools and Materials Needed
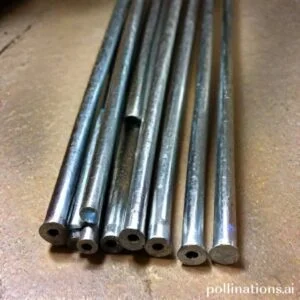
Anode Rod
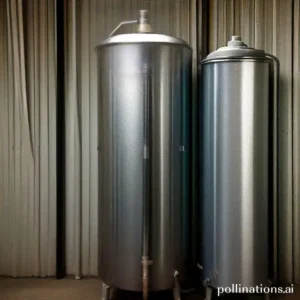
An anode rod is an essential component for maintaining the longevity of your water heater. It is a metal rod that is inserted into the tank to attract corrosive elements, preventing them from damaging the inner lining of the tank. Regularly checking and replacing the anode rod can significantly extend the lifespan of your water heater.
Socket Wrench
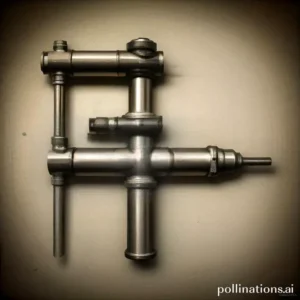
A socket wrench is a versatile tool that is necessary for various plumbing tasks, including replacing the anode rod. It allows you to easily loosen and tighten bolts or nuts with its ratcheting mechanism. Make sure to choose the right size socket to match the anode rod.
Teflon Tape
Teflon tape, also known as plumber’s tape, is a thin, white tape that is used to create a watertight seal between threaded connections. It is commonly applied to the threads of pipes and fittings to prevent leaks. Wrap the tape clockwise around the threads for a secure and leak-free connection.
Drain Pan
A drain pan is a shallow container designed to catch any water that may leak from the water heater during maintenance or in case of a leak. It helps protect your floor from water damage and allows for easy cleanup. Place the drain pan underneath the water heater before starting any work.
Garden Hose
A garden hose is necessary for draining the water from the tank. Connect one end of the hose to the drain valve of the water heater and the other end to a suitable drainage location, such as a floor drain or outside area. Ensure the hose is securely attached to prevent any water spillage.
Pipe Wrench
A pipe wrench is a heavy-duty tool with adjustable jaws that is used for gripping and turning pipes or fittings. It provides a strong grip, allowing you to loosen or tighten connections with ease. Choose the appropriate size pipe wrench for the job to avoid damaging the pipes.
Work Gloves
When working on your water heater, fundamental to protect your hands with work gloves. They provide a barrier between your skin and potential hazards, such as hot surfaces, sharp edges, or chemicals. Choose gloves that are suitable for plumbing tasks and ensure a proper fit for maximum dexterity.
| Item | Description |
|---|---|
| Anode Rod | A metal rod inserted into the water heater tank to attract corrosive elements and protect the tank lining. |
| Socket Wrench | A versatile tool used for loosening and tightening bolts or nuts, essential for replacing the anode rod. |
| Teflon Tape | A thin, white tape used to create a watertight seal between threaded connections, preventing leaks. |
| Drain Pan | A shallow container placed underneath the water heater to catch any water during maintenance or leaks. |
| Garden Hose | A hose used for draining the water from the tank, connected to the drain valve and a suitable drainage location. |
| Pipe Wrench | A heavy-duty wrench with adjustable jaws used for gripping and turning pipes or fittings. |
| Work Gloves | Gloves worn to protect hands from potential hazards during water heater maintenance. |
Preparation
Before performing any maintenance or repairs on your water heater, it is essential to follow a few preparatory steps. These steps will ensure your safety and help to prevent any damage to the unit.
1. Turn off the power supply
The first step in preparing your water heater for maintenance is to turn off the power supply. This is crucial to avoid any electrical accidents or injuries. Locate the circuit breaker panel in your home and find the breaker that controls the water heater. Flip the switch to the “off” position.
2. Turn off the water supply
Next, you will need to turn off the water supply to the water heater. Locate the main water valve in your home, usually found near the water meter. Turn the valve clockwise until it is fully closed. This will prevent any water from entering the unit during the maintenance process.
3. Drain the water heater
Draining the water heater is an essential step to remove any sediment or buildup that may have accumulated over time. Attach a garden hose to the drain valve located near the bottom of the unit. Place the other end of the hose in a suitable drainage area, such as a floor drain or outside. Open the drain valve and allow the water to flow out until it runs clear.
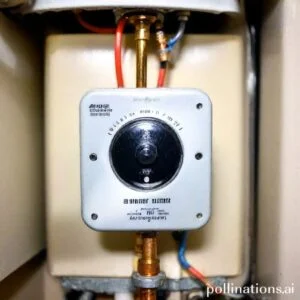
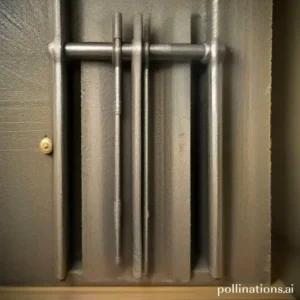
4. Locate the anode rod
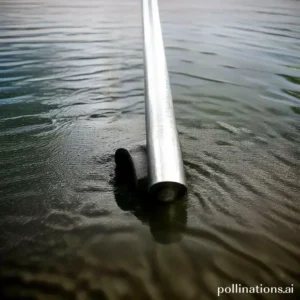
The anode rod is a critical component of your water heater that helps prevent corrosion. It should be inspected regularly and replaced if necessary. The anode rod is typically located on the top of the unit or attached to the hot water outlet. Use a wrench to loosen and remove the rod for inspection. If it is heavily corroded or worn, it should be replaced with a new one.
Removing the Old Anode Rod
In the realm of maintaining the longevity of your water heater, one crucial step is removing the old anode rod. This small but vital component plays a significant role in preventing rust and corrosion within your water heater tank. Follow these steps to ensure a smooth and effective removal process:
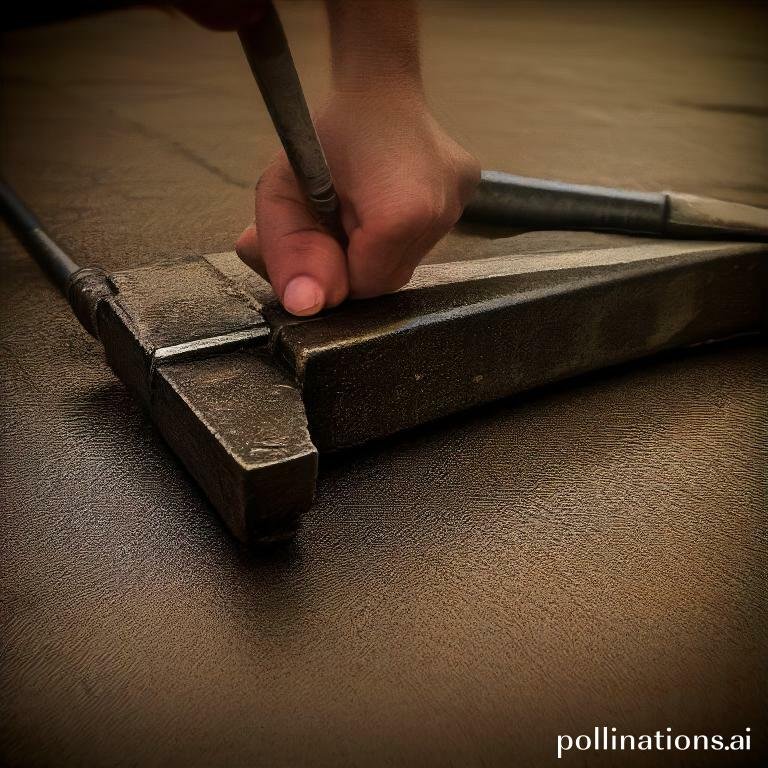
1. Loosen the anode rod with a socket wrench
To begin, you’ll need a socket wrench that fits the size of your anode rod. Locate the hexagonal head of the rod and secure the socket wrench onto it. Apply steady pressure in a counterclockwise direction to loosen the rod from its position.
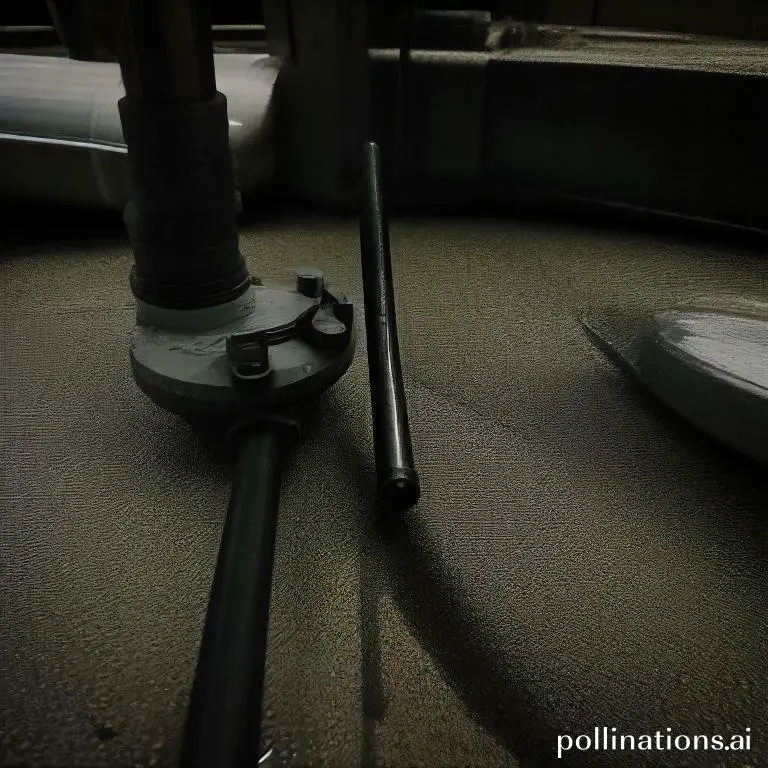
2. Remove the anode rod from the water heater
Once the rod is sufficiently loosened, carefully pull it out of the water heater tank. It may require a bit of force, but be cautious not to damage any surrounding components or plumbing connections.
3. Check the condition of the anode rod
With the old anode rod in hand, take a moment to inspect its condition. Look for signs of corrosion or heavy deterioration, as these indicate that the rod has been effectively sacrificing itself to protect the tank. If the rod is severely depleted, it’s time to replace it with a new one.
Installing the New Anode Rod
Touching on maintaining your water heater, one important task is installing a new anode rod. The anode rod plays a crucial role in preventing corrosion and extending the lifespan of your water heater. Follow these simple steps to ensure a successful installation:
1. Wrap the threads of the new anode rod with Teflon tape
To create a watertight seal, it is essential to wrap the threads of the new anode rod with Teflon tape. This tape acts as a barrier, preventing any leaks and ensuring a secure fit.
2. Insert the new anode rod into the water heater
Once the threads are properly wrapped, carefully insert the new anode rod into the water heater. Make sure to align it with the designated opening and gently push it in until it is snugly in place.
3. Tighten the anode rod with a socket wrench
To ensure the anode rod is securely installed, use a socket wrench to tighten it. Apply firm but gentle pressure, being careful not to overtighten and risk damaging the threads or the water heater itself.
| Step | Description |
|---|---|
| 1 | Wrap the threads with Teflon tape |
| 2 | Insert the new anode rod |
| 3 | Tighten with a socket wrench |
Refilling and Restarting the Water Heater
After completing the necessary maintenance on your water heater, it is time to refill and restart it. Follow these steps to ensure a smooth and efficient process:
1. Close the drain valve
Before refilling the water heater, make sure to close the drain valve. This will prevent any water from escaping and ensure that the tank fills up properly.
2. Turn on the water supply
Once the drain valve is closed, you can turn on the water supply. This will allow water to flow into the tank and begin the refilling process. Make sure the water supply is fully open for optimal filling.
3. Open a hot water faucet to allow air to escape
As the tank refills, imperative to release any trapped air to avoid potential issues. Open a hot water faucet in your home to allow air to escape from the system. This will help maintain proper water pressure and ensure a smooth restart.
4. Turn on the power supply
Once the tank is filled and air has been released, you can safely turn on the power supply to the water heater. This will initiate the heating process and allow the water to reach the desired temperature.
5. Wait for the water heater to heat up
Give the water heater some time to heat up. The duration may vary depending on the size of the tank and the power of the heating element. It is recommended to wait for the water to reach the desired temperature before using hot water in your home.
Bottom Line
Replacing an anode rod in your water heater is a simple DIY task that can save you money in the long run. Fundamental to check your anode rod regularly and replace it when necessary to prevent corrosion and extend the life of your water heater. The time commitment for this task varies depending on the type of water heater and the location of the anode rod. Notwithstanding, with the right tools and instructions, most homeowners can complete the job in a few hours. Don’t wait until it’s too late, take the time to replace your anode rod and ensure your water heater is functioning properly.
Remember to turn off the power and water supply before starting the replacement process. If you are unsure about the process, consult a professional plumber for assistance. By taking care of your water heater, you can enjoy hot water for years to come.
Read More:
1. Diy Anode Rod Replacement: Professional Guidance
2. Anode Rod Impact On Water Heater Noise