II. The process involves draining the tank, locating the anode rod, removing the old one, and installing a new one.
III. By following the manufacturer’s instructions and using the right tools, homeowners can easily replace the anode rod themselves and save money on professional plumbing services.
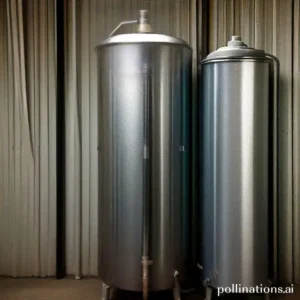
Replacing the anode rod in vintage water heaters is a simple DIY project that can extend the lifespan of your appliance. By absorbing the importance of the anode rod and following a few easy steps, you can ensure that your water heater continues to function efficiently.
This guide will walk you through the process of replacing the anode rod, providing you with the knowledge and confidence to tackle this task on your own. Say goodbye to rusty water and hello to a longer-lasting water heater with our DIY anode rod replacement guide.
Preparing for Anode Rod Replacement
Gathering the necessary tools and materials
In the realm of preparing for anode rod replacement, integral to gather all the necessary tools and materials beforehand. This will ensure a smooth and efficient process. Some of the essential tools and materials you will need include:
- Wrench: A wrench will be required to loosen and remove the old anode rod.
- Teflon tape: Teflon tape will help create a tight seal when installing the new anode rod.
- New anode rod: Integral to have a new anode rod ready for replacement.
- Bucket: A bucket will come in handy to catch any water that may leak during the process.
- Rags: Keep some rags nearby to clean up any spills or messes.
Turning off the water and gas supply
Prior to starting the anode rod replacement, it is crucial to turn off the water and gas supply to your water heater. This will ensure your safety and prevent any potential damage. Follow these steps to turn off the water and gas supply:
- Locate the water shut-off valve: Typically, the water shut-off valve is located near the top of the water heater. Turn it clockwise to shut off the water supply.
- Turn off the gas supply: If your water heater is gas-powered, locate the gas shut-off valve and turn it clockwise to shut off the gas supply. If you are unsure about the location of the gas shut-off valve, consult the user manual or contact a professional.
| Tools and Materials | Usage |
|---|---|
| Wrench | To loosen and remove the old anode rod. |
| Teflon tape | To create a tight seal when installing the new anode rod. |
| New anode rod | Required for replacement. |
| Bucket | To catch any water that may leak during the process. |
| Rags | To clean up any spills or messes. |
Removing the Old Anode Rod
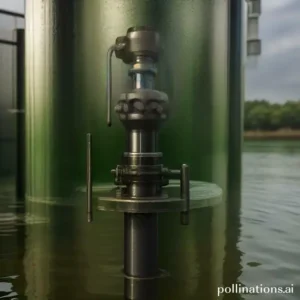
1. Locating the Anode Rod
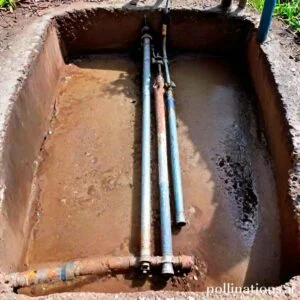
To successfully remove the old anode rod from your system, it is crucial to first locate its position. The anode rod is typically found within the water heater tank. It is designed to prevent corrosion by attracting corrosive elements in the water. Look for a long metal rod attached to the top of the tank. It is usually located near the hot water outlet.2. Removing the Anode Rod
Now that you have located the anode rod, it’s time to remove it. Before you begin, make sure to turn off the power supply to the water heater to avoid any accidents. Use a wrench to loosen the hex head at the top of the anode rod. Keep in mind that the rod might be quite tight, so some effort may be required. Once the hex head is loosened, simply pull out the anode rod from the tank. Removing the old anode rod is an essential maintenance task that should be done periodically to ensure the proper functioning of your water heater. By obeying these steps, you can easily remove the anode rod and prevent corrosion within your system. Remember, regular maintenance of your water heater is crucial to extend its lifespan and ensure efficient operation. If you are unsure about any step in the process, it is always recommended to consult a professional plumber for assistance.| Key Steps: | – |
|---|---|
| 1. Locate the anode rod | Ensure it is near the hot water outlet |
| 2. Turn off power supply | Avoid accidents during removing |
| 3. Loosen the hex head | Use a wrench for this step |
| 4. Pull out the anode rod | Apply necessary force if tight |
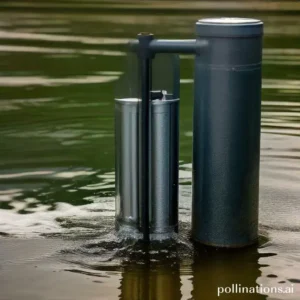
Choosing the Right Replacement Anode Rod
In the realm of maintaining the longevity and efficiency of your water heater, choosing the right replacement anode rod is crucial. Anode rods play a vital role in preventing corrosion within the tank, ensuring that your water heater functions optimally for years to come. In this section, we will navigate the different types of anode rods available and the factors you should consider when selecting a replacement.
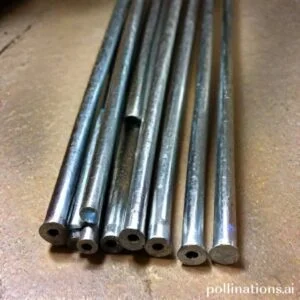
Types of Anode Rods
There are several types of anode rods to choose from, each with its own unique properties and benefits. Embracing the differences between these types can help you make an informed decision:
- Magnesium Anode Rods: These rods are suitable for most water conditions and are highly effective at preventing corrosion. They are ideal for households with soft water.
- Aluminum Anode Rods: Aluminum rods are a cost-effective option and are recommended for areas with hard water. They provide excellent protection against corrosion.
- Zinc Anode Rods: Zinc rods are specifically designed for areas with water that has a high sulfate content. They are effective at reducing odor and bacteria in the water.
Factors to Consider when Choosing a Replacement Anode Rod
When selecting a replacement anode rod, it is essential to consider the following factors:
- Water Quality: Assess the mineral content and hardness of your water. This will help determine the type of anode rod that is best suited for your specific water conditions.
- Anode Rod Material: Consider the material composition of the anode rod and its compatibility with your water heater. Different materials offer varying levels of protection against corrosion.
- Anode Rod Size: Ensure that the replacement anode rod is the correct size and length for your water heater. Anode rods that are too long or too short may not provide adequate protection.
- Manufacturer Recommendations: Consult the manufacturer’s guidelines and recommendations for your water heater model. They may provide specific instructions or suggestions for anode rod replacements.

Installing the New Anode Rod
As for maintaining your water heater, one crucial aspect is the anode rod. The anode rod plays a vital role in preventing corrosion inside the tank, ensuring your water heater’s longevity. Hunting for a step-by-step guide on installing a new anode rod, you’ve come to the right place.
1. Preparing the New Anode Rod
Before you begin the installation process, it’s essential to prepare the new anode rod properly:
- Step 1: Shut off the power supply to the water heater to avoid any accidents.
- Step 2: Close the water supply valve and drain the tank to a suitable level.
- Step 3: Locate the anode rod’s access point on top of the water heater.
- Step 4: Use a wrench to loosen and remove the old anode rod carefully.
- Step 5: Inspect the condition of the old anode rod and compare it to the new one.
- Step 6: If necessary, trim the new anode rod to fit the height requirements of your water heater.
2. Installing the New Anode Rod
Once you have prepared the new anode rod, it’s time to proceed with the installation:
- Step 1: Insert the new anode rod into the access point on top of the water heater.
- Step 2: Use a wrench to tighten the anode rod securely, ensuring a proper seal.
- Step 3: Open the water supply valve and allow the tank to refill.
- Step 4: Turn on the power supply to the water heater.
- Step 5: Monitor the water heater for any leaks or irregularities.
| Anode Rod Installation Tips: |
|---|
| Tip 1: It is recommended to check your anode rod’s condition annually and replace it if necessary. |
| Tip 2: Consider using a flexible anode rod if the access point is challenging to reach. |
| Tip 3: Regular maintenance of your water heater can help prolong its lifespan and improve energy efficiency. |

Testing the New Anode Rod
In terms of maintaining the efficiency and longevity of your water heater, one crucial component to pay attention to is the anode rod. This small yet mighty device plays a vital role in protecting the tank from corrosion and extending the lifespan of your heater. In this section, we will guide you through the necessary steps to test the new anode rod, ensuring proper installation and functionality.
1. Turning the water and gas supply back on
Before proceeding with the anode rod test, it is essential to restore the water and gas supply to your water heater. Start by locating the shut-off valves for both the water and gas lines. Turn the valves clockwise to close them, and then carefully turn them counterclockwise to reopen the supply.
2. Checking for leaks
After turning the water and gas supply back on, it is crucial to inspect the entire water heater system for any signs of leaks. Check the connections, valves, and pipes thoroughly. If you detect any leaks, immediately shut off the water and gas supply and seek professional assistance to address the issue.
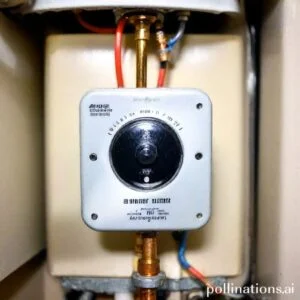
3. Checking the anode rod for proper installation
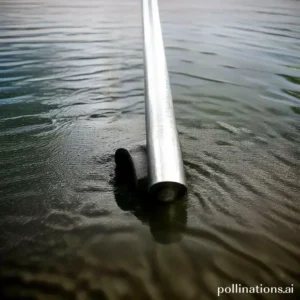
The anode rod is typically located on the top of the water heater and can be accessed by removing the hexagonal-shaped cap. Using a wrench, carefully unscrew the cap and gently pull out the anode rod. Inspect the rod for any signs of corrosion or wear. A healthy anode rod should have a solid and intact core.
If the rod appears to be deteriorated or less than half an inch in diameter, it is time to replace it with a new one. Ensure the new anode rod is of the correct size and material specified by the manufacturer. Insert the new rod into the designated slot and tighten it securely with a wrench.
Note: If you are unsure about the specific requirements or installation process, refer to the water heater’s manual or consult a professional plumber.
Testing the new anode rod is a crucial step in maintaining the efficiency and longevity of your water heater. By embracing the steps outlined above, you can ensure proper installation and functionality of the anode rod. Regularly inspecting and replacing the anode rod as needed will help protect your water heater from corrosion and extend its lifespan.
| Step | Description |
|---|---|
| 1 | Turning the water and gas supply back on |
| 2 | Checking for leaks |
| 3 | Checking the anode rod for proper installation |
Bottom Line
Replacing the anode rod in your vintage water heater is a simple DIY task that can extend the life of your appliance and save you money in the long run. By maintaining the steps outlined in this article, you can easily remove and replace the anode rod without the need for professional help.
Remember to choose the right type of anode rod for your water heater and to perform regular maintenance to ensure optimal performance. With a little bit of effort and know-how, you can keep your vintage water heater running smoothly for years to come.
Read More:
1. Diy Anode Rod Replacement And Energy Consumption
2. Anode Rod Compatibility With Water Heater Timer