II. DIY anode rod replacement is a cost-effective option for homeowners with small spaces or limited budgets.
III. With the right tools and instructions, replacing an anode rod can be a relatively simple process that can save money and prevent the need for costly repairs or replacements.
Replacing an anode rod in small spaces can be a challenging task, but with our DIY guide, you’ll be able to tackle it with ease. We’ll provide step-by-step instructions and tips on how to successfully replace anode rods in tight spaces.
Say goodbye to costly plumber fees and hello to a well-maintained water heater. Whether you’re a DIY enthusiast or a first-time DIYer, our guide will help you confidently tackle this project.
Don’t let limited space hold you back, let’s get started on replacing your anode rod today!
Tools and Materials Required:
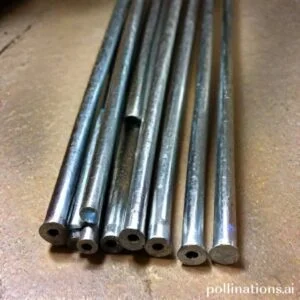
Anode rod
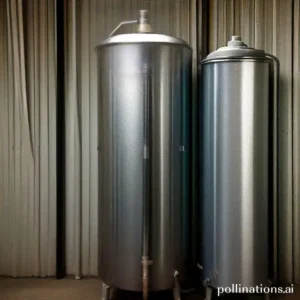
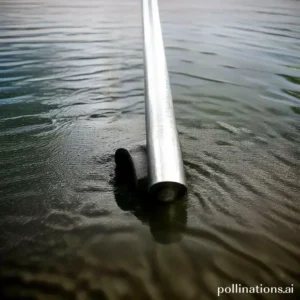
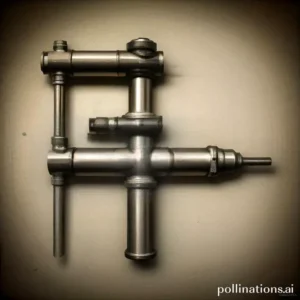
An anode rod is an essential component in maintaining the longevity and efficiency of your water heater. It is a long metal rod made of aluminum or magnesium that attracts corrosive elements in the water, protecting the tank from rust and corrosion. Regularly inspecting and replacing the anode rod can extend the lifespan of your water heater.
Wrench or socket set
A wrench or socket set is necessary for removing and installing the anode rod. It allows you to loosen and tighten the hex head or bolt that secures the rod in place. Make sure to use the correct size tool to avoid damaging the rod or tank.
Teflon tape
Teflon tape, also known as plumber’s tape, is a thin white tape used to create a watertight seal. It is commonly used when installing or replacing plumbing fixtures, including the anode rod. Wrapping a few layers of Teflon tape around the threads of the rod before screwing it into the tank ensures a tight and leak-free connection.
Bucket or pan
A bucket or pan is necessary to catch any water that may leak out when removing the anode rod. This prevents water damage to the surrounding area and makes the process cleaner and easier. Ensure that the bucket or pan is large enough to hold the water that may be released.
Flashlight or headlamp
A flashlight or headlamp is essential for providing adequate visibility when working on the water heater. It allows you to see the anode rod and its surrounding area clearly, making the inspection and replacement process more efficient and accurate.
| Item | Description |
| Anode rod | A long metal rod made of aluminum or magnesium that attracts corrosive elements in the water, protecting the tank from rust and corrosion. |
| Wrench or socket set | A tool used for removing and installing the anode rod, ensuring a secure and tight connection. |
| Teflon tape | A thin white tape used to create a watertight seal between the anode rod and the tank. |
| Bucket or pan | A container used to catch any water that may leak out during the anode rod replacement process. |
| Flashlight or headlamp | A light source that provides visibility when working on the water heater, ensuring accurate inspection and replacement. |
Preparation before Replacement
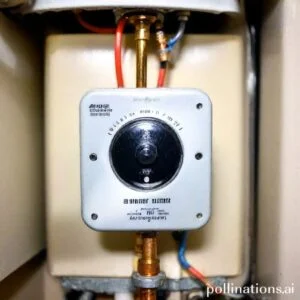
1. Turn off the Power Supply
To begin the process of replacing your water heater, it is crucial to turn off the power supply. This will ensure your safety and prevent any electrical accidents. Locate the circuit breaker that controls the water heater and switch it off. Double-check that the power is completely shut off before proceeding to the next steps.
2. Turn off the Water Supply
Before draining the water heater, you must turn off the water supply. Locate the valve that controls the water flow into the water heater and shut it off. This will prevent any water from entering the heater meanwhile you work on replacing it. Make sure the valve is tightly closed to avoid any leaks.
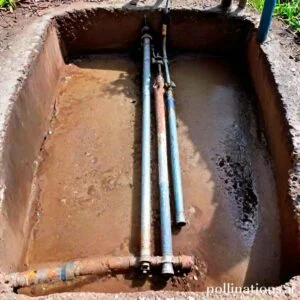
3. Drain the Water Heater
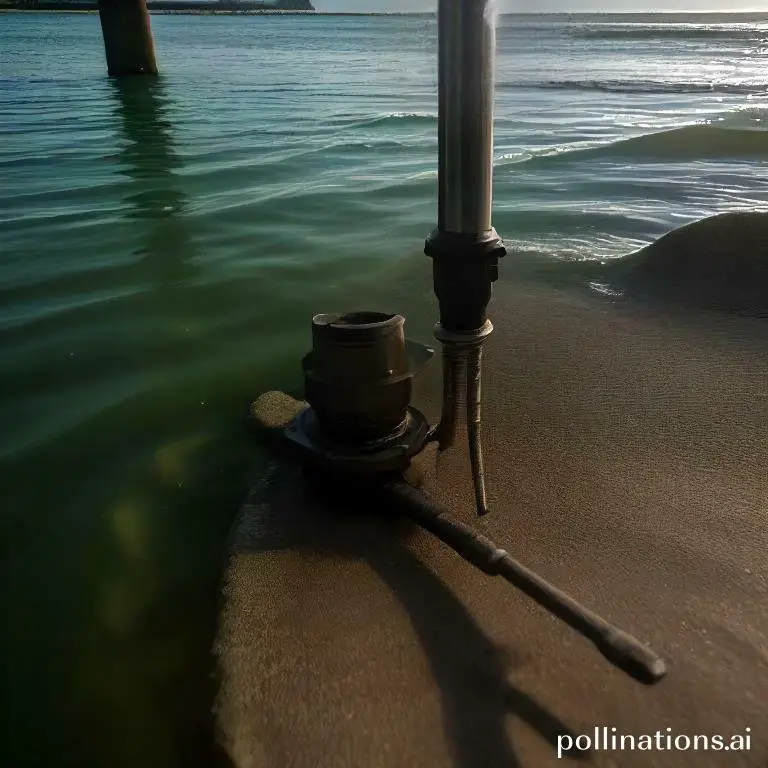
Draining the water heater is an essential step in the replacement process. This will empty the tank and make it easier to remove. Connect a hose to the drain valve located at the bottom of the heater and place the other end in a suitable drainage area. Open the drain valve and let the water flow out until the tank is completely empty.
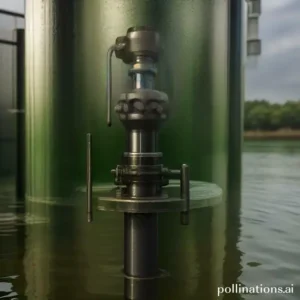
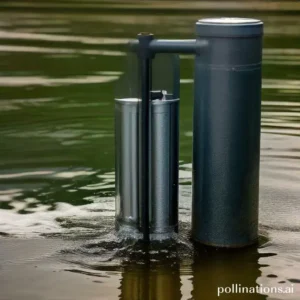
4. Locate the Anode Rod
The anode rod is a crucial component of the water heater that helps prevent corrosion. Before replacing the heater, locate the anode rod and inspect its condition. If it is worn out or heavily corroded, it is recommended to replace it as well. The anode rod is typically located at the top of the heater and can be unscrewed using a wrench.
Replacing the Anode Rod
The anode rod is an essential component of your water heater that helps protect the tank from corrosion. Over time, the rod can become worn out and needs to be replaced. Follow these steps to replace the anode rod and ensure the longevity of your water heater:
1. Loosen the Anode Rod
Before removing the old anode rod, you need to loosen it. Locate the hex head on the top of the water heater and use a wrench to turn it counterclockwise. This will loosen the rod and allow for easy removal.
2. Remove the Old Anode Rod
Once the anode rod is loosened, carefully lift it out of the water heater. Be cautious as it may be hot. Inspect the rod for any signs of corrosion or damage. If it appears heavily corroded or worn out, it’s time for a replacement.
3. Install the New Anode Rod
Take the new anode rod and insert it into the water heater. Ensure that the rod is positioned in the same location as the previous one. It should be in direct contact with the water in the tank.
4. Use Teflon Tape
Before tightening the anode rod, wrap Teflon tape around the threads. This will create a watertight seal and prevent any leakage. Make sure to wrap the tape in a clockwise direction to avoid unraveling when tightening the rod.
5. Tighten the Anode Rod
Using a wrench, turn the hex head of the anode rod clockwise to tighten it. Ensure that it is securely fastened, but be careful not to overtighten, as it may damage the threads or the water heater tank.
Refilling and Testing
In the realm of maintaining your water heater, refilling and testing are essential steps to ensure its proper functioning. Follow these steps to refill and test your water heater:
1. Refill the Water Heater
Begin by refilling your water heater. This involves turning off the water supply to the heater and opening the valve to drain any remaining water. Once the tank is empty, close the valve and carefully refill the tank with clean water.
2. Turn on the Power Supply
After refilling the water heater, imperative to turn on the power supply. Locate the power switch or breaker connected to the water heater and switch it on. This will allow the heating element to start working and raise the temperature of the water.
3. Turn on the Water Supply
With the power supply on, you can now turn on the water supply. Open the valve that connects the water heater to the main water line. This will allow water to flow into the tank and fill it up.
4. Check for Leaks
Once the water heater is refilled and the water supply is on, imperative to check for leaks. Inspect all the connections and valves for any signs of water leakage. If you notice any leaks, tighten the connections or replace faulty parts to prevent further issues.
5. Test the Water Heater
After completing the refilling process and ensuring there are no leaks, it’s time to test the water heater. Turn on a faucet connected to the hot water line and let the water run for a few minutes. Check if the water is heating up properly and adjust the temperature if necessary.
DIY Anode Rod Replacement for Small Spaces
Regular maintenance of your water heater includes replacing the anode rod. This component helps prevent corrosion inside the tank. In small spaces, DIY anode rod replacement can be a challenge, but it is possible with the right tools and techniques. Follow these steps to replace the anode rod in a small space:
- 1. Prepare the space: Clear any obstacles around the water heater to create enough working space. Ensure proper ventilation to avoid any potential hazards.
- 2. Turn off power and water: Before starting the replacement process, turn off the power supply and close the water supply valve.
- 3. Drain the tank: Connect a hose to the drain valve and direct the other end to a suitable drainage area. Open the valve and let the water drain completely from the tank.
- 4. Locate the anode rod: The anode rod is usually located at the top of the water heater tank. Remove the access panel or cover to expose the rod.
- 5. Remove the old anode rod: Use a suitable wrench or socket to loosen and remove the old anode rod. Be cautious not to damage any surrounding components.
- 6. Install the new anode rod: Insert the new anode rod into the designated slot and tighten it securely. Ensure it is properly aligned and positioned.
- 7. Reassemble and test: Put back the access panel or cover, and reconnect the power supply and water. Turn on the power and water supply to test the water heater’s functionality.

Maintenance tips
Keeping your water heater in good condition is essential for its longevity and efficient functioning. Here are some maintenance tips to ensure that your water heater operates smoothly:
1. Regularly check and replace the anode rod
The anode rod is a crucial component of your water heater that helps prevent corrosion. Over time, the rod can become depleted and may need replacement. Regularly check the condition of the anode rod and replace it if necessary to extend the lifespan of your water heater.
2. Flush the water heater annually
Sediments and minerals can accumulate at the bottom of your water heater tank, affecting its performance. Flushing the tank annually helps remove these deposits and ensures optimal heating efficiency. Follow the manufacturer’s instructions or consult a professional plumber to properly flush your water heater.
3. Keep the area around the water heater clean
4. Check for leaks and rust
Regularly inspect your water heater for any signs of leaks or rust. Leaks can indicate a damaged or faulty component that needs immediate attention. Rust can corrode the tank and lead to leaks or other issues. If you notice any leaks or rust, it is advisable to contact a professional plumber to assess and resolve the problem.
| Tip | Description |
|---|---|
| 1. Regularly check and replace the anode rod | Inspect the anode rod and replace if necessary to prevent corrosion. |
| 2. Flush the water heater annually | Remove sediments and minerals by flushing the tank annually. |
| 3. Keep the area around the water heater clean | Maintain a clean and clutter-free area for proper ventilation and access. |
| 4. Check for leaks and rust | Regularly inspect for leaks and rust, addressing any issues promptly. |
Bottom Line
Replacing an anode rod is an essential maintenance task for any water heater. With the right tools and a little bit of DIY knowledge, you can easily replace the anode rod yourself, even in small spaces. Remember to turn off the power and water supply before starting the replacement process. Choose the right type of anode rod for your water heater and make sure to inspect it regularly to ensure it is functioning properly. By replacing the anode rod, you can extend the life of your water heater and save money on costly repairs or replacements. Don’t hesitate to tackle this DIY project and enjoy the benefits of a well-maintained water heater.
Overall, replacing an anode rod is a simple and cost-effective way to maintain your water heater. With a little bit of effort, you can ensure that your water heater lasts for years to come. So, if you notice any signs of corrosion or wear on your anode rod, don’t hesitate to replace it yourself. In doing this, you can save money and ensure that your water heater is functioning at its best.
Read More:
1. Diy Anode Rod Replacement For Large Families
2. Anode Rod Replacement Frequency For Well Water