II. For large families with high hot water usage, replacing the anode rod can be a costly affair if done by a professional.
III. However, with the right tools and a DIY approach, you can easily replace the anode rod yourself, saving money and ensuring your water heater lasts longer.
If you have a large family and are in need of replacing the anode rod in your water heater, look no further! This DIY guide will provide you with all the necessary steps to successfully replace the anode rod on your own.
With easy-to-follow instructions and tips, you’ll be able to save time and money by avoiding the need for professional assistance. Say goodbye to expensive repairs and hello to a fully functioning water heater for your family’s needs.
Let’s get started on this DIY anode rod replacement for large families.
What is an Anode Rod?
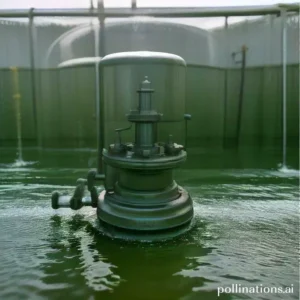
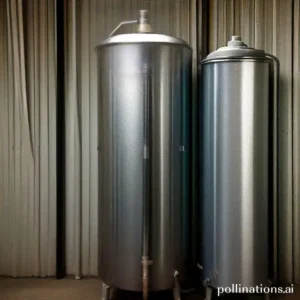
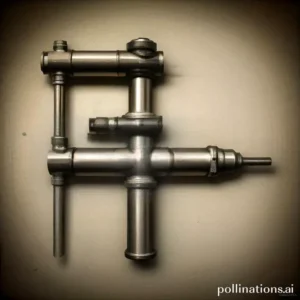
An anode rod is a crucial component in water heating systems, specifically in tanks, such as water heaters or boilers. Its primary function is to protect the metal tank from corrosion caused by electrolysis, thereby extending the lifespan of the tank.
1. Definition and function of anode rods
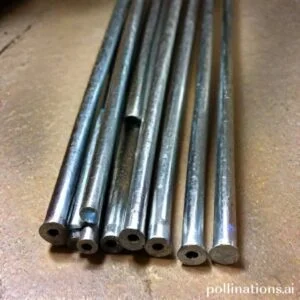
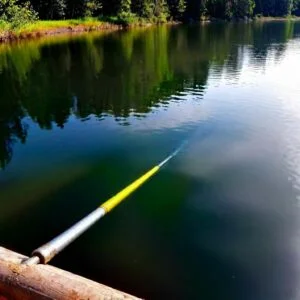
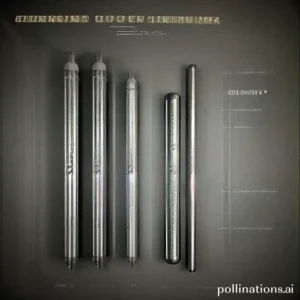
Anode rods are long, metallic rods usually made of aluminum, magnesium, or zinc, which are highly reactive metals. These rods are inserted into the water tank and are designed to attract and corrode instead of the tank itself. This sacrificial corrosion process prevents the tank from rusting or deteriorating.
When water is heated, it releases ions that can cause corrosion when in contact with the tank’s metal surface. The anode rod, being more reactive, attracts these ions and corrodes in their place. This sacrificial process helps protect the tank and prolong its life.
2. Types of anode rods available in the market
There are three main types of anode rods available in the market:
- Aluminum anode rods: These rods are commonly used in areas with hard water. They provide effective protection against corrosion and are suitable for most water heating systems.
- Magnesium anode rods: These rods are ideal for areas with soft water. They provide enhanced protection against corrosion and are recommended for electric water heaters.
- Zinc anode rods: These rods are often used in areas with aggressive water conditions or high sulfates. They offer excellent corrosion protection but are not compatible with all types of water heating systems.
Choosing the right type of anode rod depends on the water quality in your area and the specific requirements of your water heating system. Consulting a professional or referring to the manufacturer’s guidelines can help determine the most suitable option for your needs.
Signs of a Worn Out Anode Rod
In order to ensure the optimal functioning of your water heater, indispensable to be aware of the signs that indicate a worn-out anode rod. The anode rod plays a crucial role in protecting your water heater from corrosion and extending its lifespan. Here are some key indicators to look out for:
1. Strange Noises from the Water Heater
If you start hearing unusual noises coming from your water heater, it could be a sign that the anode rod is deteriorating. As the rod wears out, it becomes less effective in preventing corrosion, leading to the formation of sediment and mineral deposits. These deposits can cause the water heater to make rumbling or popping sounds as it heats up. If you notice such noises, it is advisable to have your anode rod checked and replaced if necessary.
2. Rusty or Discolored Water
Another clear indication of a worn-out anode rod is the presence of rusty or discolored water when you turn on your taps. As the rod deteriorates, it is unable to protect the inner lining of the water heater tank effectively. This can result in the corrosion of the tank, leading to the discoloration of the water. If you notice any changes in the color of your water, especially a reddish or brownish tint, it is essential to have the anode rod inspected and replaced to prevent further damage.
3. Foul Odor from the Water Heater
A worn-out anode rod can also contribute to the development of a foul odor in your hot water. As the rod deteriorates, bacteria can thrive and produce a sulfurous smell. This unpleasant odor can be quite noticeable when you use hot water for bathing or cooking. If you detect any unusual smells emanating from your water heater, it is recommended to have the anode rod checked and replaced to eliminate the odor and maintain the hygiene of your water supply.
Steps to Replace an Anode Rod
Replacing the anode rod in your water heater is an essential maintenance task that can prolong the lifespan of your appliance. Follow these steps to ensure a successful replacement:
Step 1: Turn off the power supply to the water heater
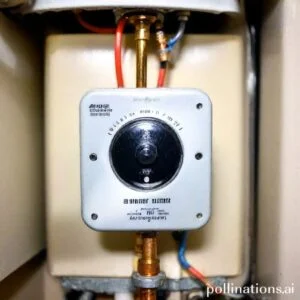
Before you begin, it’s crucial to turn off the power supply to the water heater. This will prevent any accidents or electric shocks during the replacement process. Locate the circuit breaker or the power switch dedicated to the water heater and switch it off.
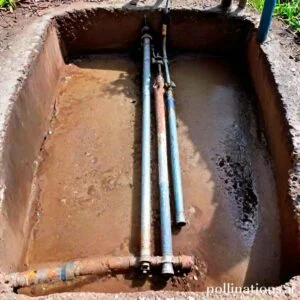
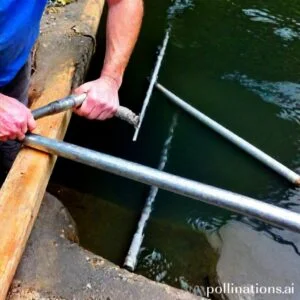
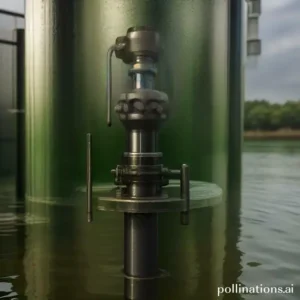
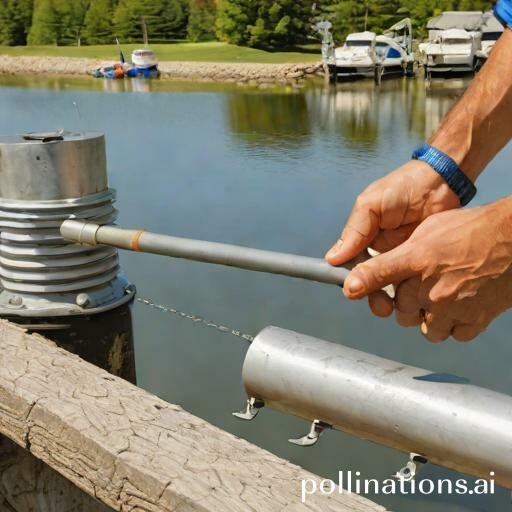
Step 2: Locate the anode rod and remove it
The anode rod is typically located at the top of the water heater and can be accessed by removing the hot water outlet. Use a wrench or socket to loosen and remove the anode rod. Be careful as it may be hot and require some force to loosen.
Step 3: Choose the right replacement anode rod
When selecting a replacement anode rod, consider the type of water in your area. If you have hard water, a magnesium anode rod is recommended. If you have soft water, an aluminum or zinc anode rod is more suitable. Consult with a plumbing professional if you’re unsure about the best choice for your specific situation.
Step 4: Install the new anode rod
Once you have the replacement anode rod, carefully insert it into the opening where the old rod was removed. Use Teflon tape to secure the threads and ensure a tight fit. Tighten the rod using a wrench or socket, but be cautious not to overtighten and damage the threads.
Step 5: Turn on the power supply to the water heater
After successfully installing the new anode rod, it’s time to turn on the power supply to the water heater. Go back to the circuit breaker or power switch and switch it on. This will restore power to the water heater and allow it to resume normal operation.
Tips for DIY Anode Rod Replacement
Replacing the anode rod in your water heater is an important maintenance task that can help extend its lifespan and prevent corrosion. Here are some helpful tips to ensure a successful DIY anode rod replacement:
1. Wear Protective Gear
Before you begin the replacement process, make sure to protect yourself by wearing the necessary safety gear. This includes gloves, safety goggles, and a face mask to prevent any potential harm from chemicals or debris.
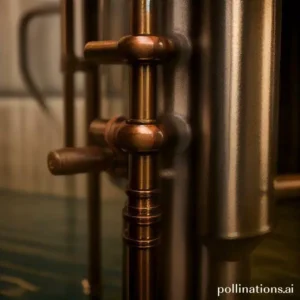
2. Use the Right Tools
Having the correct tools for the job is crucial. You will need a socket wrench, a breaker bar, and possibly a pipe wrench or adjustable wrench, depending on the type of anode rod in your water heater. Make sure to have these tools on hand before starting the replacement.
3. Follow the Manufacturer’s Instructions
Every water heater is different, so it’s important to consult the manufacturer’s instructions for your specific model. These instructions will provide step-by-step guidance on how to safely remove the old anode rod and install the new one. Following the manufacturer’s instructions will ensure that the replacement is done correctly.
4. Test the Water Heater After Replacement
Once you have successfully replaced the anode rod, it’s essential to test the water heater to ensure everything is functioning properly. Turn on the hot water faucet and let the water run for a few minutes to flush out any air or debris. Check for any leaks or unusual noises coming from the water heater. If everything looks and sounds normal, you can consider the replacement a success.
| Tips | Details |
|---|---|
| Wear protective gear | Protect yourself with gloves, goggles, and a face mask |
| Use the right tools | Have a socket wrench, breaker bar, and possibly a pipe wrench or adjustable wrench |
| Follow the manufacturer’s instructions | Consult the instructions specific to your water heater model |
| Test the water heater after replacement | Turn on the hot water faucet and check for leaks or unusual noises |
When to Call a Professional
In terms of tackling home improvement projects, it’s important to know your limits. In the course of some tasks can be easily accomplished by the average homeowner, there are certain situations where it’s best to call in a professional. Here are some key instances when you should consider hiring a professional for your DIY needs:
Lack of experience in DIY projects
If you’re new to DIY projects or don’t have much experience, it’s wise to seek professional help. DIY can be fun and rewarding, but it also requires skill and knowledge. A professional can ensure that the job is done correctly and efficiently, saving you time and potential headaches.
Complex water heater systems
Water heater systems can be complicated and dangerous to work on if you don’t have the necessary expertise. Hiring a professional plumber or technician to handle any water heater issues is crucial. They have the knowledge and tools to diagnose and fix problems, ensuring your safety and the proper functioning of your system.
Safety concerns
Some projects involve risks that could lead to injury or damage if not handled properly. Electrical work, for example, can be hazardous if you don’t know what you’re doing. Calling a professional electrician ensures that the job is done safely and up to code, minimizing the risk of accidents or fire hazards.
Pertaining to certain home improvement tasks, it’s best to leave them to the professionals. Their expertise and experience can save you time, money, and potential mishaps. Remember, your safety should always be a top priority.
| DIY Task | Professional Assistance |
|---|---|
| Electrical work | Recommended |
| Plumbing repairs | Recommended |
| Water heater installation | Recommended |
| Painting | Optional |
Bottom Line
Replacing the anode rod in your water heater is an important maintenance task that can extend the life of your appliance and save you money in the long run. For large families, DIY anode rod replacement can be a cost-effective solution that ensures your water heater is functioning properly and providing hot water when you need it most.
With the right tools and a little bit of know-how, you can easily replace your anode rod in just a few hours. Be sure to follow the manufacturer’s instructions and take safety precautions to avoid injury. By taking care of your water heater, you can enjoy hot showers and clean dishes for years to come.
Read More:
1. Diy Anode Rod Replacement During Water Heater Flush
2. Anode Rod Maintenance For Areas With High Mineral Content