II. DIY anode rod replacement is a cost-effective option for beginners, requiring minimal tools and basic plumbing skills.
III. Following a step-by-step guide, such as draining the tank, locating the anode rod, and installing the new one, can ensure a successful anode rod replacement.
In this guide, we will walk you through the process of replacing an anode rod in your water heater. Whether you’re a beginner or have some experience with DIY projects, these step-by-step instructions will help you successfully complete the task.
We’ll cover everything from the tools you’ll need to the proper technique for removing and installing the new anode rod. By heeding our guide, you’ll be able to prolong the life of your water heater and ensure it continues to function efficiently.
Let’s get started!
Absorbing Anode Rods
1. What is an anode rod?
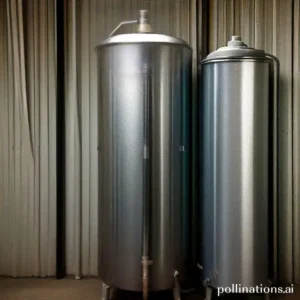
An anode rod is a crucial component in the water heater system that helps prevent corrosion and extends the lifespan of the tank. It is a long metal rod typically made of magnesium, aluminum, or a combination of metals.
The selection of the anode rod material depends on the water composition in your area. For example, magnesium anode rods are suitable for soft water, at the same time aluminum anode rods are recommended for hard water.
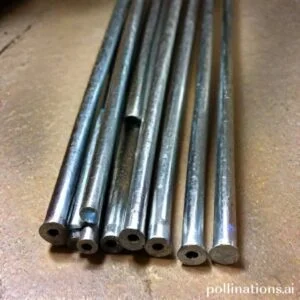
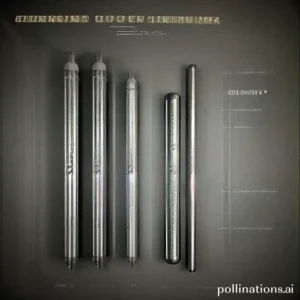
2. Types of anode rods
There are three main types of anode rods commonly used in water heaters:
- Magnesium Anode Rods: These rods are highly effective in preventing corrosion and are ideal for areas with soft water. They provide reliable protection to the tank, ensuring its longevity.
- Aluminum Anode Rods: Aluminum anode rods are specifically designed for areas with hard water. They are more durable than magnesium rods and offer excellent protection against corrosion.
- Combination Anode Rods: Combination anode rods are made by combining magnesium and aluminum materials. They are suitable for areas with varying water conditions and provide a balanced level of protection.
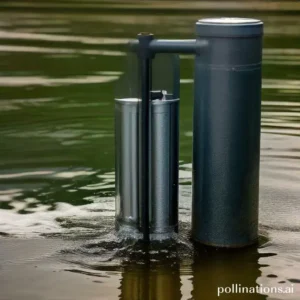
3. How do anode rods work?
Anode rods work on the principle of electrolysis. When the water heater is in operation, the anode rod attracts the corrosive elements in the water, which causes the anode rod to corrode over time.
Regular inspection and replacement of the anode rod are essential to maintain the effectiveness of the water heater system. It is recommended to check the condition of the anode rod annually and replace it when it is significantly corroded, usually every 3-5 years.
| Anode Rod Type | Water Compatibility | Durability |
|---|---|---|
| Magnesium | Soft water | Good |
| Aluminum | Hard water | Excellent |
| Combination | Varying water conditions | Balanced |
Tools and Materials Required
In order to successfully replace an anode rod, you will need to gather the necessary tools and materials. Ensuring you have everything on hand will make the process much smoother and more efficient.
1. Essential tools required for anode rod replacement
- Wrench: A wrench is essential for loosening and tightening the anode rod.
- Teflon tape: Teflon tape is used to create a watertight seal.
- Tubing cutter: A tubing cutter will be necessary if you need to remove any existing piping.
- Adjustable pliers: Adjustable pliers will come in handy for any additional adjustments that may be needed.
2. Materials required for anode rod replacement
- Anode rod: The most important material you will need is the anode rod itself. Make sure to choose one that is compatible with your water heater.
- Teflon tape: As mentioned earlier, Teflon tape is crucial for creating a proper seal.
- Thread sealant: Thread sealant is another option for creating a secure connection.
- Plumber’s tape: Plumber’s tape can be used as an alternative to Teflon tape.
- Pipe compound: Pipe compound is used to prevent leaks and ensure a tight fit.
- Piping: Depending on the condition of your existing piping, you may need to replace it with new piping.
Step-by-Step Guide to Replace Anode Rods
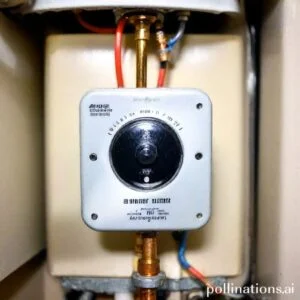
1. Turn off the power supply
In order to safely replace the anode rods in your water heater, the first step is to turn off the power supply. This will ensure that there is no electricity running through the tank in the course of you are working on it.
2. Drain the water heater tank
Next, you’ll need to drain the water heater tank. This can be done by connecting a hose to the drain valve at the bottom of the tank and opening it up. Make sure to have a bucket or container ready to collect the water.
3. Locate the anode rod
Once the tank is drained, you can locate the anode rod. It is usually located at the top of the tank and is attached to a hex head on the tank. Use a wrench to loosen and remove the hex head.
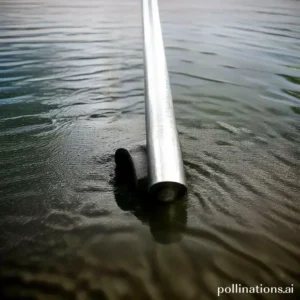
4. Remove the old anode rod
With the hex head removed, you can now remove the old anode rod. It may be corroded or covered in sediment, so be careful when handling it. Use a wrench or socket to unscrew it from the tank.
5. Install the new anode rod
Once the old anode rod is removed, it’s time to install the new one. Apply plumber’s tape to the threads of the new rod to ensure a tight seal. Insert the new rod into the tank and use a wrench or socket to tighten it securely.
6. Refill the tank
After the new anode rod is installed, you can refill the tank with water. Close the drain valve and turn on the cold water supply to fill the tank. Make sure to check for any leaks around the anode rod before proceeding.
7. Turn on the power supply
Once the tank is full, you can turn the power supply back on. This will allow the water heater to heat up the water and resume normal operation. Monitor the tank for any unusual noises or leaks in the following days.
Tips for Successful Anode Rod Replacement
Anode rod replacement is an important maintenance task that ensures the longevity and efficiency of your water heater. To help you successfully replace your anode rod, follow these tips:
1. Check the condition of the anode rod regularly
Regularly inspecting the condition of your anode rod is crucial in determining when it needs replacement. Look for signs of corrosion or deterioration. If the rod is heavily corroded or has a significant amount of metal loss, it is time to replace it.
2. Choose the right type of anode rod
There are different types of anode rods available, including magnesium, aluminum, and a combination of both. The type of rod you choose depends on your water quality and the material of your water heater tank. Consult with a professional or refer to the manufacturer’s guidelines to select the appropriate anode rod.
3. Follow the manufacturer’s instructions
Every water heater model may have specific instructions for anode rod replacement. It is essential to read and follow the manufacturer’s guidelines carefully. This ensures that you perform the replacement correctly and do not damage the water heater in the process.
4. Hire a professional if unsure
If you are unsure about performing the anode rod replacement yourself, it is best to hire a professional plumber or technician. They have the expertise and experience to handle the task safely and efficiently. Hiring a professional ensures that the replacement is done correctly, preventing any potential damage or safety hazards.
| Tips for Successful Anode Rod Replacement |
|---|
| 1. Check the condition of the anode rod regularly |
| 2. Choose the right type of anode rod |
| 3. Follow the manufacturer’s instructions |
| 4. Hire a professional if unsure |

Common Mistakes to Avoid
1. Forgetting to turn off the power supply
One common mistake that many people make when dealing with their ice cream machines is forgetting to turn off the power supply. This can lead to unnecessary energy consumption and potential damage to the machine. Integral to always remember to switch off the power supply when the machine is not in use or during maintenance.
2. Not draining the tank completely
Another mistake to avoid is not draining the tank completely. When cleaning or preparing the machine for storage, it is crucial to ensure that all the liquid inside the tank is fully drained. Failure to do so can result in the growth of bacteria and mold, which can contaminate the ice cream and affect its quality. Make sure to follow the manufacturer’s instructions on how to properly drain the tank.
3. Using the wrong type of anode rod
Using the wrong type of anode rod is a common mistake that can impact the performance and lifespan of your ice cream machine. An anode rod is responsible for preventing corrosion inside the tank. It is essential to choose the correct type of anode rod recommended by the manufacturer. Using the wrong material or size can lead to corrosion and reduce the efficiency of the machine.
To avoid these common mistakes, it is essential to read the instruction manual provided by the manufacturer and follow their guidelines. Taking proper care of your ice cream machine will ensure its longevity and maintain the quality of the ice cream it produces. Remember to turn off the power supply, drain the tank completely, and use the correct type of anode rod for optimal performance.
| Mistake | Consequence |
|---|---|
| Forgetting to turn off the power supply | Potential damage to the machine and unnecessary energy consumption |
| Not draining the tank completely | Growth of bacteria and mold, affecting ice cream quality |
| Using the wrong type of anode rod | Corrosion inside the tank and reduced machine efficiency |
Bottom Line
Replacing an anode rod is an essential task for maintaining the longevity of your water heater. With the right tools and a little bit of patience, even beginners can successfully replace their anode rod. Remember to turn off the power and water supply before starting the process and to follow the manufacturer’s instructions carefully. Regularly checking and replacing your anode rod can save you money in the long run by preventing corrosion and extending the life of your water heater. Don’t hesitate to seek professional help if you encounter any difficulties or are unsure about the process. With proper maintenance, your water heater can continue to provide you with hot water for years to come.
Read More:
1. Anode Rod Compatibility With Water Filters
2. Diy Anode Rod Replacement For Heat Pump Water Heaters