II. Regular flushing of the water heater tank and replacing the anode rod can extend the lifespan of the water heater.
III. DIY anode rod replacement during water heater flush is an easy and cost-effective way to maintain your water heater and ensure it operates efficiently.
Anode rod replacement is an important maintenance task for water heaters, as it helps to prevent corrosion and extend the lifespan of the appliance. Performing this task yourself can save you money and ensure that your water heater continues to function efficiently.
We will ponder the step-by-step process of replacing the anode rod during a water heater flush, providing you with the necessary information and tips to successfully complete this DIY project. Let’s get started!
Grasping Anode Rods
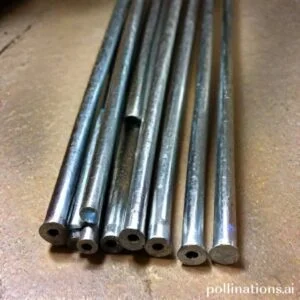
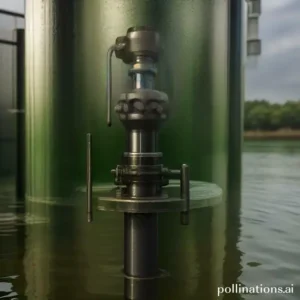
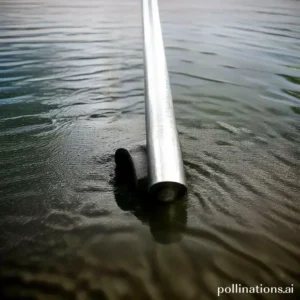
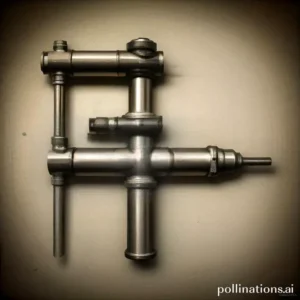
An anode rod is an essential component of water heaters that helps prevent corrosion and extends the lifespan of the tank. It is a long metal rod typically made of magnesium, aluminum, or a combination of both.
1. What is an anode rod?
An anode rod is a sacrificial metal rod that is inserted into the water heater tank. It attracts corrosive elements in the water, such as minerals and impurities, which would otherwise corrode the tank. The anode rod corrodes over time, sacrificing itself to protect the tank from corrosion.
2. How does an anode rod work?
When water flows into the tank, the anode rod attracts the corrosive elements, preventing them from attacking the tank’s steel lining. As the anode rod corrodes, it releases electrons that neutralize the corrosive elements, effectively preventing the tank from rusting or corroding.
3. What are the different types of anode rods available in the market?
There are three main types of anode rods available in the market: magnesium, aluminum, and combination (magnesium-aluminum) rods. Each type has its own advantages and suitability depending on the water conditions and the type of water heater.
| Type | Advantages |
|---|---|
| Magnesium Rods | Highly effective in areas with soft water and low mineral content. |
| Aluminum Rods | Recommended for areas with hard water and high mineral content. |
| Combination Rods (Magnesium-Aluminum) | Offers a balance between the effectiveness of magnesium and durability of aluminum. |
Indispensable to choose the right type of anode rod based on the water conditions in your area to ensure optimal protection for your water heater tank.
Signs of a Worn-out Anode Rod
1. How can you tell if your anode rod needs replacement?
If you notice any of the following signs, it may be time to replace your anode rod:
- Corrosion: Excessive corrosion on the anode rod indicates that it has been protecting your water heater and needs to be replaced.
- Rust-colored water: If your tap water has a rusty color, it could be a sign that your anode rod is no longer functioning effectively.
- Strange odor: A foul smell coming from your hot water could indicate a deteriorating anode rod.
- Noise: If you hear loud popping or rumbling noises coming from your water heater, it could be due to a worn-out anode rod.
2. What are the consequences of not replacing a worn-out anode rod?
Not replacing a worn-out anode rod can lead to several issues:
- Reduced lifespan of the water heater: Without a functioning anode rod, the tank of your water heater is more susceptible to corrosion, which can significantly shorten its lifespan.
- Increased energy consumption: Corrosion in the tank can reduce the efficiency of the water heater, leading to higher energy bills.
- Poor water quality: A deteriorating anode rod can result in rusty or discolored water, affecting the taste and quality of your tap water.
- Expensive repairs: Ignoring a worn-out anode rod can eventually lead to leaks or even tank failure, requiring expensive repairs or replacement.
Replacing your anode rod when necessary is crucial to ensure the longevity and efficiency of your water heater. Don’t overlook the signs of a worn-out anode rod; take prompt action to maintain a reliable and properly functioning water heating system.
Preparing for DIY Anode Rod Replacement
Replacing the anode rod in your water heater is a crucial maintenance task that helps extend the lifespan of your heater and prevent corrosion. To successfully complete this DIY project, you will need the following tools and equipment:
1. Tools and Equipment:
- Adjustable Wrench: This versatile tool will be used to loosen and tighten various connections.
- Ratchet Wrench: A ratchet wrench with the appropriate socket size will make removing the anode rod easier.
- Teflon Tape: This tape will help create a watertight seal when reassembling the connections.
- Bucket: You’ll need a bucket to catch any water that may drain from the tank.
- Rag or Towel: Keep a rag or towel handy to wipe up any spills or leaks.
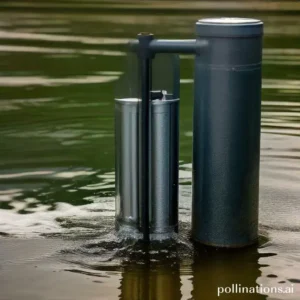
2. Turning off the Water Heater and Draining the Tank:
Prior to replacing the anode rod, it is essential to turn off the water heater and drain the tank. Follow these steps:
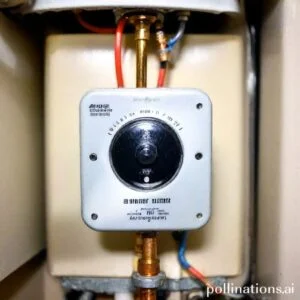
- Shut off the Power: Locate the circuit breaker or switch that controls the power to the water heater and turn it off.
- Turn off the Water Supply: Locate the water supply valve connected to the water heater and turn it off. This valve is typically located above the heater.
- Attach a Hose: Connect a garden hose to the drain valve at the bottom of the tank and place the other end in a suitable drainage area, such as a floor drain or outside.
- Open the Drain Valve: Open the drain valve to allow the water to flow out of the tank. Be cautious as the water may be hot.
- Allow the Tank to Drain: Let the tank drain completely before proceeding with the anode rod replacement.
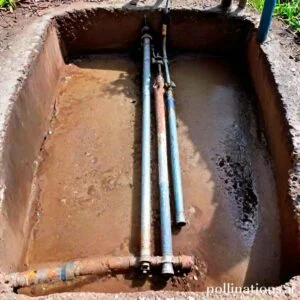
3. Removing the Old Anode Rod:
Once the tank is drained, you can proceed with removing the old anode rod. Follow these steps:
- Locate the Anode Rod: The anode rod is usually located on top of the water heater and can be accessed by removing the hot water outlet connection.
- Loosen and Remove: Use an adjustable wrench or ratchet wrench to loosen and remove the anode rod. Turn it counterclockwise to loosen it from the tank.
- Inspect the Rod: Take a moment to inspect the old anode rod for signs of corrosion or wear. If it is heavily corroded, it is a good indication that it was doing its job of protecting the tank.

Installing a New Anode Rod
As for maintaining your water heater, one essential task is installing a new anode rod. This crucial component plays a vital role in preventing corrosion and extending the lifespan of your heater. In this guide, we will walk you through the process of choosing the right replacement anode rod, installing it correctly, and refilling the tank to ensure optimal performance.
1. Choosing the Right Replacement Anode Rod
Before diving into the installation process, it’s important to select the appropriate anode rod for your water heater. Consider factors such as the type of water you have and the material of the existing rod. By choosing the right replacement, you can ensure maximum protection against corrosion and extend the life of your heater.
2. Installing the New Anode Rod
Once you have the right replacement rod, it’s time to install it in your water heater. Start by turning off the power supply and shutting off the water valve. Drain the tank partially to relieve pressure and access the anode rod. Remove the old rod by unscrewing it and replace it with the new one. Make sure to tighten it securely to avoid any leaks. Follow the manufacturer’s instructions for specific installation guidelines.
3. Refilling the Tank and Turning on the Water Heater
After successfully installing the new anode rod, it’s time to refill the tank and turn on the water heater. Close the drain valve and open the water valve to allow the tank to fill up. Check for any leaks and ensure all connections are secure. Once the tank is filled, turn on the power supply and follow the manufacturer’s instructions to restart the water heater. Allow the water to heat up to the desired temperature before using it.
| Topic | Subtopics |
|---|---|
| Installing a New Anode Rod |
|

Flushing the Water Heater
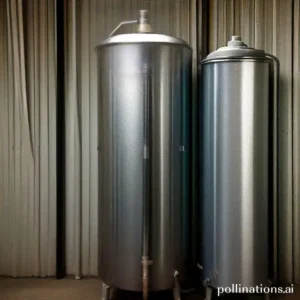
Flushing the water heater is an essential maintenance task that should not be overlooked. It helps to ensure the longevity and efficiency of your water heater, saving you money in the long run.
1. Why is it important to flush the water heater?
Flushing the water heater removes sediment and mineral buildup that can accumulate over time. This buildup can reduce the efficiency of the heater, leading to higher energy bills. It can also cause damage to the heating elements and other components, resulting in costly repairs or even the need for a replacement.
2. How do you flush the water heater?
Flushing the water heater is a relatively simple process that can be done by upholding these steps:
- Turn off the power supply to the water heater.
- Attach a hose to the drain valve at the bottom of the heater and place the other end in a drain or bucket.
- Open the drain valve and allow the water to flow out. Be careful as the water may be hot.
- Once the water runs clear, close the drain valve and remove the hose.
- Turn on the cold water supply to the heater to refill it.
- Finally, turn on the power supply to the water heater.
3. How often should you flush the water heater?
The frequency of flushing the water heater depends on various factors, such as the hardness of the water and the usage of the heater. In general, it is recommended to flush the heater at least once a year. Albeit, if you notice any signs of sediment buildup or reduced performance, it is advisable to flush it more frequently.
Flushing your water heater regularly not only ensures its efficient operation but also extends its lifespan. By complying with the simple steps outlined above, you can maintain a well-functioning water heater and avoid unnecessary expenses in the future.
Bottom Line
Replacing the anode rod during a water heater flush is a simple DIY task that can extend the life of your water heater and save you money in the long run. By observing the proper steps and using the right tools, you can easily remove the old anode rod and install a new one in just a few hours. Regular maintenance of your water heater, including anode rod replacement, can prevent corrosion and ensure that your water heater operates efficiently. Don’t wait until your water heater fails to take action. With a little effort, you can keep your water heater in top condition and enjoy hot water for years to come.
Remember to turn off the power and water supply before starting the process and to consult the manufacturer’s instructions for specific guidance. If you’re not comfortable with DIY projects, consider hiring a professional plumber to perform the anode rod replacement and water heater flush. With proper care and maintenance, your water heater can provide reliable hot water for your home for many years.
Read More:
1. Diy Anode Rod Replacement In Apartments
2. Anode Rod Replacement Impact On Water Heater Warranty