Learn how to inspect the anode rod in your water heater with these DIY tips. By regularly checking the condition of your anode rod, you can ensure the longevity and efficiency of your water heater.
We’ll guide you through the process, providing step-by-step instructions and highlighting key signs of wear and tear to look out for. Don’t let a faulty anode rod lead to costly repairs or a shortened lifespan for your water heater.
Take control of maintenance and keep your water heater running smoothly.
Signs That Your Anode Rod Needs Inspection
Rusty or Discolored Water
If you notice that the water coming out of your faucets is rusty or has a strange discoloration, it may be a sign that your anode rod needs inspection. The anode rod is a crucial component of your water heater that prevents corrosion by attracting minerals and impurities. Over time, the anode rod can become depleted and unable to perform its function effectively. As a result, rust and sediments may start to accumulate in your water, causing the discoloration.
It’s essential to address this issue promptly to prevent further damage to your water heater and ensure the quality of your water. Contact a professional plumber to inspect and replace the anode rod if necessary.
Strange Smell from Your Water Heater
If you detect a foul odor coming from your water heater, it could be a sign that your anode rod needs inspection. Bacteria can thrive in the warm environment of the water heater, especially when the anode rod is deteriorating. These bacteria produce hydrogen sulfide gas, which has a distinct rotten egg smell.
Regularly inspecting and replacing the anode rod can help eliminate the bacteria and the unpleasant odor. A professional plumber can assist you in identifying the cause of the smell and recommend appropriate solutions.
Noisy Water Heater
If your water heater starts making unusual noises, such as popping or banging sounds, it may be an indication that the anode rod needs inspection. As the anode rod deteriorates, it can lead to sediment buildup at the bottom of the tank. This sediment can cause the water heater to make loud noises when it heats the water.
Having the anode rod inspected and replaced as needed can prevent further sediment accumulation and reduce the noise coming from your water heater. Consult a professional plumber for a thorough examination and maintenance.
Leaks or Moisture Around the Water Heater
Visible leaks or moisture around your water heater can be a sign of a deteriorating anode rod. When the anode rod is no longer functioning correctly, corrosion can occur within the tank, leading to leaks or moisture accumulation.
Addressing this issue promptly is crucial to prevent water damage and potential structural problems. Contact a professional plumber to assess the condition of your anode rod and perform any necessary repairs or replacements.
| Signs of Anode Rod Issues |
|---|
| Rusty or Discolored Water |
| Strange Smell from Your Water Heater |
| Noisy Water Heater |
| Leaks or Moisture Around the Water Heater |
DIY Anode Rod Inspection Tips
Regularly inspecting the anode rod in your water heater is essential for maintaining its efficiency and prolonging its lifespan. Follow these simple steps to ensure your anode rod is in good condition:
1. Turn Off the Power or Gas Supply to Your Water Heater
Before beginning the inspection, it’s crucial to turn off the power or gas supply to your water heater. This step ensures your safety and prevents any accidents during the inspection process.
2. Locate the Anode Rod
The anode rod is typically located on top of your water heater. It can be accessed by removing the cover or cap that protects it. Take your time to locate the anode rod before proceeding to the next step.
3. Inspect the Anode Rod for Wear and Tear
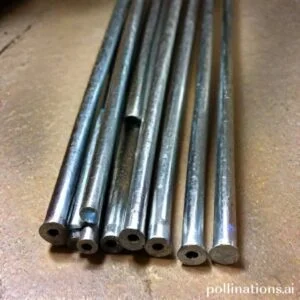
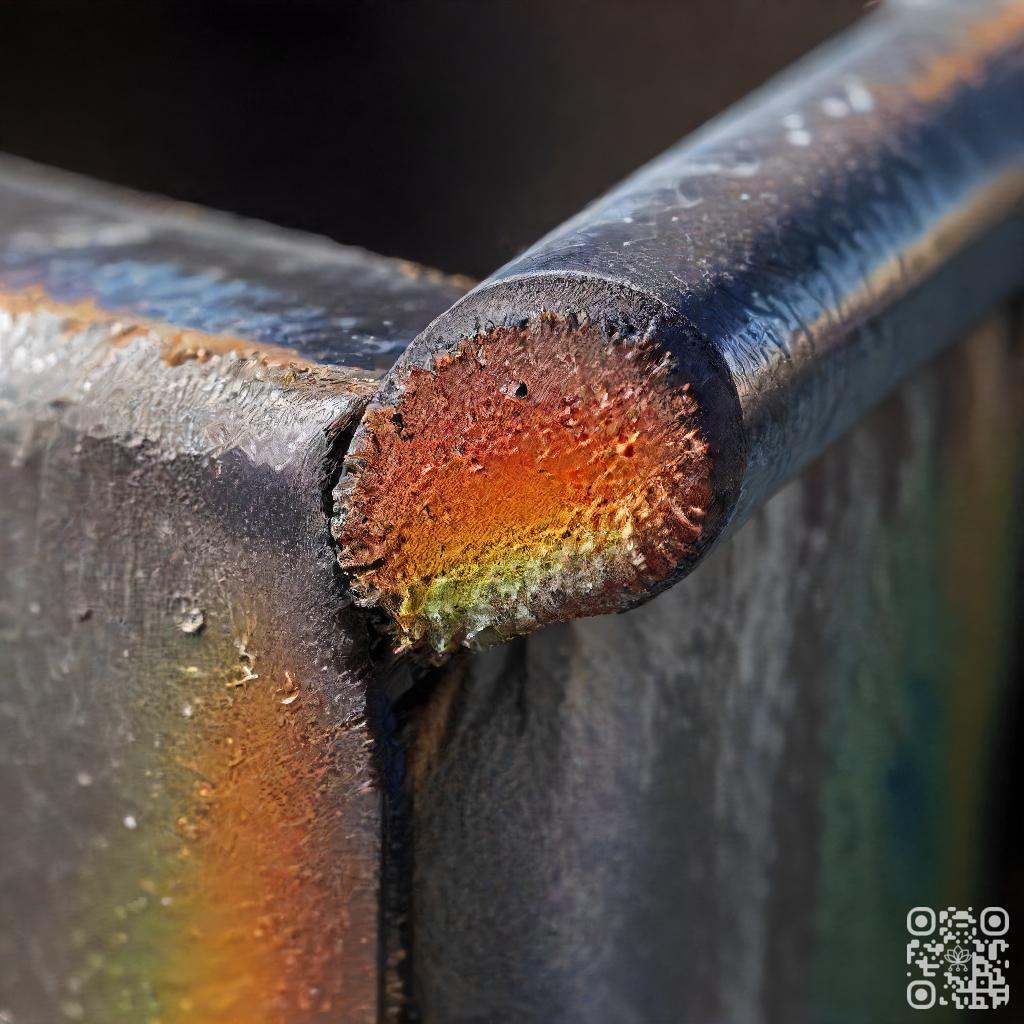
Once you have located the anode rod, carefully inspect it for any signs of wear and tear. Look for rust, corrosion, or any visible damage to the rod. If you notice significant deterioration, it’s a clear indication that the anode rod needs to be replaced.
4. Check the Thickness of the Remaining Anode Material
Using a measuring tape or ruler, measure the thickness of the remaining anode material. Ideally, the anode rod should have at least 1/2 inch of material left. If the remaining material is less than that, it’s time to replace the anode rod.
5. Replace the Anode Rod if Necessary
If your inspection reveals that the anode rod is worn out or has less than 1/2 inch of material left, it’s crucial to replace it promptly. A new anode rod will ensure that your water heater continues to function optimally and protects the tank from corrosion.
Tools You Need for Anode Rod Inspection
Regular inspection and maintenance of the anode rod in your water heater is essential to ensure its longevity and efficiency. To carry out this task effectively, you will need the following tools:
1. Wrench or Socket Set
A wrench or socket set is necessary to safely remove the anode rod from your water heater. This tool will allow you to loosen and unscrew the rod without causing any damage to the surrounding components.
2. Teflon Tape
Teflon tape, also known as plumber’s tape, is a crucial tool for resealing the anode rod threads after inspection. Applying Teflon tape ensures a watertight seal and prevents any leaks or corrosion from occurring.
3. Wire Brush
A wire brush is essential for cleaning the anode rod before inspection. Over time, mineral deposits and sediment can accumulate on the rod, affecting its performance. Using a wire brush, you can remove these deposits and restore the rod’s effectiveness.
4. Flashlight
A flashlight is necessary for illuminating the area around the water heater, allowing you to see the anode rod clearly. This tool enables you to inspect the rod for any signs of wear, corrosion, or damage that may require immediate attention.

How Often Should You Inspect Your Anode Rod?
An anode rod plays a crucial role in extending the lifespan of your water heater by preventing corrosion. Regular inspection of your anode rod is essential to ensure its effectiveness. Let’s probe how often you should inspect your anode rod based on water quality and recommendations by water heater manufacturers.
1. Frequency of Inspection Based on Water Quality
The frequency of anode rod inspection depends on the quality of water in your area. If you have hard water, which contains a high mineral content, the anode rod is more likely to corrode faster. In such cases, it is recommended to inspect the anode rod every six months to a year.
Contrarily, if you have soft water, which has a low mineral content, the anode rod may last longer before requiring inspection. You can opt to inspect the anode rod every two to three years if you have soft water.
2. Recommendations by Water Heater Manufacturers
Water heater manufacturers often provide specific guidelines regarding anode rod inspection. Vital to consult the manufacturer’s manual or website for their recommendations based on the model and type of water heater you own.
Some manufacturers suggest inspecting the anode rod annually regardless of water quality, in the course of others may recommend inspection every two years. Following the manufacturer’s recommendations will help ensure optimal performance and longevity of your water heater.
| Water Quality | Inspection Frequency |
|---|---|
| Hard water | Every 6 months to 1 year |
| Soft water | Every 2 to 3 years |

Benefits of Regular Anode Rod Inspection and Replacement
The regular inspection and replacement of the anode rod in your water heater can provide several key benefits to optimize its performance and longevity. By discerning the importance of this maintenance task, you can ensure your water heater operates at its optimal level and enjoy the following advantages:
1. Prolonged Life of the Water Heater
Regularly inspecting and replacing the anode rod helps to prevent corrosion within the water heater tank. The anode rod sacrifices itself by attracting corrosive elements, thus protecting the inner lining of the tank. By replacing the anode rod when necessary, you can extend the lifespan of your water heater, avoiding costly repairs or premature replacement.
2. Improved Efficiency of the Water Heater
A corroded anode rod can reduce the efficiency of your water heater by allowing sediment buildup and mineral deposits to accumulate in the tank. This can lead to decreased heating performance and a higher energy consumption. Regular inspection and replacement of the anode rod ensure optimal heat transfer and efficiency, resulting in faster heating times and lower energy bills.
3. Cost Savings on Energy Bills
| Benefit | Description |
|---|---|
| Prolonged Life of the Water Heater | Regular inspection and replacement of the anode rod protect the tank from corrosion, extending the water heater’s lifespan. |
| Improved Efficiency of the Water Heater | By preventing sediment buildup and mineral deposits, a functioning anode rod ensures optimal heat transfer and faster heating times. |
| Cost Savings on Energy Bills | A properly maintained anode rod reduces energy consumption, resulting in lower monthly utility expenses. |
Bottom Line
Regular inspection of the anode rod in your water heater is crucial to ensure its longevity and efficiency. DIY inspection can be done easily with the right tools and knowledge. Look for signs of corrosion, wear and tear, and replace the anode rod if necessary. It is recommended to inspect the anode rod every 2-3 years, or more frequently if you have hard water or use your water heater frequently. Neglecting to inspect and replace the anode rod can lead to costly repairs or even the need for a new water heater. By conforming to these DIY tips, you can save money and extend the life of your water heater.
Remember, prevention is key in regard to maintaining your water heater. Regular inspection and maintenance can save you time, money, and hassle in the long run. Don’t wait until it’s too late, take the necessary steps to ensure your water heater is functioning properly and efficiently.
Read More:
1. Where Is The Anode Rod Located In Water Heater?
2. Best Materials For Water Heater Anode Rods?
