II. Regular maintenance of anode rods is necessary during water heater flushes to ensure their effectiveness in preventing corrosion.
III. Proper maintenance of anode rods can save homeowners money in the long run by avoiding costly repairs or premature replacement of the water heater.
Anode rod maintenance is a crucial step to take during a water heater flush. By regularly checking and replacing the anode rod, you can extend the lifespan of your water heater and prevent costly repairs.
The anode rod is designed to attract corrosion and protect the inside of the tank, sacrificing itself in the process. Without proper maintenance, the anode rod can deteriorate, leaving your water heater vulnerable to rust and sediment buildup.
By prioritizing anode rod maintenance, you can ensure that your water heater continues to provide reliable hot water for years to come.
What is an anode rod?
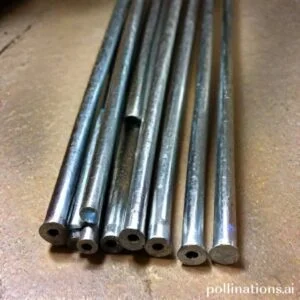
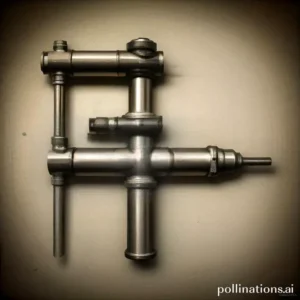
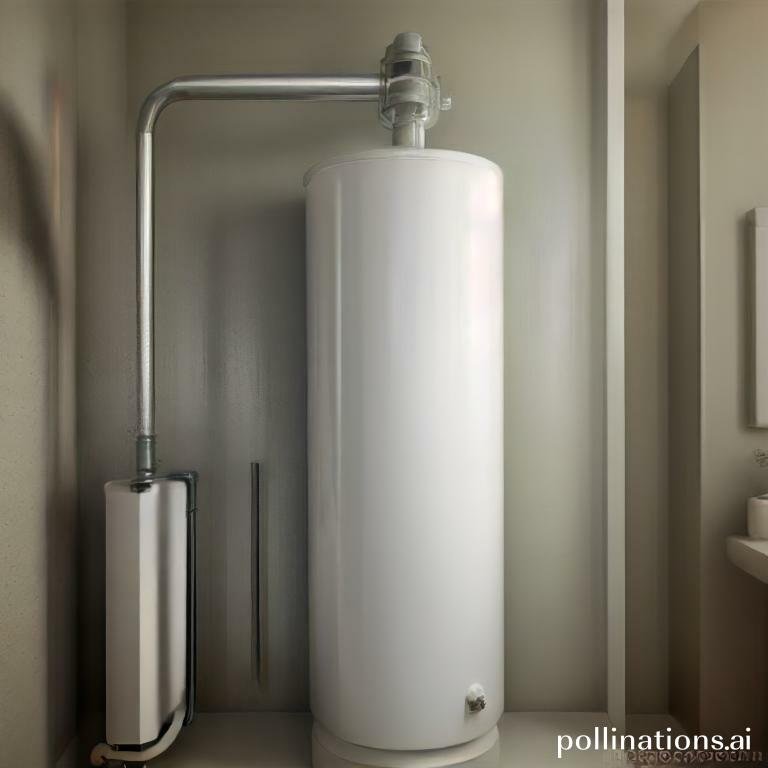
An anode rod is an essential component of a water heater that helps prevent corrosion and extends the lifespan of the tank. It is a long metal rod typically made of magnesium, aluminum, or zinc. The anode rod attracts corrosive elements in the water, sacrificing itself to protect the water heater from rust and deterioration.
Definition and purpose of anode rod
The primary purpose of an anode rod is to prevent the tank from rusting. When water is heated, it releases minerals and impurities that can cause corrosion within the tank. The anode rod attracts these corrosive elements, allowing them to corrode the rod instead of the tank. By sacrificing itself, the anode rod extends the lifespan of the water heater and helps maintain its efficiency.
Types of anode rods
There are three common types of anode rods: magnesium, aluminum, and zinc. Each type has its own advantages and is suitable for different water conditions.
Magnesium anode rods: These are the most common type of anode rods. They provide excellent protection against corrosion and are suitable for areas with soft water.
Aluminum anode rods: Aluminum anode rods are lightweight and cost-effective. They are commonly used in areas with hard water.
Zinc anode rods: Zinc anode rods are designed specifically for areas with water that has a high sulfur content. They help reduce the unpleasant odor caused by sulfur in the water.
How anode rod works in a water heater
When the water heater is filled with water, the anode rod is submerged in the tank. As the water heats up, the anode rod attracts corrosive elements such as calcium, magnesium, and iron ions. These ions react with the anode rod instead of the tank, preventing rust and corrosion. Over time, the anode rod may become depleted and need to be replaced to ensure continued protection.
Signs of a deteriorating anode rod
An anode rod plays a crucial role in protecting your water heater from corrosion. Over time, in contrast, this vital component can deteriorate, compromising the overall efficiency and lifespan of your heater. By being aware of the signs of a failing anode rod and conducting regular inspections, you can ensure the proper functioning of your water heater.
Common signs of a failing anode rod
- Rusty or discolored water: If you notice rusty or discolored water coming from your taps, it could be a sign that your anode rod is deteriorating. This discoloration is caused by the presence of iron oxide, indicating corrosion within your water heater.
- Strange odors: A deteriorating anode rod can produce a foul smell in your water. If you detect a rotten egg-like odor, it could be due to the presence of sulfur bacteria, which thrive in a corroded water heater.
- Noisy operation: As an anode rod deteriorates, it can lead to sediment buildup within your water heater. This sediment can cause rumbling or popping noises during operation, indicating the need for an inspection.
Importance of regular inspection of anode rod
Regular inspections of your anode rod are essential to prevent further damage to your water heater. By identifying signs of deterioration early on, you can take prompt action to replace the anode rod and extend the lifespan of your heater. Neglecting regular inspections can result in costly repairs or even the need for a new water heater.
How to check the condition of anode rod
Checking the condition of your anode rod is a simple process that can be done by obeying these steps:
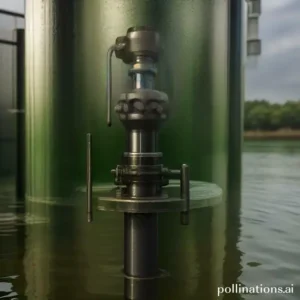
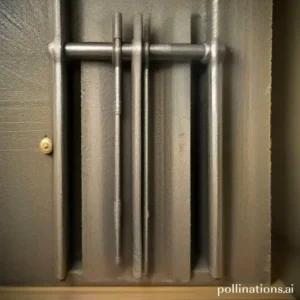
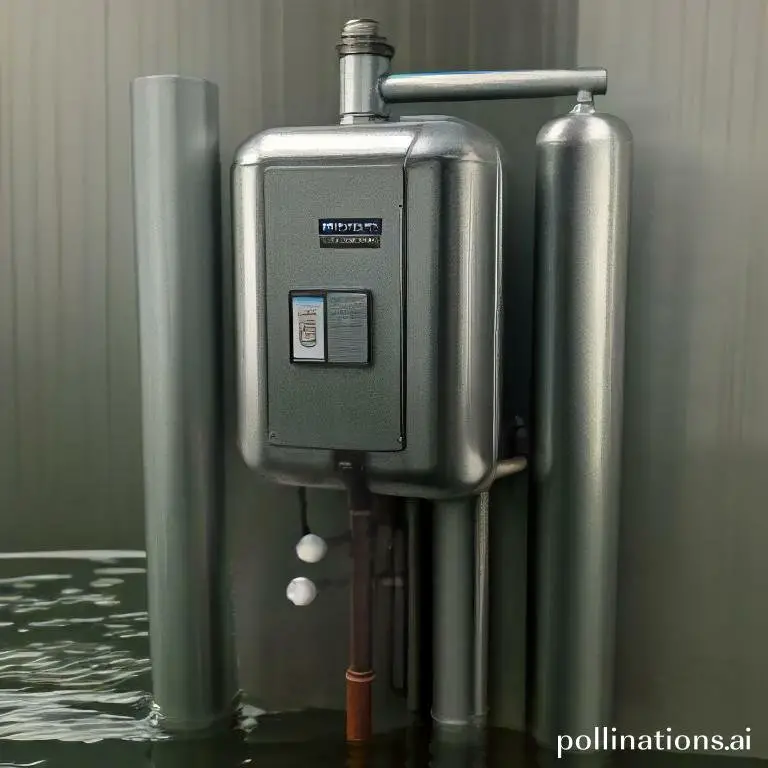
- Locate the anode rod: The anode rod is usually located at the top of your water heater, accessible through a port or opening.
- Inspect the rod: Carefully examine the anode rod for any signs of corrosion or deterioration. Look for rust, pitting, or any significant reduction in size.
- Measure the remaining anode: Using a tape measure, determine the remaining length of the anode rod. If it is less than 0.5 inches, it is time for a replacement.
Regularly checking the condition of your anode rod and replacing it when necessary will ensure the continued efficiency and longevity of your water heater. Don’t overlook this important maintenance task, as it can save you from costly repairs and inconvenience in the future.
How to Replace an Anode Rod
Steps to Replace An Anode Rod
Replacing an anode rod is an important maintenance task for your water heater. Follow these steps to ensure a smooth and effective replacement process: 1. Turn off the power and water supply: Before beginning the replacement, make sure to turn off the power to the water heater and shut off the water supply. 2. Drain the water heater: Connect a garden hose to the drain valve of the water heater and open the valve to drain the water from the tank. This will prevent any water from spilling during the replacement. 3. Locate the anode rod: The anode rod is typically located on top of the water heater and is connected to the hot water outlet. Remove any insulation or covers that may be hiding the rod. 4. Loosen the anode rod: Use a wrench or socket to loosen the anode rod. Turn it counterclockwise to remove it from the tank. Be careful not to damage the threads or the tank itself. 5. Replace the anode rod: Take the new anode rod and apply plumber’s tape to the threads to ensure a secure seal. Insert the rod into the tank and tighten it clockwise until it is snug. 6. Refill the water heater: Close the drain valve and turn on the water supply to fill the tank. Check for any leaks around the anode rod connection.Tools Required for An Anode Rod Replacement
To successfully replace an anode rod, you will need the following tools: – Adjustable wrench or socket set: This will be used to loosen and tighten the anode rod. – Garden hose: Used to drain the water from the tank. – Plumber’s tape: Helps create a tight seal between the new anode rod and the tank.Precautions to Take During An Anode Rod Replacement
During replacing an anode rod, it’s important to keep the following precautions in mind: – Turn off the power: Make sure to turn off the power to the water heater to avoid any electrical hazards. – Shut off the water supply: Before draining the water heater, shut off the water supply to prevent any water from flowing into the tank. – Use caution when draining the tank: Hot water can cause burns, so be careful when draining the water heater and avoid direct contact with the water. – Follow manufacturer instructions: Different water heaters may have specific instructions for anode rod replacement, so consult the manufacturer’s manual for guidance. Replacing the anode rod in your water heater is a crucial maintenance task that helps prolong the life of your appliance. By abiding by these steps and taking the necessary precautions, you can ensure that your water heater continues to function effectively. Remember to consult a professional if you are unsure or uncomfortable with the replacement process.
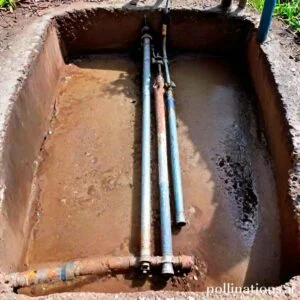
How to Flush a Water Heater
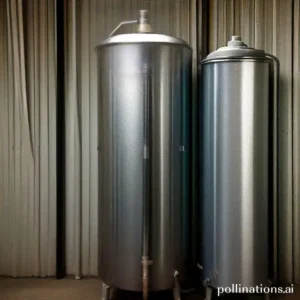
Flushing a water heater is an essential maintenance task that helps to prolong its lifespan and ensure efficient operation. By removing sediment and mineral buildup, you can prevent clogs, improve heating performance, and avoid costly repairs. Follow these simple steps to flush your water heater and keep it in optimal condition.
Importance of Water Heater Flush
Regularly flushing your water heater is crucial for several reasons. Over time, sediment and minerals accumulate at the bottom of the tank, reducing its efficiency and potentially causing damage. By flushing the tank, you can remove these deposits and prevent issues such as reduced hot water flow, increased energy consumption, and even tank corrosion. Flushing also helps to maintain water quality, ensuring that you have clean and safe hot water for your daily needs.
Steps to Flush a Water Heater
Flushing a water heater is a straightforward process that you can easily do yourself. Here are the steps involved:
- Turn off the power supply: Before you begin, switch off the power supply to the water heater. This can usually be done by flipping the corresponding circuit breaker in your electrical panel.
- Turn off the water supply: Locate the cold water supply valve on the top of the water heater and turn it off.
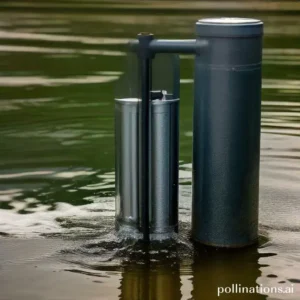
- Attach a hose: Connect a garden hose to the drain valve at the bottom of the tank. Ensure that the other end of the hose is positioned in a suitable draining area, such as a floor drain or outside.
- Open the valve: Open the drain valve and allow the water to flow out of the tank. Be careful as the water may be hot.
- Flush the tank: Let the water flow until it runs clear, indicating that the sediment and debris have been flushed out of the tank.
- Close the valve and refill: Close the drain valve, disconnect the hose, and turn on the cold water supply valve to refill the tank.
- Turn on the power supply: Once the tank is full, switch on the power supply to the water heater.
Tools Required for Water Heater Flush
To successfully flush your water heater, you will need the following tools:
- Garden hose: A garden hose will be used to drain the water from the tank.
- Adjustable wrench: An adjustable wrench is necessary to open and close the drain valve.
- Bucket or drain pan: You may need a bucket or drain pan to collect the initial water flow and any debris that comes out during the flush.
| Step | Description |
|---|---|
| 1 | Turn off the power supply |
| 2 | Turn off the water supply |
| 3 | Attach a hose |
| 4 | Open the valve |
| 5 | Flush the tank |
| 6 | Close the valve and refill |
| 7 | Turn on the power supply |
Anode Rod Maintenance During Water Heater Flush
The maintenance of the anode rod is crucial during a water heater flush to ensure the longevity and efficiency of your water heating system. By properly maintaining the anode rod, you can prevent the accumulation of sediment and corrosion within the tank, ultimately extending the lifespan of your water heater.
Importance of Anode Rod Maintenance During Water Heater Flush
The anode rod plays a vital role in protecting the inner lining of the water heater tank. It is made of a sacrificial metal that attracts corrosive elements, such as rust and minerals, which would otherwise attack the tank. Regular maintenance of the anode rod helps prevent these elements from damaging the tank and compromising the performance of your water heater.
Steps to Maintain Anode Rod During Water Heater Flush
- Turn off the power supply to the water heater and allow it to cool down.
- Locate the anode rod’s access point on top of the water heater.
- Use a wrench to loosen and remove the anode rod from the tank.
- Inspect the anode rod for signs of corrosion or deterioration. If necessary, replace it with a new one.
- Flush the water heater tank to remove any sediment or debris.
- Reinstall the anode rod and tighten it securely.
- Turn on the power supply to the water heater and monitor its performance.
Precautions to Take During Anode Rod Maintenance
- Always follow the manufacturer’s instructions for your specific water heater model.
- Ensure that the power supply to the water heater is turned off before conducting any maintenance.
- Use caution when removing and reinstalling the anode rod to avoid damaging the tank or causing leaks.
- Regularly check the condition of the anode rod and replace it if necessary to maintain optimal performance.
| Anode Rod Maintenance Tips | Benefits |
|---|---|
| Regular inspection and replacement | Prevents tank corrosion |
| Thorough flushing of the tank | Removes sediment and debris |
| Following manufacturer’s instructions | Ensures proper maintenance |
Bottom Line
Regular maintenance of the anode rod is crucial for the longevity and efficiency of your water heater. Flushing the tank annually and replacing the anode rod every 3-5 years can prevent corrosion and extend the life of your water heater. Neglecting anode rod maintenance can lead to costly repairs or even the need for a new water heater. Essential to consult the manufacturer’s instructions and seek professional help if necessary. By taking care of your anode rod, you can ensure that your water heater continues to provide hot water for your household needs.
Remember, prevention is always better than cure. So, don’t wait until your water heater breaks down to take action. Make anode rod maintenance a part of your routine and enjoy the benefits of a well-functioning water heater for years to come.
Read More:
1. Diy Testing The Effectiveness Of Anode Rod
2. Importance Of Regular Anode Rod Inspections