II. To drain a water heater, turn off the power or gas supply, connect a hose to the drain valve, and run the other end of the hose to a safe drainage location.
III. Open the drain valve and allow the water to flow out until it runs clear, then close the valve and refill the tank before restoring power or gas supply.
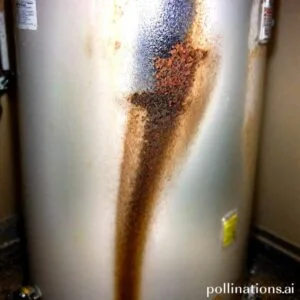
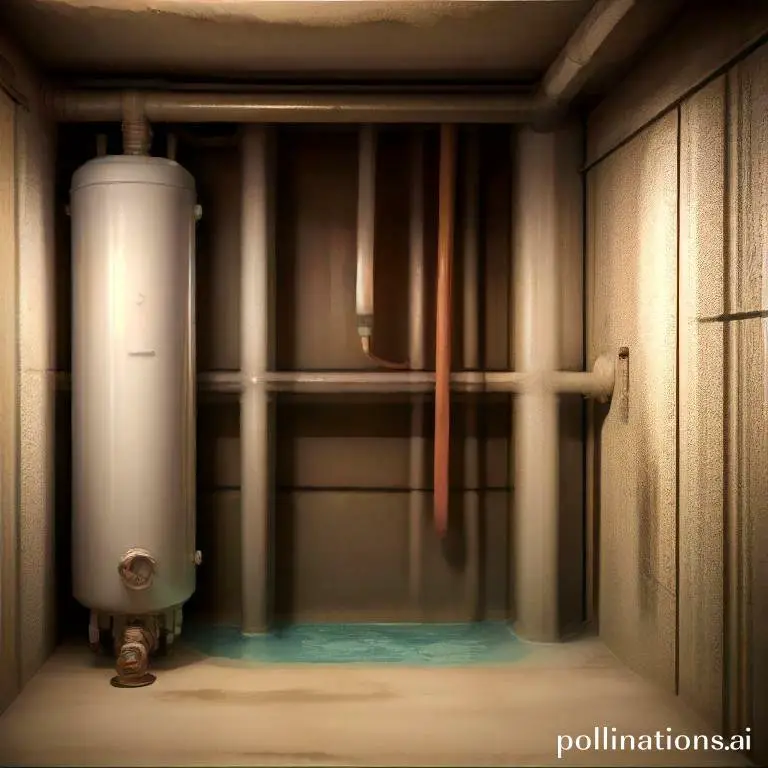
In order to maintain the efficiency and prolong the lifespan of your water heater, it is crucial to regularly drain it to remove sediment buildup. Sediment, such as minerals and debris, can accumulate at the bottom of the tank over time, leading to reduced performance and potential damage.
By draining the water heater, you can ensure that it continues to operate effectively and efficiently. In this guide, we will outline the step-by-step process of draining a water heater, providing you with the necessary information to successfully remove sediment and maintain your water heater’s performance.
Turn off the Power and Water Supply
Relating to performing any electrical or plumbing work, it is crucial to ensure your safety by turning off the power and water supply. Follow these steps to properly shut off the power and water supply:
1. Shut off the power supply
To avoid any potential electrical hazards, locate the main electrical panel in your home. This panel is usually found in the basement, garage, or utility room. Open the panel door and look for the main circuit breaker. Flip the switch to the “Off” position to cut off the power supply to your entire house. This will ensure that there is no electricity flowing through the wires whilst you work.
2. Turn off the water supply valve
To prevent any water leaks or flooding, you need to locate the water supply valve. The main water shut-off valve is typically located near the water meter, in the basement, or outside your home. Once you’ve identified the valve, turn it clockwise (to the right) to close it and stop the water flow. This will prevent any water from entering your plumbing system meanwhile you perform maintenance or repairs.
Remember to exercise caution when working with electricity and plumbing. If you are unsure about any aspect of shutting off the power or water supply, it is always best to consult a professional. By taking these necessary precautions, you can ensure a safe and successful project.
| Step | Description |
|---|---|
| 1 | Shut off the power supply |
| 2 | Turn off the water supply valve |
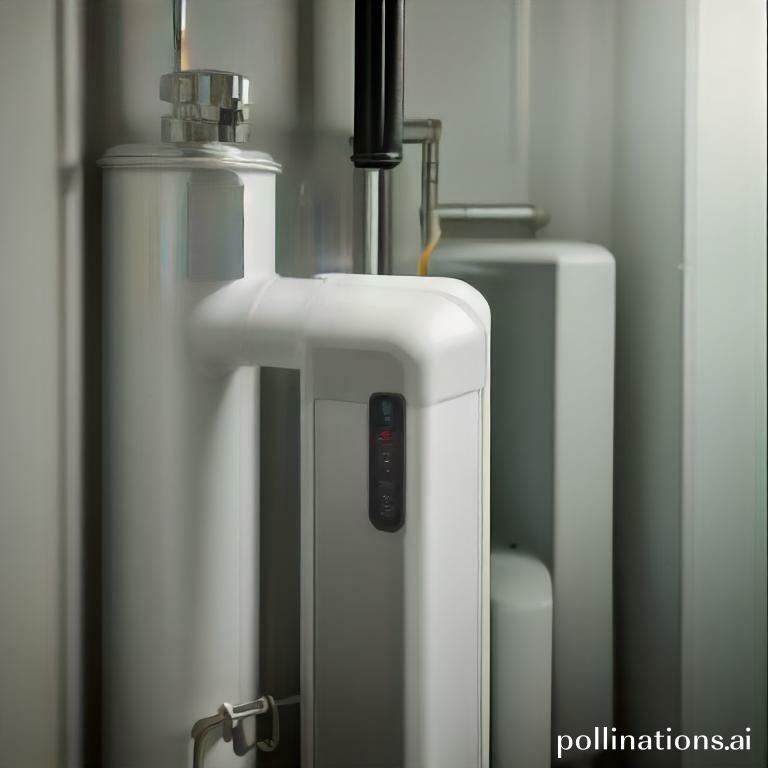
Connect a Hose to Drain Valve
Pertaining to maintaining your equipment, it’s essential to know how to properly connect a hose to the drain valve. This simple task can prevent any potential leaks or damage, ensuring the longevity of your equipment.
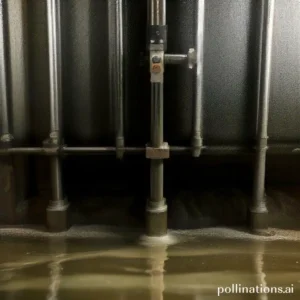
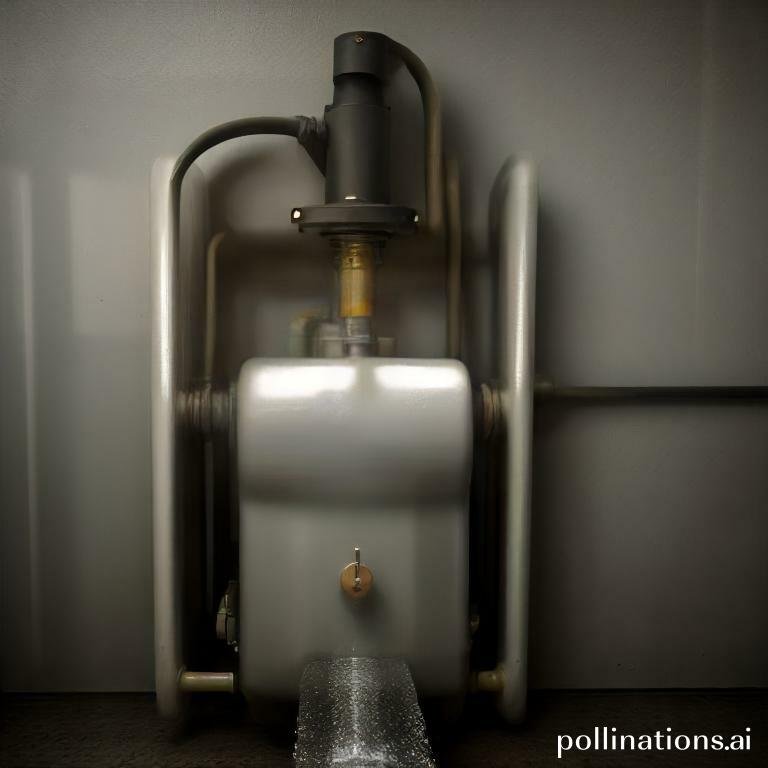
1. Locate the drain valve
The first step in connecting a hose to the drain valve is to locate it. The drain valve is typically located at the bottom of your equipment, near the base. It is designed to allow any accumulated liquid or debris to be safely drained away.
2. Connect a hose to the drain valve
Once you have located the drain valve, it’s time to connect a hose to it. To do this, you will need a hose that is compatible with your equipment’s drain valve. Ensure that the hose is long enough to reach a suitable drainage area.
To connect the hose, simply attach one end of the hose to the drain valve. Make sure it is securely fastened to prevent any leaks. If your drain valve has a threaded connection, ensure that the hose is properly screwed onto the valve.
Once the hose is connected, you can open the drain valve to allow any liquid or debris to flow through the hose and into the drainage area. This will help prevent any build-up or blockages, keeping your equipment in optimal condition.
Remember to monitor the flow of liquid or debris as it drains to ensure that everything is functioning properly. If you notice any issues or leaks, it’s important to address them promptly to prevent any further damage.
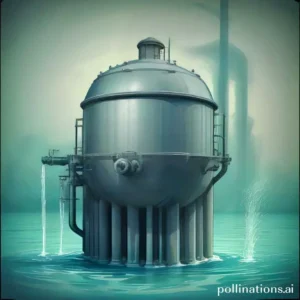
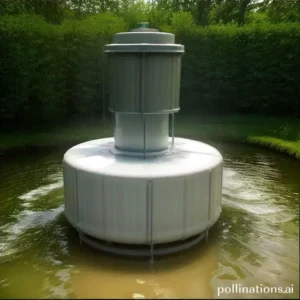
Drain the Water Heater
In the realm of maintaining your water heater, draining it regularly is an essential task. By adhering to these simple steps, you can ensure that your water heater continues to function efficiently and provide you with hot water whenever you need it.
1. Open the drain valve
To begin the draining process, locate the drain valve on your water heater. It is typically located near the bottom of the tank. Carefully open the valve by turning it counterclockwise. Ensure that you have a bucket or a hose ready to collect the water.
2. Let the water flow out
Once you have opened the drain valve, allow the water to flow out of the tank. Be patient as this may take some time depending on the size of your water heater. Indispensable to note that the water will be hot, so exercise caution during handling it.
3. Flush out the sediment
As the water drains out, you may notice sediment or debris coming out with it. This sediment can accumulate at the bottom of the tank over time, affecting the efficiency of your water heater. To flush out the sediment, you can briefly turn on the cold water supply to the tank. This will help carry away any remaining debris.
Refill the Water Heater
In terms of maintaining your water heater, refilling it is an important task that ensures its proper functioning and longevity. In this section, we will guide you through the steps to refill your water heater effectively.
1. Close the Drain Valve
The first step in refilling your water heater is to close the drain valve. This valve is typically located at the bottom of the heater and is used to drain out any remaining water. Closing the drain valve prevents water from escaping during the refill process.
2. Turn on the Water Supply Valve
Next, you need to locate the water supply valve, which is usually found near the top of the heater. Turn the valve counterclockwise to open it and allow water to flow into the tank. This step ensures a steady supply of water for the refill.
3. Let the Water Heater Fill Up
Once the water supply valve is open, you can now let the water heater fill up. It may take some time for the tank to reach its maximum capacity, so be patient. Keep an eye on the water level indicator to ensure that the tank is filling up properly.
| Step | Description |
|---|---|
| 1 | Close the drain valve |
| 2 | Turn on the water supply valve |
| 3 | Let the water heater fill up |
Turn the Power Back On
Touching on restoring power to your home or business, pivotal to follow the proper steps to ensure a safe and efficient process. In this section, we will guide you through the necessary actions to turn the power back on after an outage or maintenance.
1. Turn on the power supply
The first step in restoring power is to locate the power supply and turn it on. This may involve locating the main circuit breaker or electrical panel and flipping the switch to the “on” position. It is crucial to exercise caution and use proper safety measures when handling electrical equipment.
2. Wait for the water to heat up
If you are experiencing a power outage that has affected your water heater, integral to allow sufficient time for the water to heat up once the power is restored. This process may take a few hours depending on the size and efficiency of your water heater. It is recommended to check the temperature periodically to ensure it has reached the desired level.
| Step | Description |
|---|---|
| 1 | Turn on the power supply |
| 2 | Wait for the water to heat up |
Bottom Line
Draining a water heater to remove sediment is an essential maintenance task that can prolong the life of your appliance and improve its efficiency. Sediment buildup can cause a range of problems, from reduced hot water output to corrosion and leaks. By adhering to the proper steps, you can safely and effectively drain your water heater and remove any accumulated sediment. Remember to turn off the power or gas supply, let the water cool down, and attach a hose to the drain valve before opening it. You may need to repeat the process several times to remove all the sediment. Regular maintenance can help you avoid costly repairs and replacements, and ensure that your water heater continues to provide reliable hot water for years to come.
Overall, draining a water heater is a simple but important task that can benefit your home and your wallet. By taking the time to perform this maintenance task, you can prevent sediment buildup, improve your appliance’s performance, and extend its lifespan. If you’re unsure about how to drain your water heater or need assistance, don’t hesitate to contact a professional plumber or HVAC technician for help.
Read More:
1. Can Sediment Damage Water Heater Components?
2. Sediment Vs. Scale In Water Heaters: Differences And Solutions