II. Regular maintenance and inspection of RV water heaters can help prevent leaks from occurring.
III. When leaks do occur, it is important to promptly identify the source and take appropriate measures to repair or replace the affected components.
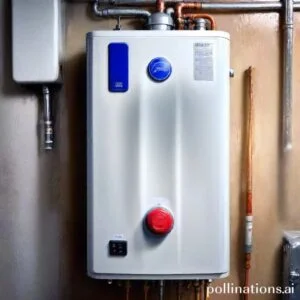
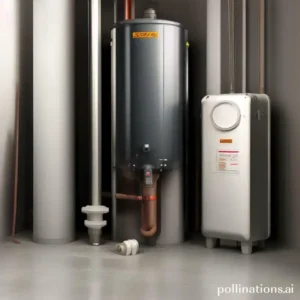
RV water heaters are an essential component of any recreational vehicle, providing hot water for various purposes. Nonetheless, leaks can occur in these water heaters, leading to inefficiency and potential damage.
In this discussion, we will pioneer the causes of leaks in RV water heaters, the potential consequences, and effective solutions to address these issues. By cognizing and addressing leaks in RV water heaters, we can ensure a smooth and enjoyable experience whilst on the road.
Identifying the Source of the Leak
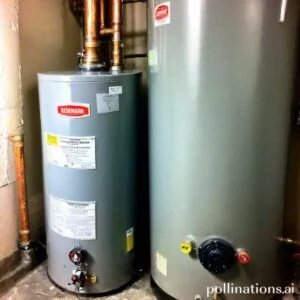
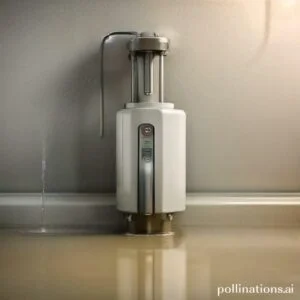
1. Inspecting the Water Heater Tank
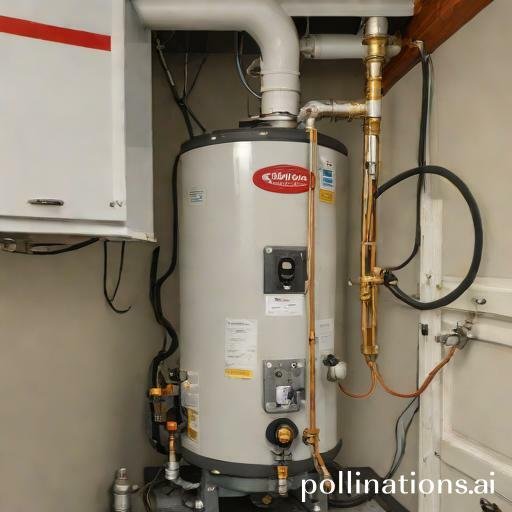
Relating to identifying the source of a leak in your water heater, the first step is to inspect the water heater tank. Look for any visible signs of water around the tank or on the floor below. Check for any cracks or rust spots on the tank itself, as these can be potential sources of leaks.
For example, if you notice water pooling around the base of the tank or a damp area on the floor, it could indicate a leak in the tank. Similarly, if you see any rust spots or corrosion on the tank, it may be a sign that the tank is deteriorating and could spring a leak soon.
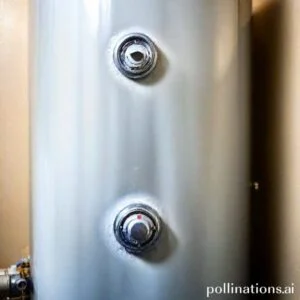
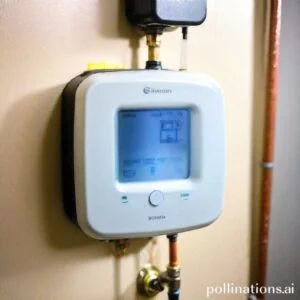
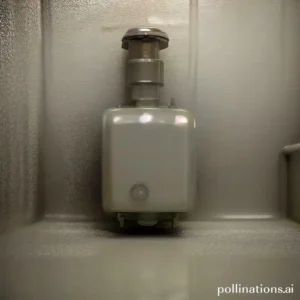
2. Checking the Pressure Relief Valve
The pressure relief valve is another component of the water heater that can be a potential source of leaks. This valve is designed to release excess pressure from the tank to prevent it from bursting. Over time, the valve may become faulty or get clogged, leading to leaks.
Inspect the pressure relief valve for any signs of water drips or leaks. If you notice any water escaping from the valve, it could indicate a problem. Additionally, check if the valve is properly closed and sealed. A loose or faulty valve can also cause leaks.
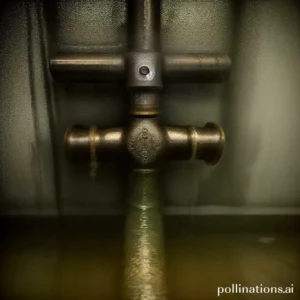
3. Examining the Drain Plug
The drain plug is located at the bottom of the water heater and is used for draining the tank. It is essential to examine this plug for any signs of leaks. Ensure that the plug is tightly sealed and not dripping any water.
If you notice water dripping from the drain plug or any signs of corrosion around it, there may be a leak. In such cases, it is advisable to replace the drain plug to prevent further leakage.
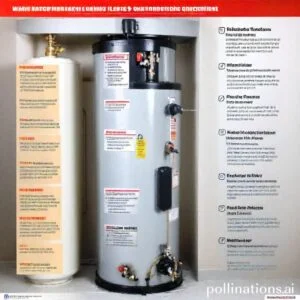
| Component | Potential Signs of Leaks |
|---|---|
| Water Heater Tank | Visible water around the tank, cracks, rust spots |
| Pressure Relief Valve | Water drips or leaks from the valve, loose or faulty valve |
| Drain Plug | Water dripping from the plug, corrosion around the plug |
Repairing leaks in RV water heaters
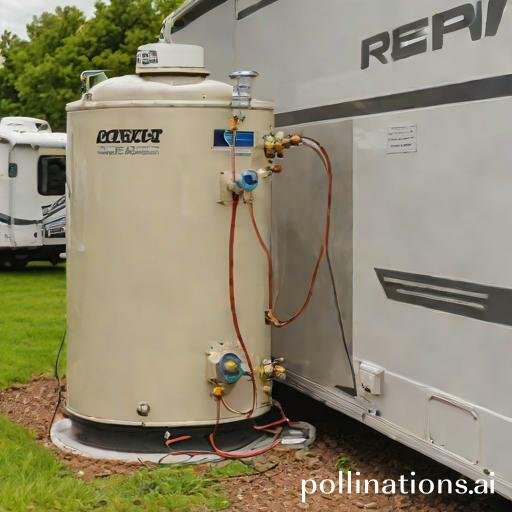
Relating to RV maintenance, one common issue that owners often face is leaks in their water heaters. These leaks can lead to significant damage if not addressed promptly. In this section, we will scrutinize the steps to repair leaks in RV water heaters, ensuring your camping experience remains comfortable and worry-free.
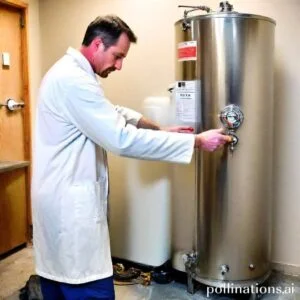
1. Replacing the water heater tank
If you notice a leak in your RV water heater, the first step is to determine if the tank needs to be replaced. Inspect the tank for any visible cracks or signs of damage. If the tank is beyond repair, it is essential to replace it with a new one. Consult your RV manufacturer’s guidelines or seek professional assistance to ensure a proper replacement.
2. Fixing a faulty pressure relief valve
A faulty pressure relief valve can also cause leaks in RV water heaters. This valve is designed to release excess pressure and prevent the tank from bursting. If you suspect a problem with the relief valve, carefully examine it for any signs of damage or corrosion. In most cases, simply replacing the valve will resolve the issue and stop the leaks.
3. Tightening or replacing the drain plug
The drain plug is another component that can contribute to leaks in RV water heaters. Over time, the plug may become loose or damaged, leading to water leakage. Start by tightening the plug with a wrench to see if it stops the leaks. If the problem persists, consider replacing the drain plug with a new one to ensure a secure and watertight seal.
Preventing future leaks in RV water heaters
Water leaks in RV water heaters can be a frustrating and costly problem. To prevent future leaks and ensure the longevity of your RV water heater, it is essential to follow proper maintenance and installation practices. This section will provide valuable insights and guidelines on how to prevent leaks in RV water heaters.
1. Regular maintenance and inspections
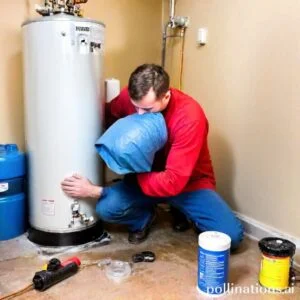
Regular maintenance is key to preventing leaks in RV water heaters. It is recommended to inspect your water heater at least once a year, checking for any signs of corrosion, wear, or damage. Additionally, flushing the tank regularly can help remove sediment buildup, which can contribute to leaks.
1.1 Flushing the tank
Flushing the tank is an important maintenance step that should be done periodically. Sediment buildup inside the tank can cause corrosion and eventually lead to leaks. To flush the tank, follow these steps:
– Turn off the water heater and allow it to cool down.
– Close the cold-water inlet valve and open the pressure relief valve to release any remaining pressure.
– Connect a hose to the drain valve and place the other end in a suitable drainage area.
– Open the drain valve and allow the water to flush out, removing any sediment or debris.
– Once the tank is empty, close the drain valve and refill the tank with fresh water.
2. Using high-quality water heater components
The quality of the components used in your RV water heater can significantly affect its performance and lifespan. Investing in high-quality parts, such as valves, thermostats, and anode rods, can help prevent leaks and ensure efficient operation.
2.1 Anode rod replacement
The anode rod is a crucial component that helps prevent corrosion inside the water heater tank. Over time, the anode rod can become depleted and ineffective, leading to leaks. It is recommended to replace the anode rod every few years or as needed, depending on water quality and usage.
3. Proper installation and handling
Proper installation and handling of your RV water heater are essential to prevent leaks. Ensure that the water heater is installed according to the manufacturer’s instructions and guidelines. Additionally, avoid excessive pressure or rough handling that can cause damage to the water heater and result in leaks.
DIY vs. Professional RV Water Heater Leak Repairs
In terms of dealing with a leak in your RV water heater, you have two options: DIY repairs or hiring a professional. It’s important to weigh the pros and cons of each approach to make an informed decision.
1. Pros and Cons of DIY Repairs
DIY repairs can be a cost-effective solution for those who are handy and have some plumbing knowledge. Here are the advantages and disadvantages of opting for a DIY approach:
- Pros: You can save money by avoiding labor costs. It can be a satisfying experience to fix the issue yourself. You have control over the entire repair process.
- Cons: Lack of expertise may lead to improper repairs, resulting in further damage. It can be time-consuming to research and learn the necessary skills. You may not have access to specialized tools and equipment.
2. Benefits of Hiring a Professional
Whilst DIY repairs have their advantages, there are several benefits to hiring a professional for RV water heater leak repairs:
- Expertise: Professionals have the knowledge and experience to accurately diagnose and fix the issue. They can ensure that the repair is done correctly the first time.
- Time-Saving: Hiring a professional saves you the time and effort of researching and learning how to repair the leak yourself. They can efficiently handle the repair, allowing you to focus on other tasks.
- Access to Tools and Equipment: Professionals have access to specialized tools and equipment that may not be readily available to DIY enthusiasts. This enables them to perform precise and efficient repairs.
Touching on RV water heater leak repairs, both DIY and professional approaches have their merits. Consider your skills, time availability, and budget before making a decision. Remember, a properly repaired water heater is essential for a comfortable and worry-free RV experience.
| DIY Repairs | Hiring a Professional |
|---|---|
| Pros: Cost-effective, Control over repair process | Expertise, Time-saving, Access to tools and equipment |
| Cons: Lack of expertise, Time-consuming |
Cost of Repairing RV Water Heater Leaks
Relating to repairing RV water heater leaks, there are various factors that can influence the cost of the repairs. Mastering these factors can help you budget accordingly and ensure that your RV water heater is functioning properly without breaking the bank.
Factors That Affect the Cost
Several factors can impact the cost of repairing RV water heater leaks. These include:
- The extent of the leak: The severity of the leak will determine the complexity of the repair and, consequently, the cost involved.
- The type of water heater: Different RV water heaters have different components and mechanisms, which can affect the cost of repairs.
- The availability of parts: If certain parts need to be replaced, their availability and cost can impact the overall repair expenses.
- The labor costs: The time and effort required to repair the leak can vary, affecting the labor costs involved.
Average Cost of Repairs
The average cost of repairing RV water heater leaks can range from $100 to $500, depending on the factors mentioned above. Albeit, it’s important to note that these are rough estimates and actual costs may vary.
To give you a better cognizing, here’s a breakdown of the average costs:
| Repair Type | Average Cost |
|---|---|
| Minor leaks | $100 – $200 |
| Moderate leaks | $200 – $400 |
| Severe leaks | $400 – $500 |
Bottom Line
Leaking water heaters in RVs can cause significant damage and inconvenience. Essential to regularly inspect and maintain your water heater to prevent leaks. If you do notice a leak, it is crucial to address it immediately to avoid further damage. Depending on the severity of the leak, you may be able to repair it yourself or you may need to seek professional help. In some cases, it may be more cost-effective to replace the entire water heater. By taking preventative measures and addressing leaks promptly, you can ensure that your RV water heater operates efficiently and safely for years to come.
Remember, prevention is key in terms of RV water heater leaks. Regular maintenance and inspections can save you time, money, and headaches in the long run. Don’t let a small leak turn into a major problem. Take action as soon as you notice any signs of a leak and enjoy worry-free travels in your RV.
Read More:
1. Impact Of Leaks On Water Heater Warranty
2. Preventing Leaks In Tank Water Heaters