II. Proper installation techniques and materials can help prevent leaks during water heater installation.
III. Regular maintenance and inspection can also help detect and prevent leaks in water heaters, ensuring safe and efficient operation.
During water heater installation, leaks can be a common problem that homeowners may encounter. These leaks can cause damage to the surrounding area, leading to costly repairs.
Integral to properly install and seal the water heater to prevent any leaks from occurring. By grasping the potential causes of leaks and taking necessary precautions, homeowners can ensure a successful and leak-free water heater installation.
This article will discuss the main causes of leaks during water heater installation and provide tips on how to prevent them.
Pre-Installation Preparation
Before installing a water heater, imperative to follow certain steps to ensure a smooth process. This section will guide you through the necessary preparations to be made before installing a water heater.
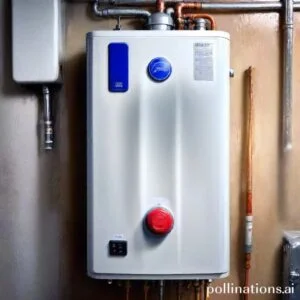
1. Choosing the Right Location for the Water Heater
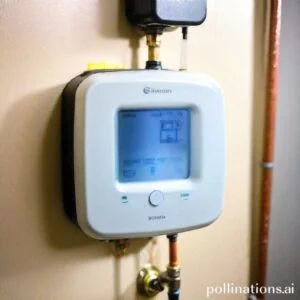
When selecting a location for your water heater, consider factors such as accessibility, ventilation, and safety. It is recommended to place the water heater in an area that is easily accessible for maintenance and repair purposes. Adequate ventilation is crucial to prevent the buildup of potentially harmful gases. Additionally, ensure that the location is safe and away from flammable materials.
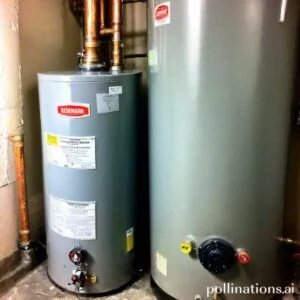
2. Properly Sizing the Water Heater
Properly sizing your water heater is essential to meet your household’s hot water demands. Consider factors such as the number of people in your household and their hot water usage patterns. An undersized water heater may lead to insufficient hot water supply, during an oversized one can result in unnecessary energy consumption. Consult a professional or refer to sizing charts to determine the appropriate size for your needs.
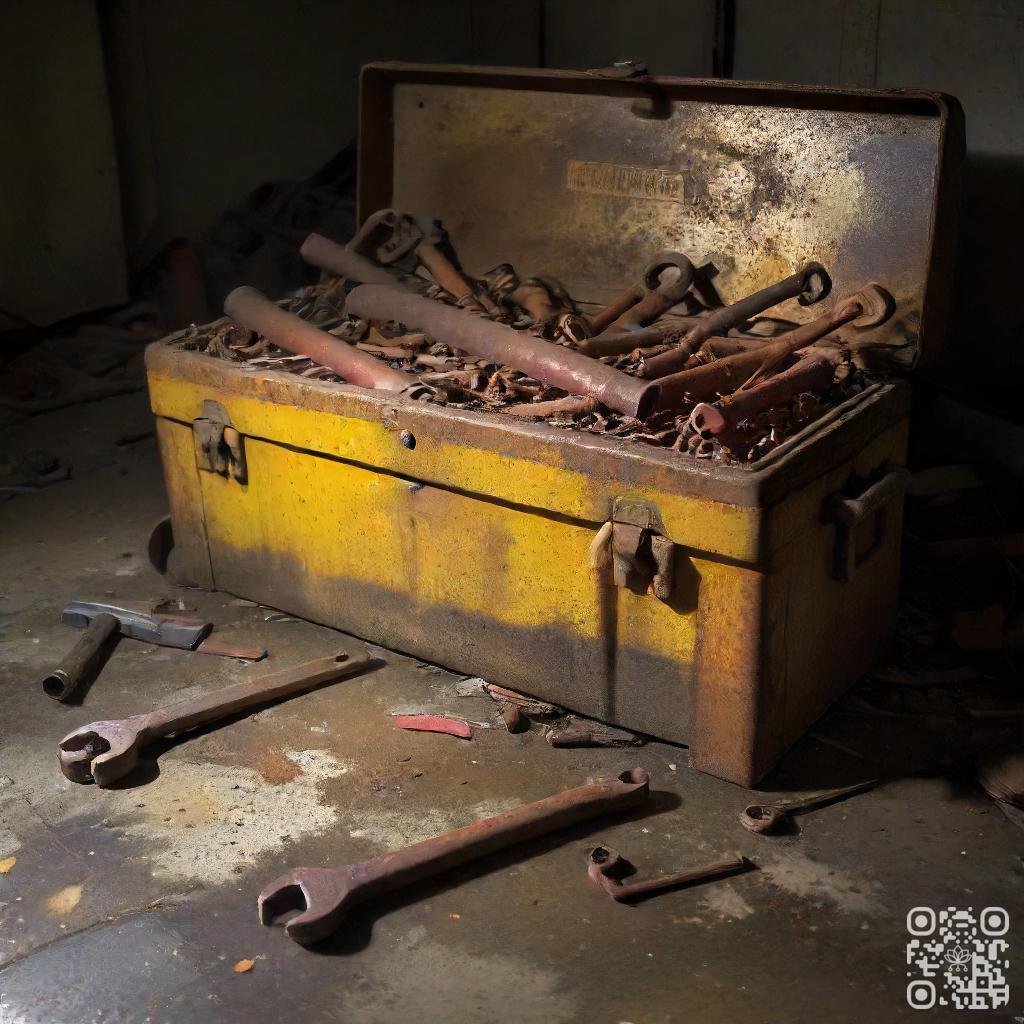
3. Gathering Necessary Tools and Materials
Before starting the installation process, ensure you have all the required tools and materials on hand. This may include pipe cutters, wrenches, pipe fittings, Teflon tape, and insulation materials. Having everything ready beforehand will save you time and frustration during the installation.
Following these pre-installation preparation steps will help ensure a successful water heater installation. Remember to always refer to the manufacturer’s instructions and seek professional assistance if needed.
| Pre-Installation Preparation Checklist |
|---|
| 1. Choosing the Right Location for the Water Heater |
| 2. Properly Sizing the Water Heater |
| 3. Gathering Necessary Tools and Materials |
Installation Process
In order to properly install a new water heater, fundamental to follow a systematic process. This section will outline the steps required for a successful installation:
1. Shutting off the water and gas/electricity
Prior to beginning the installation process, it is crucial to shut off the water supply and the gas or electricity source to the old water heater. This is to ensure safety and prevent any accidents or damage during the installation.
2. Draining the old water heater
Once the water and gas or electricity are turned off, the next step is to drain the old water heater. This can be done by attaching a hose to the drain valve and allowing the water to flow out into a suitable drainage area. Pivotal to let the water cool down before attempting to drain it.
3. Connecting the new water heater
After the old water heater is fully drained, the new water heater can be connected. This involves attaching the necessary pipes and fittings according to the manufacturer’s instructions. Integral to ensure a secure and leak-free connection.
4. Filling and testing the new water heater
Once the new water heater is properly connected, it can be filled with water. This is done by opening the water supply valve and allowing the tank to fill. Once filled, pivotal to check for any leaks and ensure that the water heater is functioning correctly. This can be done by turning on a hot water faucet and checking for a steady flow of hot water.
Common Causes of Leaks
Leakage is a common issue that many homeowners face, and it is essential to understand the various causes to address the problem effectively. In this section, we will probe the common causes of leaks and provide insights on how to prevent and fix them.
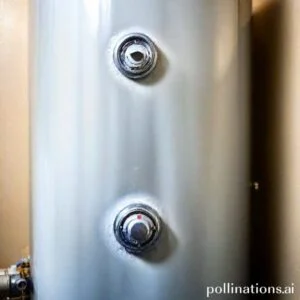
1. Loose Connections
One of the primary causes of leaks is loose connections. Over time, the connections between pipes and fittings can become loose due to regular usage or vibrations. This can lead to water seepage and potential leaks. It is crucial to regularly inspect and tighten these connections to prevent any water damage.
2. Damaged Pipes or Fittings
Damaged pipes or fittings can also be a significant cause of leaks. Aging pipes or poor quality fittings may develop cracks or holes, resulting in water leakage. Imperative to inspect your pipes and fittings regularly and replace any damaged components promptly to avoid further water damage.
3. Faulty Temperature and Pressure Relief Valve
The temperature and pressure relief valve is a safety device that releases excess pressure in your plumbing system. If this valve is faulty or malfunctioning, it can lead to leaks. Regularly test and maintain this valve to ensure it is functioning correctly and replace it if necessary.
4. Improper Installation of the Drain Valve
The drain valve is responsible for draining water from your plumbing system. If it is improperly installed or damaged, it can cause leaks. Essential to ensure that the drain valve is correctly installed and functioning effectively to prevent any water leakage.
5. Corrosion or Rust Buildup
Corrosion or rust buildup is another common cause of leaks. Over time, pipes and fittings can develop corrosion or rust, weakening their structure and leading to leaks. Regular maintenance, such as applying anti-corrosion coatings or replacing corroded components, can help prevent this issue.

Troubleshooting Leaks
Leaks in a water heater can be a frustrating problem, but with the right knowledge and steps, you can identify and fix them efficiently. In this section, we will discuss the various steps involved in troubleshooting leaks, ensuring that your water heater functions optimally.
1. Identifying the source of the leak
The first step in troubleshooting leaks is to determine where the leak is coming from. This can be done by inspecting the water heater carefully and looking for any signs of water accumulation or dampness. Common areas where leaks occur include the connections, pipes, fittings, and valves.
2. Tightening loose connections
If you notice any loose connections, such as pipes or fittings, they may be the cause of the leak. In such cases, gently tighten them using a wrench or pliers. Be careful not to overtighten, as it can cause further damage.
3. Replacing damaged pipes or fittings
If the leak persists despite tightening the connections, it may be necessary to replace damaged pipes or fittings. Inspect them for cracks, corrosion, or any other signs of damage. Replace them with new ones to ensure a secure and leak-free connection.
4. Adjusting the temperature and pressure relief valve
The temperature and pressure relief valve is an essential component of a water heater. If it is not functioning correctly, it can lead to leaks. Check the valve for any signs of damage and ensure that it is set to the recommended pressure and temperature levels. If necessary, adjust or replace it.
5. Replacing a faulty drain valve
The drain valve is another potential source of leaks. If you notice a leak near the drain valve, it may be faulty and needs replacement. Carefully drain the water heater before removing and replacing the drain valve to prevent any further leaks.
| Step | Description |
|---|---|
| 1 | Identify the source of the leak |
| 2 | Tighten loose connections |
| 3 | Replace damaged pipes or fittings |
| 4 | Adjust the temperature and pressure relief valve |
| 5 | Replace a faulty drain valve |

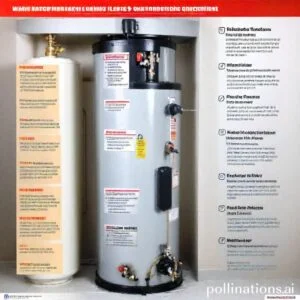
Preventative Maintenance
Preventative maintenance is crucial for ensuring the longevity and efficiency of your water heater. By implementing a regular inspection and maintenance routine, you can catch potential issues before they turn into costly repairs. Here are some key steps to include in your preventative maintenance plan:
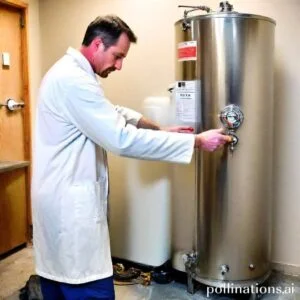
1. Regular inspections and maintenance
Regularly inspecting your water heater can help identify any signs of wear and tear. Check for any leaks, corrosion, or unusual noises. Additionally, make sure to clean any dust or debris that may have accumulated around the unit.
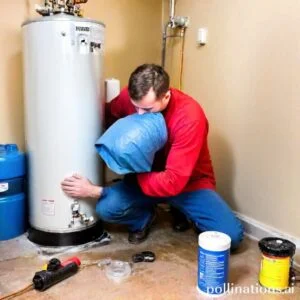
2. Flushing the water heater
Flushing your water heater is an essential step in preventing sediment buildup. Over time, minerals and other deposits can settle at the bottom of the tank, reducing its efficiency. Flushing the tank will help remove these sediments and improve its performance.
3. Checking and replacing anode rods
Anode rods are sacrificial rods that protect the tank from corrosion. Regularly inspecting these rods and replacing them when necessary can extend the lifespan of your water heater. Anode rods should be checked at least once a year.
4. Maintaining proper water pressure
High water pressure can put unnecessary strain on your water heater, leading to leaks or premature failure. Use a pressure gauge to ensure that the pressure is within the recommended range. If it’s too high, consider installing a pressure-reducing valve.
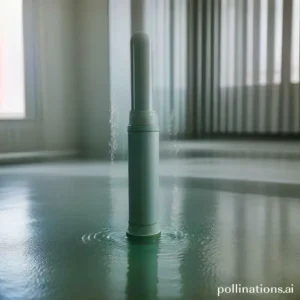
5. Monitoring for signs of leaks
Leaks can cause significant damage to your home and should be addressed immediately. Regularly check for any signs of leaks, such as puddles or dampness around the water heater. If you notice any leaks, it’s crucial to call a professional plumber to fix the issue.
| Step | Description |
|---|---|
| 1 | Regular inspections and maintenance |
| 2 | Flushing the water heater |
| 3 | Checking and replacing anode rods |
| 4 | Maintaining proper water pressure |
| 5 | Monitoring for signs of leaks |
Bottom Line
Water heater installation is a crucial task that requires proper attention and expertise. Leaks during installation can cause significant damage to your property and pose a safety hazard. To avoid leaks, it is essential to hire a professional plumber who has the necessary skills and experience to install your water heater correctly.
Additionally, it is crucial to choose the right type and size of water heater that meets your household’s hot water needs. Regular maintenance and inspection of your water heater can also help prevent leaks and prolong its lifespan. By taking these precautions, you can ensure that your water heater installation is safe, efficient, and long-lasting.
Read More:
1. Water Heater Leak Detection Technology
2. Addressing Leaks In Electric Water Heaters