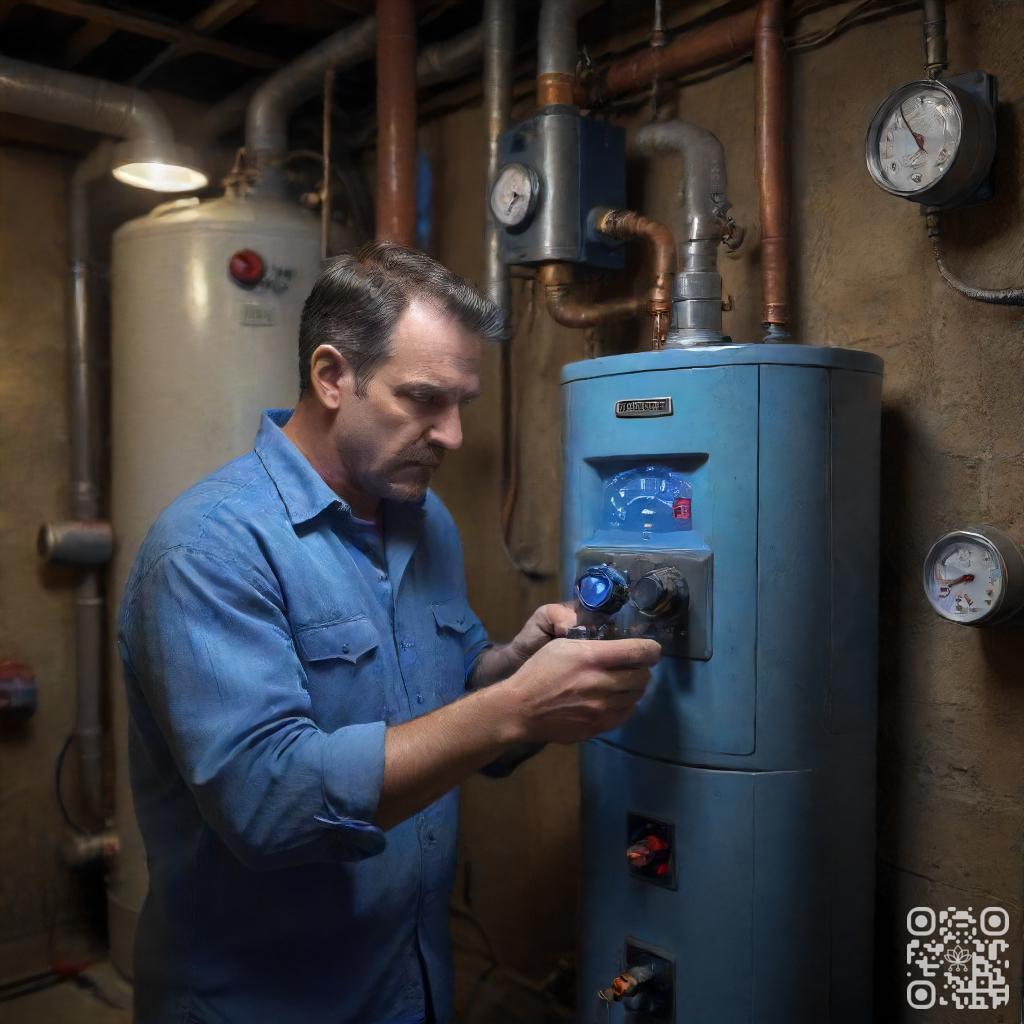
II. To check the temperature, locate the temperature dial on the water heater and use a thermometer to measure the temperature of the water at the tap.
III. The recommended temperature for most households is 120°F, but it may need to be adjusted depending on the needs of the household and the type of water heater being used.
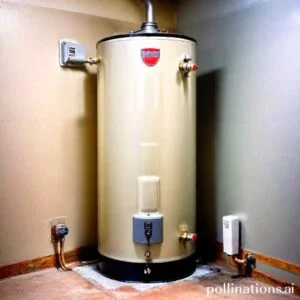
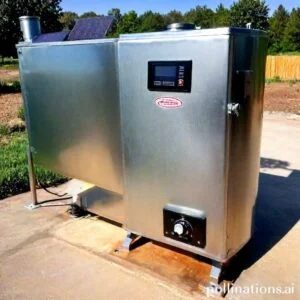
If you’re wondering how to check the temperature of your water heater, we’ve got you covered. Knowing the temperature of your water heater is important for safety and energy efficiency.
In this guide, we’ll walk you through the steps to check the temperature of your water heater, ensuring that it’s set at the right level for your needs. By adhering to our simple instructions, you’ll be able to easily monitor and adjust your water heater temperature, keeping your hot water supply comfortable and cost-effective.
Safety Precautions
When working with electrical equipment or any potentially dangerous situation, it is crucial to prioritize safety. Following proper safety precautions can help prevent accidents and ensure a secure working environment.
1. Turn off the power supply
Before performing any maintenance or repairs, always turn off the power supply. This step is essential to avoid electrical shocks or other accidents. Double-check that the power is completely off before proceeding.
2. Allow the water to cool down
If you are dealing with water-related equipment, such as boilers or plumbing systems, it is essential to let the water cool down before working on it. Hot water can cause burns or scalding, so be patient and wait until it reaches a safe temperature.
3. Wear protective gear
Protective gear is crucial to safeguard yourself from potential hazards. Wear appropriate equipment such as gloves, safety goggles, helmets, or any other protective gear required for the specific task at hand. This will minimize the risk of injury and ensure your well-being.
| Precaution | Importance |
|---|---|
| Turn off the power supply | Prevents electrical shocks |
| Allow the water to cool down | Reduces the risk of burns or scalding |
| Wear protective gear | Minimizes the risk of injury |
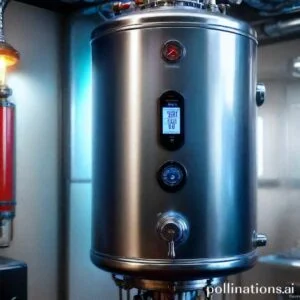
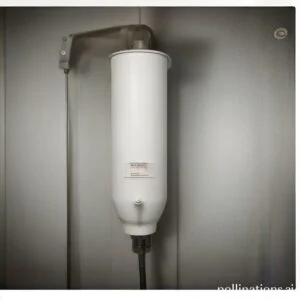
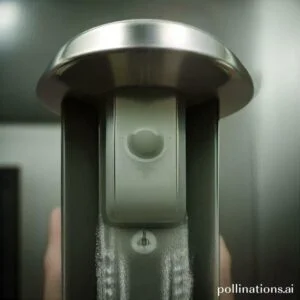
Accessing the Thermostat
Touching on accessing your thermostat, it’s important to know the steps involved to ensure you can control the temperature in your home effectively. Follow these simple instructions to access your thermostat and make any necessary adjustments:
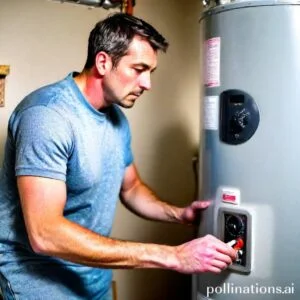
1. Locate the thermostat
The first step in accessing your thermostat is to locate its position within your home. Typically, thermostats are installed on a wall in a central area of the house, such as the living room or hallway. Take a moment to familiarize yourself with its placement.
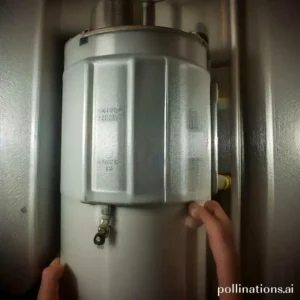
2. Remove the cover
Once you’ve located the thermostat, carefully remove the cover to gain access to the inner workings. This can usually be done by gently pulling the cover away from the wall. Be sure to handle the cover with care to avoid any damage.
3. Identify the temperature dial
With the cover removed, you will now be able to see the temperature dial. This dial allows you to adjust the temperature setting according to your preference. It may be labeled with numbers or have a range of temperatures indicated. Take note of the current setting before making any changes.
Checking the Temperature
As for maintaining your water heater, checking the temperature is a crucial step. By embracing these simple guidelines, you can ensure that your water heater is operating efficiently and safely.
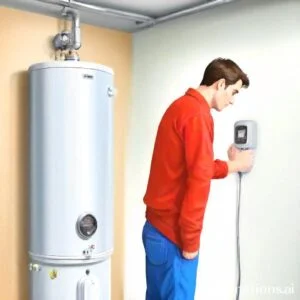
1. Use a thermometer to check the temperature
Start by obtaining a reliable thermometer that can accurately measure the temperature of your water heater. This will allow you to determine if the temperature is within the recommended range.
Tip: Make sure to choose a thermometer that is specifically designed for measuring water temperature.
2. Adjust the temperature if necessary
If the temperature reading indicates that the water is either too hot or too cold, you may need to adjust the temperature of your water heater. Refer to the manufacturer’s instructions for the specific steps on how to make these adjustments.
Caution: When adjusting the temperature, be mindful of the potential risks associated with hot water. Always take necessary precautions and avoid exposing yourself to scalding temperatures.
3. Replace the cover
Once you have checked and adjusted the temperature, indispensable to replace the cover of your water heater securely. This will help to maintain the desired temperature and prevent heat loss.
Tip: Inspect the cover for any signs of damage or wear and tear. If necessary, replace it to ensure proper insulation and efficiency.

Troubleshooting Water Heater Temperature
Pertaining to your water heater, ensuring the right temperature is crucial for your comfort and safety. In this section, we will address common issues with water heater temperature and provide you with troubleshooting tips to resolve these problems. If you encounter persistent issues or feel unsure about handling the situation, it may be time to call a professional.
1. Common issues with water heater temperature
Before we dive into troubleshooting, let’s familiarize ourselves with some common issues that can affect the temperature of your water heater. These issues include:
- Inconsistent hot water
- Water not getting hot enough
- Water getting too hot
- Fluctuating water temperature
2. How to troubleshoot temperature problems
If you’re experiencing any of the above issues, here are some steps you can take to troubleshoot the temperature problems:
- Check the thermostat settings: Ensure that the thermostat is set to the desired temperature. Sometimes, a simple adjustment can fix the problem.
- Inspect the heating element: A faulty heating element can cause temperature issues. Check for any signs of damage or corrosion and replace if necessary.
- Flush the tank: Sediment buildup can affect the efficiency of your water heater. Regularly flushing the tank can help prevent temperature problems.
- Check the dip tube: The dip tube delivers cold water to the bottom of the tank. If it’s damaged or broken, it can result in inadequate hot water.
- Inspect the pressure relief valve: A malfunctioning pressure relief valve can cause water to get too hot. Test the valve and replace if needed.
3. When to call a professional
Meanwhile troubleshooting can often solve temperature problems, there are instances where it’s best to seek professional assistance. You should consider calling a professional if:
- You’re unsure about handling electrical components or gas connections.
- The temperature issues persist despite troubleshooting.
- You notice any leaks or other signs of damage.

Maintenance Tips
Regular maintenance is essential to ensure that your ice cream shop’s equipment operates at its optimal temperature, allowing you to serve delicious frozen treats to your customers. Here are some important tips to keep in mind:
1. Regular maintenance to ensure optimal temperature
To maintain the perfect temperature for your ice cream, it is crucial to regularly inspect and clean your equipment. This includes checking the condenser coils, fans, and vents for any dust or debris that may hinder proper airflow. Additionally, ensure that the thermostat is calibrated correctly to prevent temperature fluctuations that could compromise the quality of your ice cream.
2. Flushing the tank
Flushing the tank of your ice cream machine is an essential maintenance task. Over time, mineral deposits and bacteria can accumulate in the tank, affecting the taste and quality of your ice cream. To flush the tank, follow the manufacturer’s instructions and use a food-grade cleaning solution. Regularly performing this task will help keep your ice cream machine in optimal condition.
3. Replacing the anode rod
The anode rod plays a vital role in preventing corrosion in your ice cream machine’s tank. Over time, the rod can deteriorate, compromising its effectiveness. Regularly inspect the anode rod and replace it as recommended by the manufacturer. This simple maintenance step will help prolong the lifespan of your equipment and ensure the quality of your ice cream.
| Maintenance Tips |
|---|
| Regular maintenance to ensure optimal temperature |
| Flushing the tank |
| Replacing the anode rod |
Bottom Line
Checking the temperature of your water heater is an important task that can help you save money and prevent accidents. By embracing the simple steps outlined in this article, you can easily check the temperature of your water heater and make any necessary adjustments. Remember to always use caution when working with hot water and electricity, and to consult a professional if you are unsure about any aspect of your water heater. With regular maintenance and monitoring, you can ensure that your water heater is running efficiently and safely, and that you are getting the most out of your investment.
So, take the time to check your water heater temperature today and enjoy the benefits of a well-maintained and efficient system for years to come!
Read More:
1. What Causes Water Heater Temperature Fluctuations?
2. Steps To Prevent Overheating In Water Heaters