II. DIY anode rod replacement saves money and time by eliminating the need for professional help, and it is easy for beginners to follow with the right tools and safety precautions.
III. The step-by-step process involves turning off the power and water supply, draining the tank, locating and removing the anode rod, installing the new one, and refilling the tank before turning the power back on.
Replacing an anode rod in a water heater is an essential task for its maintenance. This DIY guide will provide you with simple and easy steps to replace the anode rod, even if you are a beginner.
By conforming to these steps, you can ensure the longevity and efficiency of your water heater. Say goodbye to expensive repairs and enjoy a well-functioning water heater with our step-by-step instructions.
Signs that your anode rod needs replacement
An anode rod is an important component of a water heater that helps prevent corrosion by attracting corrosive elements in the water. Over time, the anode rod can become depleted and ineffective, leading to potential problems. Here are some signs that your anode rod may need to be replaced:
1. Decreased hot water supply
If you notice a decrease in the amount of hot water your water heater is able to produce, it could be a sign that your anode rod is no longer functioning properly. As the anode rod deteriorates, corrosion can build up inside the tank, reducing its capacity to heat water efficiently.
2. Rusty water
Another indication that your anode rod may need replacement is the presence of rusty water coming from your faucets. As the anode rod deteriorates, the tank’s interior can start to rust, leading to the discoloration of the water. If you notice rusty water, it is essential to address the issue promptly to prevent further damage to your water heater.
3. Foul odor from water heater
A foul odor emanating from your water heater could be a sign that your anode rod needs attention. As the anode rod deteriorates, sulfur bacteria can thrive in the tank, producing a rotten egg smell. If you detect an unpleasant odor, it is advisable to check the condition of your anode rod.
To ensure the proper functioning and longevity of your water heater, it is crucial to monitor the condition of the anode rod. If you experience any of these signs, it is recommended to consult a professional plumber or technician for a thorough inspection and potential replacement of the anode rod.
| Signs | Possible Cause |
|---|---|
| Decreased hot water supply | The anode rod is depleted, leading to corrosion buildup and reduced heating efficiency. |
| Rusty water | Interior tank rust caused by a deteriorating anode rod. |
| Foul odor from water heater | Sulfur bacteria thriving in the tank due to anode rod deterioration. |
Regular maintenance and timely replacement of the anode rod can help extend the lifespan of your water heater and ensure a reliable supply of hot water.
Tools and Materials Required for DIY Anode Rod Replacement
Anode Rod
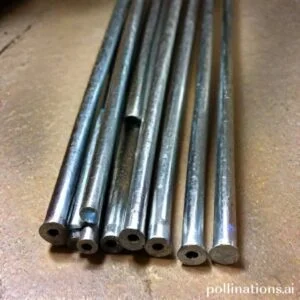
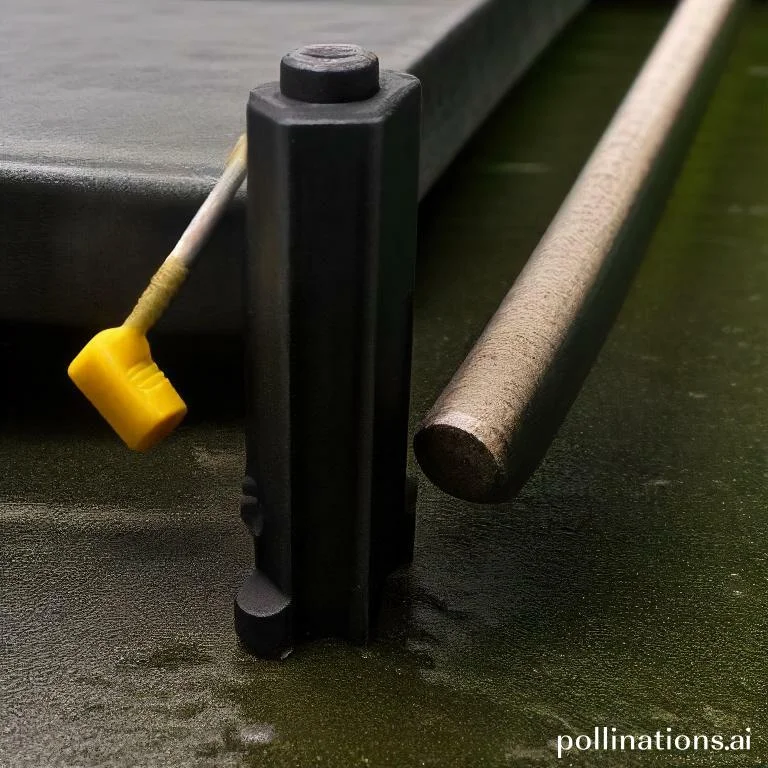
To begin the DIY anode rod replacement process, you will need an anode rod. This essential component plays a crucial role in preventing corrosion within your water heater.Socket Wrench
A socket wrench is necessary for removing the old anode rod and installing the new one. It provides the leverage needed to loosen and tighten the rod securely.Teflon Tape
Teflon tape is a must-have item for ensuring a watertight seal during the anode rod replacement. It helps prevent leaks and ensures the rod fits tightly into place.Drain Pan
Having a drain pan is essential to catch any water that may leak during the anode rod replacement process. This will help prevent any water damage to your surroundings.Garden Hose
A garden hose is required to drain the water from your hot water tank before replacing the anode rod. It allows for a controlled and efficient draining process. By gathering these tools and materials, you will be well-equipped to successfully replace the anode rod in your water heater. Remember to follow safety precautions and consult your water heater’s manual for specific instructions. With proper maintenance, your water heater will continue to function optimally and provide you with reliable hot water.Steps to Replace an Anode Rod in Your Water Heater
Replacing the anode rod in your water heater is an important maintenance task that can help extend the lifespan of your appliance. Follow these steps to ensure a smooth and effective replacement process:
1. Turn off the Power Supply to the Water Heater
Prior to starting any work, it is essential to turn off the power supply to your water heater. This will ensure your safety and prevent any electrical accidents.
2. Turn off the Water Supply to the Water Heater
Next, locate the water supply valve that connects to your water heater and turn it off. This will prevent any water from flowing into the heater during the replacement process.
3. Drain the Water Heater
In order to access the anode rod, you need to drain the water heater. Attach a hose to the drain valve at the bottom of the tank and direct the other end of the hose to a suitable drainage area. Open the valve to release the water until the tank is empty.
4. Locate the Anode Rod
Once the tank is drained, locate the anode rod. It is typically located on the top of the water heater and is connected to the hot water outlet. The anode rod is responsible for attracting corrosive elements in the water and protecting the tank from rusting.
5. Remove the Old Anode Rod
Using a suitable wrench or socket, carefully loosen and remove the old anode rod. Pay attention to any specific instructions or precautions provided by the manufacturer.
6. Install the New Anode Rod
Insert the new anode rod into the same location where the old one was removed. Use the wrench or socket to tighten it securely, ensuring a proper fit.
7. Reconnect the Water Supply and Power Supply
Once the new anode rod is in place, reconnect the water supply valve and turn it back on. Also, restore the power supply to the water heater by flipping the appropriate switch or resetting the circuit breaker.
8. Test the Water Heater
Finally, turn on a hot water tap in your home to let the water flow and test the water heater. Check for any leaks or unusual noises. If everything appears to be functioning properly, you have successfully replaced the anode rod in your water heater.
Tips for Successful Anode Rod Replacement
Replacing the anode rod in your water heater is essential for maintaining its longevity and efficiency. Here are some helpful tips to ensure a successful anode rod replacement:
1. Choose the Right Type of Anode Rod
When selecting an anode rod, it’s important to consider the type that is compatible with your specific water heater. Different water heaters may require different types of anode rods, such as magnesium, aluminum, or a combination of both. Consult your water heater’s manual or a professional to determine the appropriate type.
2. Use a Socket Wrench for Easy Removal
Before removing the old anode rod, make sure to turn off the power and water supply to the water heater. Using a socket wrench, carefully loosen and remove the anode rod. Be cautious not to damage any surrounding components during this process.
3. Apply Teflon Tape to Prevent Leaks
Before installing the new anode rod, wrap Teflon tape around the threads to create a tight seal. This will help prevent any potential leaks from occurring. Ensure that the tape is applied securely and evenly to achieve a proper seal.
4. Use a Drain Pan to Collect Water
When removing the anode rod, it’s common for water to drain out of the water heater. To avoid any mess, place a drain pan beneath the water heater to collect the water. This will help keep your workspace clean and prevent any water damage.
5. Flush Out the Water Heater Before Installing the New Anode Rod
Prior to installing the new anode rod, it’s important to flush out the water heater. This will help remove any sediment or debris that may have accumulated over time. Follow the manufacturer’s instructions or seek professional guidance on how to properly flush your specific water heater model.
| Anode Rod Replacement Tips |
|---|
| Choose the right type of anode rod |
| Use a socket wrench for easy removal |
| Apply Teflon tape to prevent leaks |
| Use a drain pan to collect water |
| Flush out the water heater before installing the new anode rod |

When to Call a Professional for Anode Rod Replacement
In maintaining your water heater, there may come a time when the anode rod needs to be replaced. The anode rod plays a crucial role in preventing corrosion and extending the lifespan of your water heater. In the course of some homeowners may attempt to replace the anode rod themselves, there are certain situations where it is best to call a professional.
Lack of Experience with DIY Projects
If you are not experienced in DIY projects or plumbing repairs, it is advisable to seek the assistance of a professional. Anode rod replacement involves working with delicate components and requires knowledge of water heater systems. Hiring a professional ensures that the replacement is done correctly and safely.
Difficulty Accessing the Anode Rod
The location of the anode rod can vary depending on the type of water heater you have. Some models may have the anode rod in a hard-to-reach or confined space, making it challenging for homeowners to access and replace it themselves. Professionals have the necessary tools and expertise to navigate these tight spaces and perform the replacement efficiently.
Presence of Other Issues with the Water Heater
If you are experiencing other issues with your water heater, such as leaks, strange noises, or inconsistent water temperature, it is recommended to consult a professional plumber. These issues may be indicators of more significant problems within the water heater system. A professional can assess the situation comprehensively and address any underlying issues alongside the anode rod replacement.
Table: Common Signs of Anode Rod Replacement
| Signs | Possible Explanation |
|---|---|
| 1. Rusty or discolored water | The anode rod may be depleted, leading to corrosion within the water heater. |
| 2. Foul odor in hot water | A deteriorated anode rod can cause a sulfur-like smell in the hot water. |
| 3. Reduced hot water supply | An ineffective anode rod can lead to sediment buildup, reducing the available hot water. |
| 4. Leaking around the water heater | A corroded anode rod may cause leaks or water seepage near the water heater. |
Bottom Line
Replacing an anode rod is an essential maintenance task for your water heater. With the right tools and steps, even beginners can do it themselves. Remember to turn off the power and water supply before starting the process. Check the condition of the anode rod regularly and replace it every 3-5 years to extend the life of your water heater.
By complying with the DIY anode rod replacement steps, you can save money on professional services and ensure the efficiency and safety of your water heater. Don’t hesitate to seek help from online tutorials or experts if you encounter any difficulties. With proper care and maintenance, your water heater can provide you with hot water for years to come.
Read More:
1. Upgrading To A Flexible Anode Rod: Worth It?
2. Anode Rod Maintenance During Water Heater Flush
