II. DIY flushing of water heaters with digital displays requires certain considerations such as turning off the power supply, allowing the unit to cool down, and using the right tools.
III. Following manufacturer’s instructions and regular maintenance can help prevent sediment buildup, extend the life of the water heater, and save energy costs.
Flushing your water heater is essential for maintaining its efficiency and prolonging its lifespan. Nevertheless, when dealing with water heaters that have digital displays, there are a few additional factors to keep in mind.
We will navigate the proper steps to take, potential risks to avoid, and helpful tips to ensure a successful flushing process. By cognizing these considerations, you can confidently maintain your water heater and enjoy hot water whenever you need it.
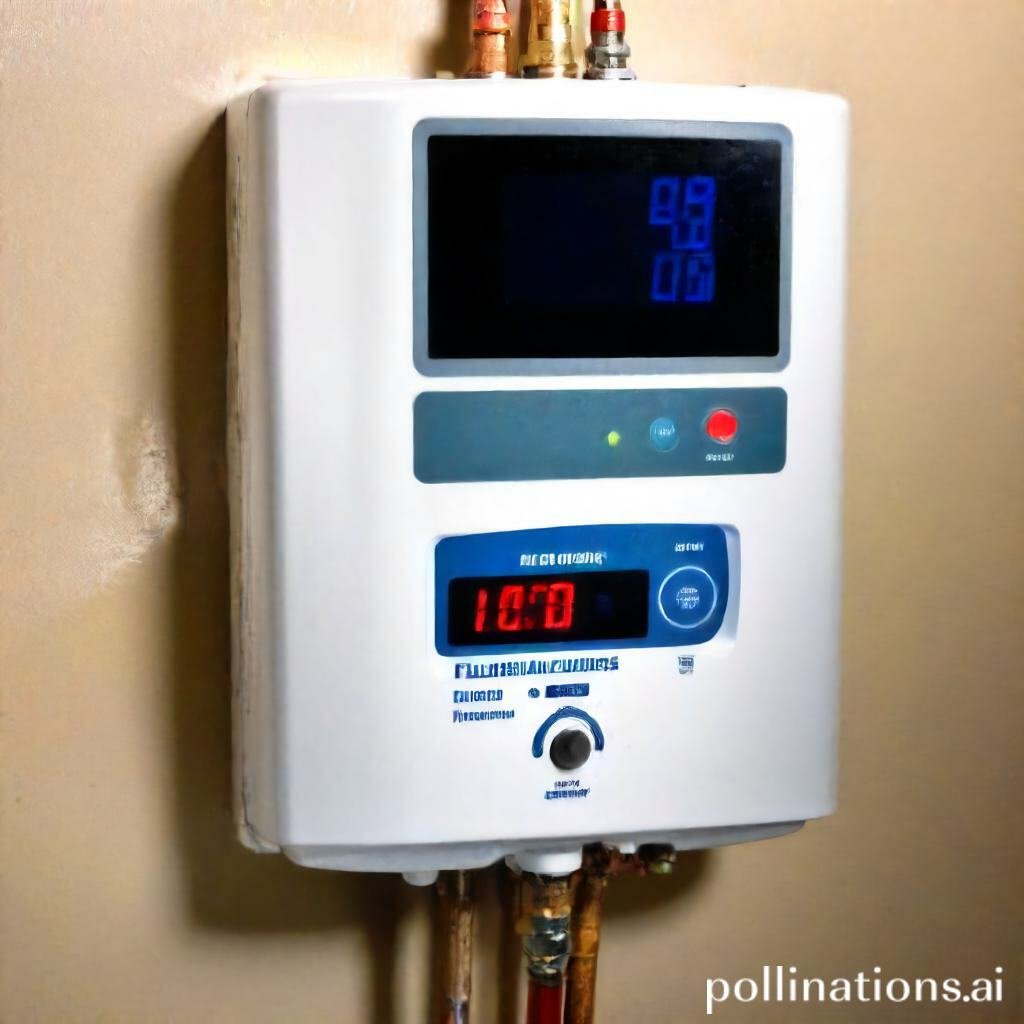
Embracing Your Water Heater with Digital Display
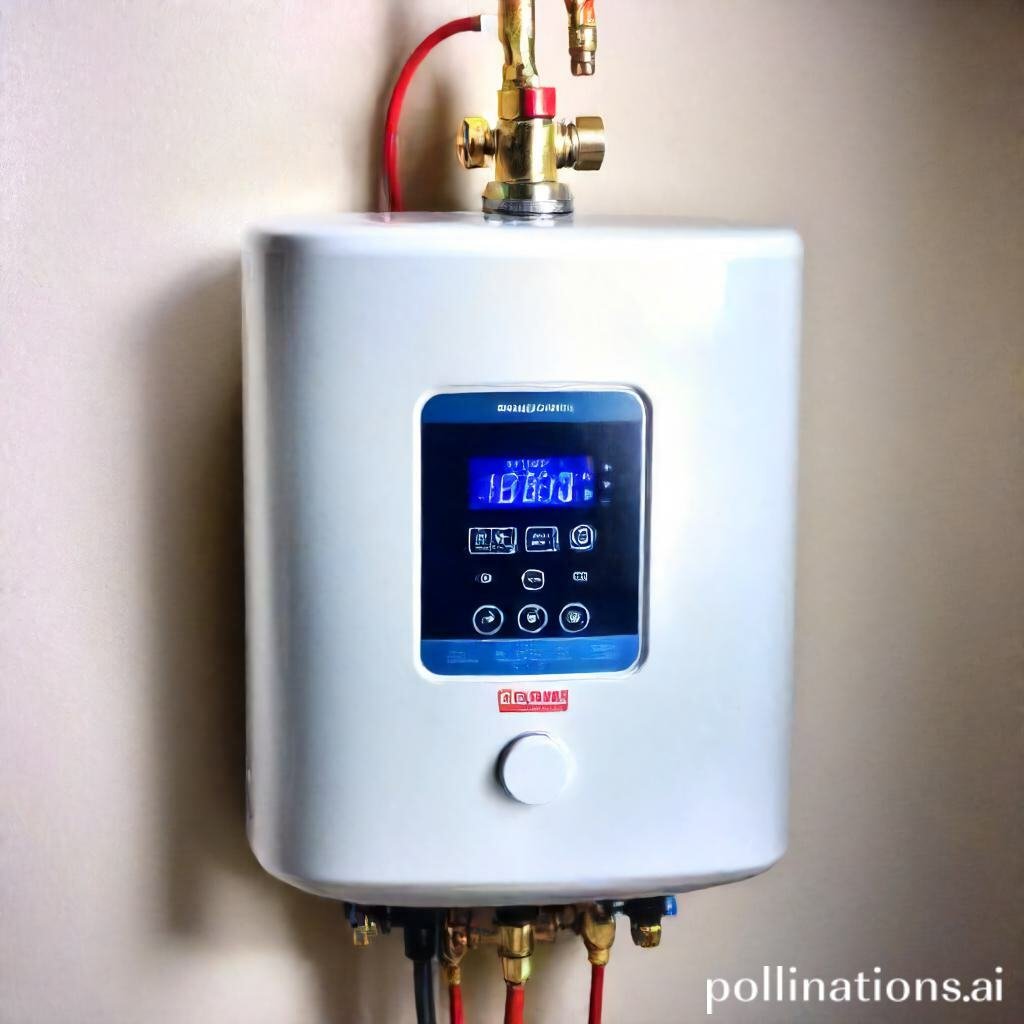
Clarification of digital display
The digital display on your water heater provides important information about its operation and status. It typically shows the current temperature of the water, the mode of operation (such as heating or standby), and any error codes or alerts.
Functions of digital display
The digital display serves several functions that elevate the usability and convenience of your water heater. First and foremost, it allows you to set and adjust the desired temperature of the water, ensuring it meets your specific needs.
Additionally, the display enables you to switch between different modes, such as energy-saving mode or vacation mode, helping you conserve energy and save on utility bills.
Moreover, the digital display often includes a timer function, allowing you to schedule the operation of your water heater according to your daily routine, further increasing energy efficiency.
Benefits of digital display
The inclusion of a digital display on your water heater offers several benefits. In the first place, it provides greater control and flexibility in managing the temperature and operation of your water heater, ensuring a comfortable and convenient experience.
Furthermore, the digital display allows for easy troubleshooting and error detection. If any issues arise, the display will show error codes or alerts, enabling you to quickly identify and resolve problems without the need for professional assistance.
In the end, the digital display promotes energy efficiency by allowing you to monitor and adjust the temperature and mode settings. This helps reduce energy consumption, lower utility bills, and contribute to a more sustainable environment.
| Information | Description |
|---|---|
| Current Temperature | The displayed temperature of the water in the heater. |
| Mode | The current mode of operation, such as heating or standby. |
| Error Codes/Alerts | Codes or alerts displayed in case of any issues or malfunctions. |
For example, if the digital display shows an error code related to insufficient water pressure, you can check the water supply valves, ensure proper water flow, and resolve the issue promptly.
Steps for Flushing Water Heater with Digital Display
In order to ensure the optimal functionality and longevity of your water heater with a digital display, vital to regularly flush out the tank. Flushing the water heater helps remove sediment and mineral buildup, improving its efficiency and preventing potential issues. Follow these simple steps to effectively flush your water heater:
1. Turn off the power supply
Prior to starting the flushing process, it is crucial to turn off the power supply to the water heater. This will prevent any accidents or electrical hazards during the procedure.
2. Turn off the water supply
Next, locate the water shut-off valve connected to your water heater and turn it off. This will prevent any additional water from entering the tank during the flushing process.
3. Attach a hose to the drain valve
Locate the drain valve at the bottom of the water heater and attach a hose securely to it. Ensure that the other end of the hose is placed in a suitable drainage area or connected to a drain.
4. Drain the tank
Open the drain valve slowly to allow the water inside the tank to start flowing out through the hose. Be cautious as the water may be hot. Allow the water to completely drain from the tank.
5. Refill the tank
Once the tank is fully drained, close the drain valve and disconnect the hose. Turn on the water supply valve to refill the tank. Allow the tank to fill completely before turning on the power supply.
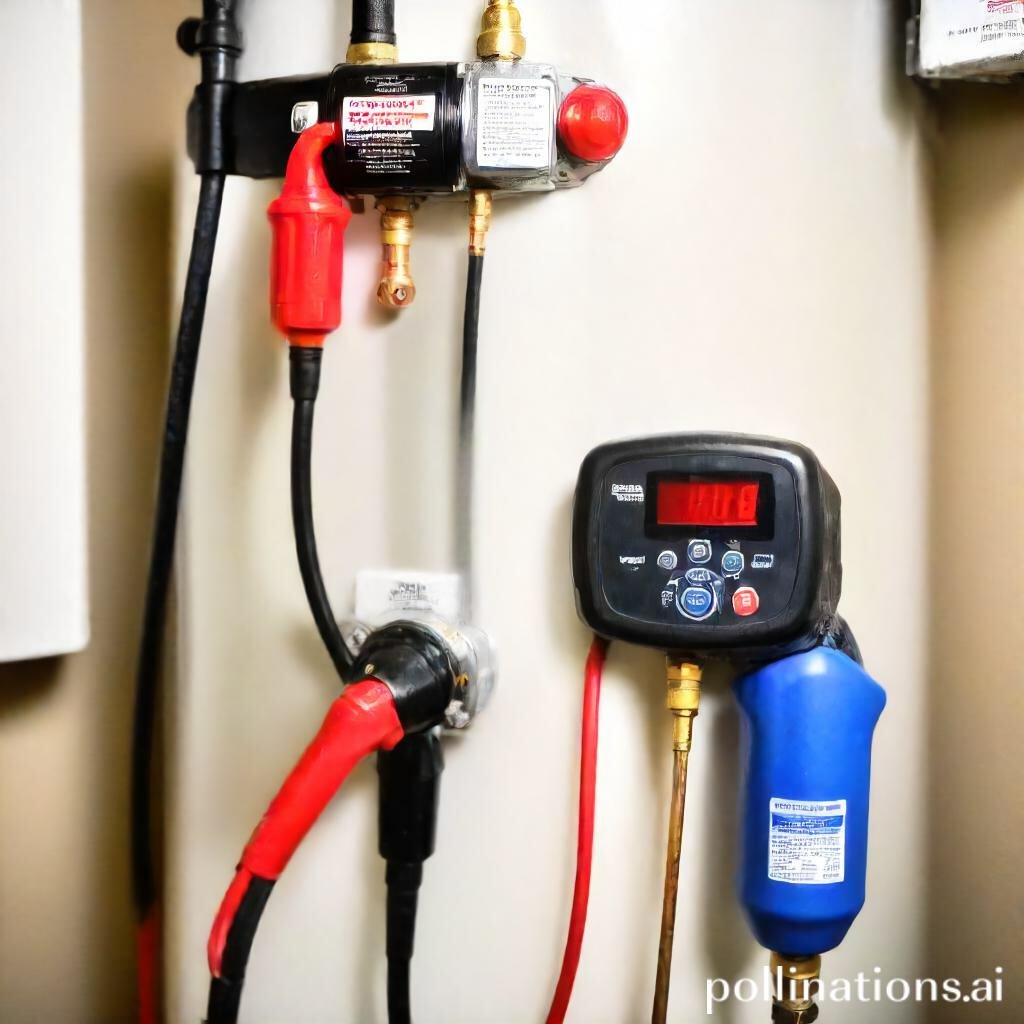
Tools Required for Flushing Water Heater with Digital Display
In order to successfully flush a water heater with a digital display, you will need to gather a few essential tools. These tools will ensure that the process goes smoothly and that you can maintain the optimal performance of your water heater. Here are the tools you will need:
1. Hose
A hose is an indispensable tool relating to flushing a water heater. It allows you to drain the water from the tank efficiently and safely. Make sure to choose a hose that is long enough to reach a drain or an appropriate area for water disposal.
2. Bucket
A bucket is necessary to collect the water that comes out of the water heater during the flushing process. This will prevent any water from spilling onto the floor and causing a mess. It’s important to use a bucket that can hold a sufficient amount of water.
3. Gloves
When working with a water heater, it’s crucial to protect your hands. Gloves will shield your skin from any potential burns or injuries that may occur during the flushing process. Choose gloves that are heat-resistant and provide a good grip.
4. Goggles
Protecting your eyes is essential when dealing with hot water and potential debris that may come out of the water heater. Goggles will shield your eyes from any splashes or particles, ensuring your safety throughout the process.
5. Wrench
A wrench is necessary for loosening and tightening the necessary connections during the flushing process. It will allow you to disconnect the necessary parts of the water heater and ensure a smooth and efficient flushing operation.
Precautions to Take When Flushing Water Heater with Digital Display
1. Turn off the power supply
Before starting the process of flushing your water heater with a digital display, it is crucial to ensure that the power supply is turned off. This will prevent any electrical accidents or malfunctions during the flushing process.
2. Turn off the water supply
In addition to turning off the power supply, it is equally important to turn off the water supply to your water heater. This will prevent any water flow during the flushing process and avoid any potential leaks or water damage.
3. Wear protective gear
When handling a water heater, especially when flushing it, it is essential to prioritize your safety. Make sure to wear appropriate protective gear such as gloves and safety glasses to protect yourself from any potential hazards or accidents.
4. Be careful when handling hot water
During the flushing process, the water inside the heater can be extremely hot. It is crucial to exercise caution when handling hot water to avoid burns or scalds. Use appropriate tools or equipment to handle the water safely.
5. Be cautious of leaks
Meanwhile flushing the water heater, essential to be vigilant for any signs of leaks. Check the connections and valves carefully to ensure there are no leaks before, during, or after the flushing process. If you notice any leaks, turn off the water supply immediately and seek professional assistance.
| Precautions | Description |
|---|---|
| Turn off the power supply | Prevent electrical accidents or malfunctions |
| Turn off the water supply | Avoid water flow and potential leaks |
| Wear protective gear | Ensure personal safety during the process |
| Be careful when handling hot water | Avoid burns or scalds |
| Be cautious of leaks | Vigilance for any signs of leaks |
Advantages of Flushing Water Heater with Digital Display
Flushing your water heater regularly is crucial for maintaining its performance and longevity. In regard to flushing, a water heater with a digital display offers several advantages that make it a worthwhile investment:
1. Increased efficiency
Flushing your water heater helps remove sediment buildup, which can hinder its efficiency. With a digital display, you can easily monitor and control the flushing process, ensuring that all sediment is properly cleared. This leads to improved heat transfer and energy efficiency, ultimately reducing your utility bills.
2. Extended lifespan of the water heater
Sediment buildup not only affects efficiency but also reduces the lifespan of your water heater. By regularly flushing it with the help of a digital display, you can prevent sediment accumulation and minimize the risk of corrosion. This proactive maintenance approach helps extend the lifespan of your water heater, saving you money on premature replacements.
3. Improved water quality
Over time, sediment and mineral deposits can affect the quality of the water coming from your heater. Flushing with a digital display allows you to thoroughly cleanse the tank and remove any contaminants, ensuring that the water you use for bathing, cooking, and other daily activities is clean and safe.
Investing in a water heater with a digital display brings numerous benefits, including increased efficiency, extended lifespan, and improved water quality. By regularly flushing your water heater and utilizing the digital display’s features, you can enjoy optimal performance and peace of mind.
| Advantages |
|---|
| Increased efficiency |
| Extended lifespan of the water heater |
| Improved water quality |
Bottom Line
In regard to flushing your water heater with a digital display, there are a few important considerations to keep in mind. First and foremost, make sure you follow the manufacturer’s instructions carefully to avoid damaging the unit. Additionally, be sure to turn off the power and water supply before beginning the flushing process, and take the time to properly drain and refill the tank. Regular flushing can help extend the life of your water heater and improve its efficiency, so it’s worth taking the time to do it right. With these tips in mind, you can confidently tackle this DIY project and enjoy reliable hot water for years to come.
Read More:
1. How To Flush A Water Heater With A Digital Control Panel?
2. Diy Flushing For Water Heaters With A Recirculation System