II. A recirculating pump can make the flushing process easier and more effective by circulating the water and dislodging sediment.
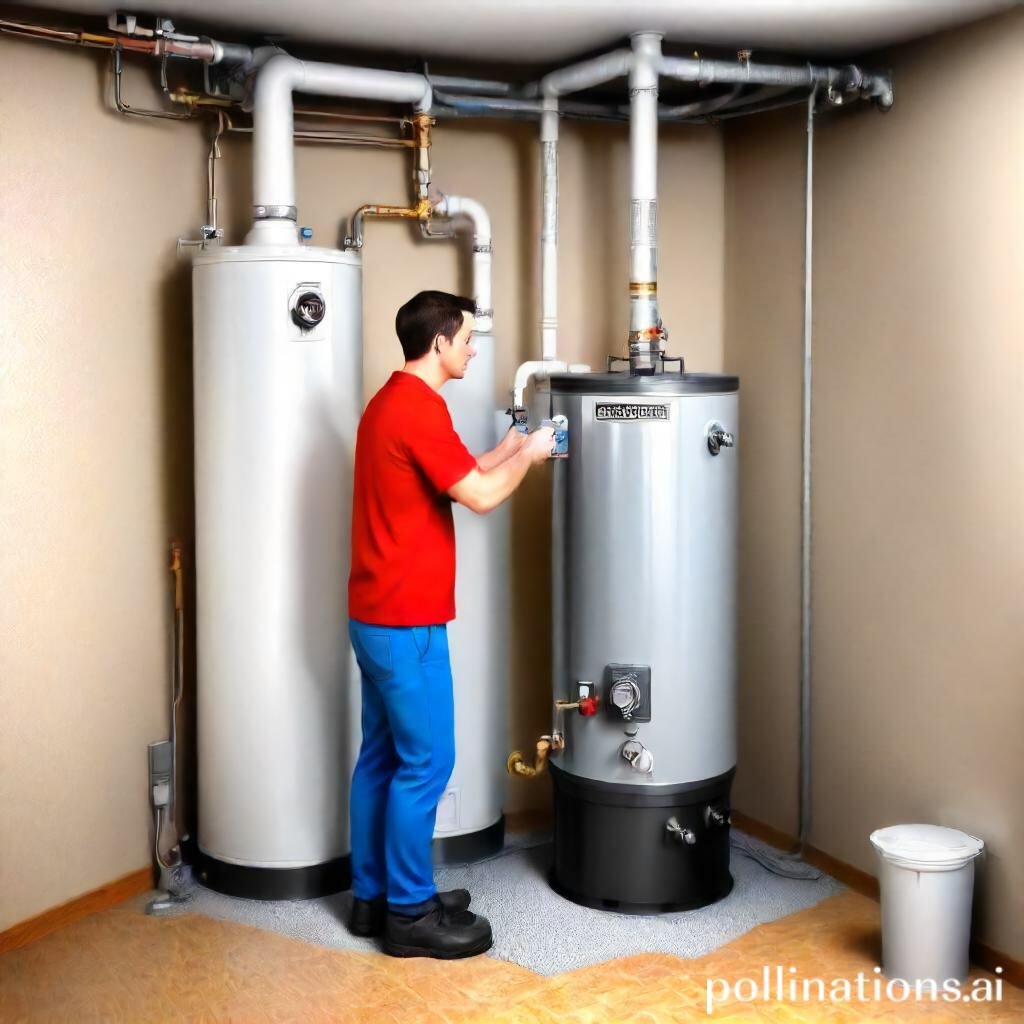
III. To flush a water heater with a recirculating pump, turn off the power and water supply, connect the pump and hoses, drain the tank, and run the pump until the water runs clear.
In this guide, we will walk you through the process of flushing a water heater using a recirculating pump. We will cover the necessary steps and precautions to ensure a successful flush.
By complying with these instructions, you can maintain the efficiency and longevity of your water heater, whilst also improving the quality of your hot water. So let’s get started and learn how to effectively flush your water heater with a recirculating pump.
Gather Necessary Tools and Materials
1. Tools needed for flushing a water heater
To successfully flush a water heater, you will need the following tools:| Tool | Description |
| Adjustable Wrench | A tool used to loosen and tighten nuts and bolts. |
| Hose | A long, flexible tube used to drain the water heater. |
| Bucket | A container used to collect the drained water and sediment. |
| Gloves | Protective hand coverings to keep your hands clean and safe. |
| Tape | Used to secure the hose connections and prevent leaks. |
2. Materials required for flushing a water heater with a recirculating pump
If you are using a recirculating pump to flush your water heater, you will need the following materials in addition to the tools mentioned above:| Material | Description |
| Vinegar | A natural cleaner that helps remove mineral deposits and sediment. |
| Pump | A device used to circulate the vinegar solution through the water heater. |
| Timer | Used to control the duration of the recirculation process. |
Turn Off Power and Water Supply
Pertaining to shutting down your water heater, it is essential to follow the correct procedures to ensure safety and prevent any damage. Turning off the power supply is the first step in this process.
1. Turn off power supply to the water heater
To turn off the power supply to your water heater, locate the circuit breaker panel in your home. Look for the breaker labeled specifically for the water heater. Switch it to the “off” position to cut off the electricity flow to the unit. This step is crucial to avoid any potential electrical hazards.
2. Shut off the water supply to the water heater
After you have turned off the power supply, it is equally important to shut off the water supply to the water heater. Locate the main water shut-off valve, which is usually located near the water meter or where the main water line enters your home. Turn the valve clockwise to close it and stop the water flow to the heater. This step prevents any potential leaks or water damage in the course of the unit is not in use.
Drain the Water Heater
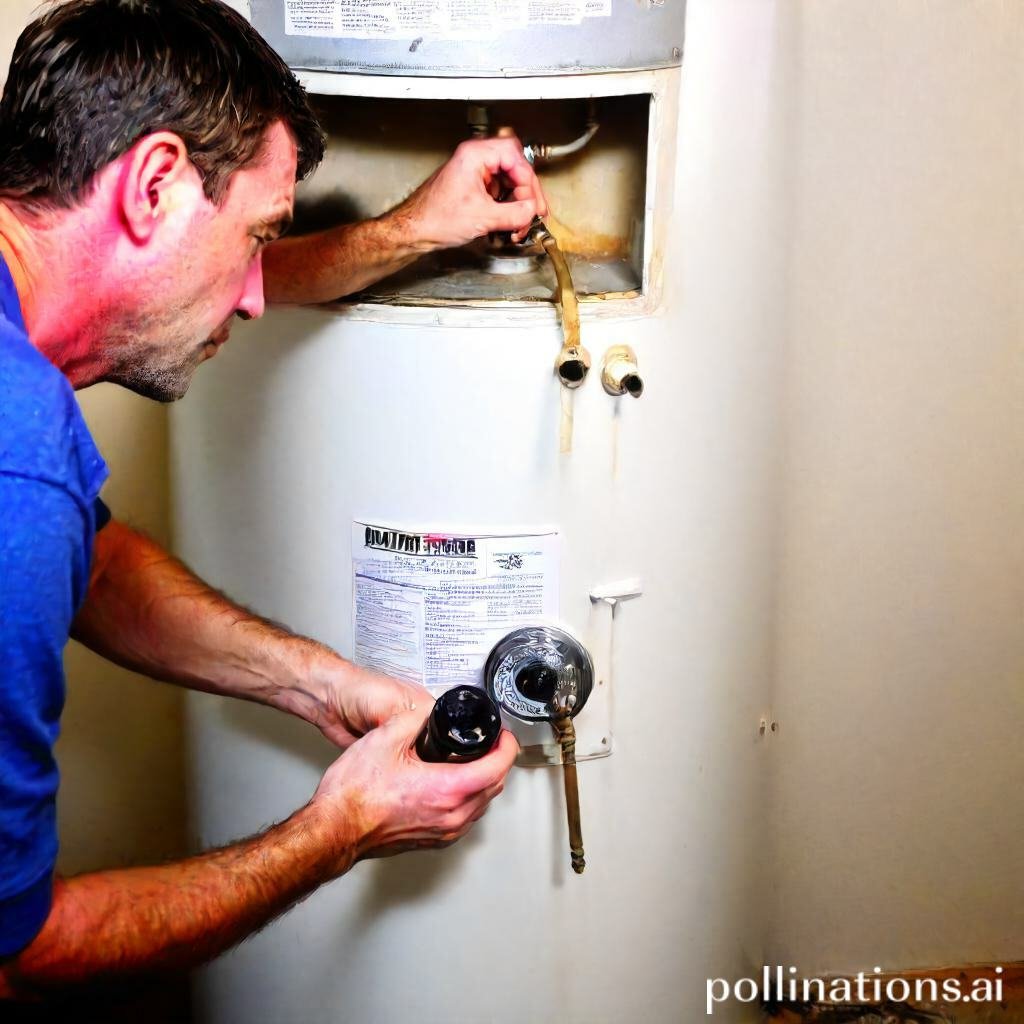
Relating to maintaining your water heater, draining it regularly is an essential task that ensures its optimal performance and longevity. By adhering to these simple steps, you can effectively drain your water heater and remove any accumulated sediments:
1. Connect the Recirculating Pump to the Drain Valve
To begin the draining process, you will need to connect a recirculating pump to the drain valve of your water heater. This pump will help facilitate the smooth flow of water out of the tank.
2. Open the Drain Valve and Let the Water Heater Drain Completely
Once the recirculating pump is properly connected, it’s time to open the drain valve. This step allows the water to flow out of the tank and into a suitable drainage system. Ensure that the drain valve is fully open to facilitate a thorough draining.
As the water heater drains, it is crucial to be patient and allow the process to complete fully. This ensures that all sediments and impurities are effectively flushed out of the tank, enhancing the overall efficiency and lifespan of your water heater.
Flush the Water Heater
Regular maintenance of your water heater is essential to ensure its longevity and optimal performance. One crucial step in this maintenance routine is flushing the water heater. Follow these steps to effectively flush your water heater:
1. Close the drain valve and fill the tank with water
Before starting the flushing process, make sure to turn off the power supply to the water heater. Locate the drain valve, usually located near the bottom of the tank, and close it. Next, connect a hose to the drain valve and place the other end in a suitable drain or outside area. Open the pressure relief valve to allow air into the tank, which will help with the draining process. Finally, open a hot water faucet in your home to allow air to enter the system.
2. Connect the recirculating pump to the cold water inlet
To empower the flushing process, connect a recirculating pump to the cold water inlet of your water heater. This pump will help agitate the water and remove any sediment or buildup that has accumulated over time. Ensure that all connections are secure and tight to prevent any leaks during the process.
3. Turn on the pump and let the water circulate for 10-15 minutes
Once the pump is connected, turn it on and let the water circulate through the system for approximately 10-15 minutes. This will help dislodge and flush out any sediment or debris that has settled at the bottom of the tank. The recirculating pump will ensure thorough cleaning and improve the overall efficiency of your water heater.
Remember to turn off the pump and close the drain valve once the flushing process is complete. Slowly refill the tank with water, ensuring that all connections are secure and free from leaks. Finally, turn on the power supply to the water heater and wait for it to heat up the newly flushed and clean water.
| Step | Description |
|---|---|
| 1 | Close the drain valve and fill the tank with water |
| 2 | Connect the recirculating pump to the cold water inlet |
| 3 | Turn on the pump and let the water circulate for 10-15 minutes |
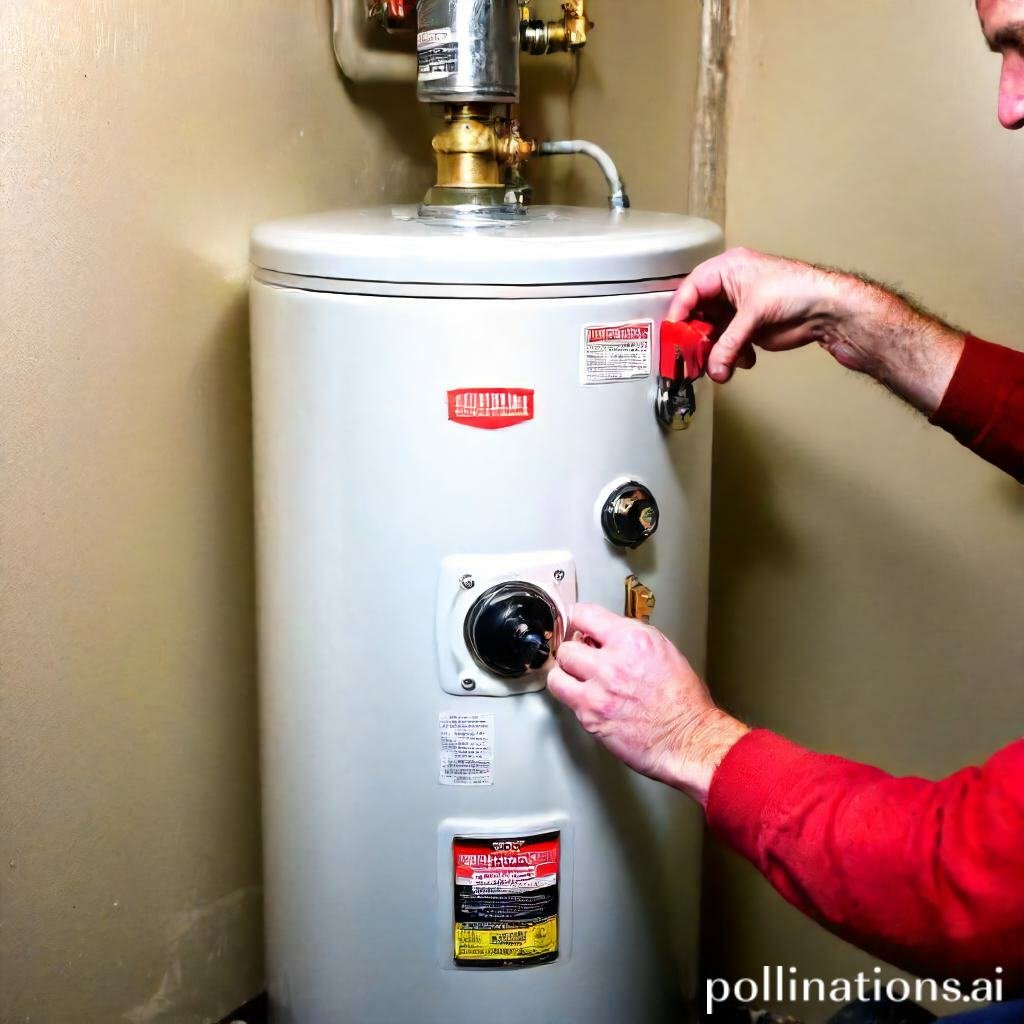
Drain and Refill the Water Heater
Regular maintenance of your water heater is essential to ensure its efficient operation and prolong its lifespan. One crucial step in this maintenance process is draining and refilling the water heater, which helps remove sediment buildup and ensures clean, hot water throughout your home. Follow these steps to successfully drain and refill your water heater:
1. Turn off the pump and let the water drain out
Before starting the draining process, make sure to turn off the pump that supplies water to the heater. This will prevent any water from entering the tank at the same time you’re draining it. Once the pump is off, locate the drain valve at the bottom of the water heater. Attach a hose to the valve and place the other end in a suitable drainage area, such as a floor drain or a bucket.
Open the drain valve by turning it counterclockwise, allowing the water to flow out through the hose. Be cautious as the water might be hot. Let the water drain completely until no more water comes out of the hose. This process might take some time depending on the size of your water heater and the amount of sediment present.
2. Close the drain valve and refill the water heater
Once the water has completely drained, close the drain valve by turning it clockwise. Remove the hose and ensure that the valve is tightly closed to prevent any leaks. Now, it’s time to refill the water heater.
Locate the cold water supply valve, typically located near the top of the water heater. Slowly open the valve to allow cold water to flow into the tank. Keep a close eye on the pressure relief valve to ensure it releases any excess pressure during the filling process.
As the tank fills, carefully monitor the temperature and pressure gauges to ensure they are within the recommended range. Once the tank is full, you can turn the pump back on and restore the water supply to your home.
Note: It’s important to regularly drain and refill your water heater to maintain its efficiency and prevent sediment buildup. Consult your manufacturer’s guidelines or a professional plumber for specific recommendations based on your water heater model.
| Key Points |
|---|
| – Regularly drain and refill your water heater for optimal performance. |
| – Turn off the pump and let the water drain out through the drain valve. |
| – Close the drain valve and refill the water heater using the cold water supply valve. |
| – Monitor temperature and pressure gauges during the refill process. |
| – Seek professional advice for specific maintenance recommendations. |
Bottom Line
Flushing your water heater with a recirculating pump is a simple and effective way to extend the life of your appliance and improve the quality of your hot water. By removing sediment and mineral buildup, you can prevent corrosion and improve energy efficiency. To get started, you’ll need a few basic tools and some patience. Follow the manufacturer’s instructions carefully and take your time to ensure that the process is done correctly. With regular maintenance, your water heater can last for many years and provide reliable hot water for your home. Don’t neglect this important task and enjoy the benefits of a well-maintained water heater.
Read More:
1. Flushing And Its Impact On Water Heater Dip Tube Function
2. How To Flush A Water Heater With A Water Softener?
